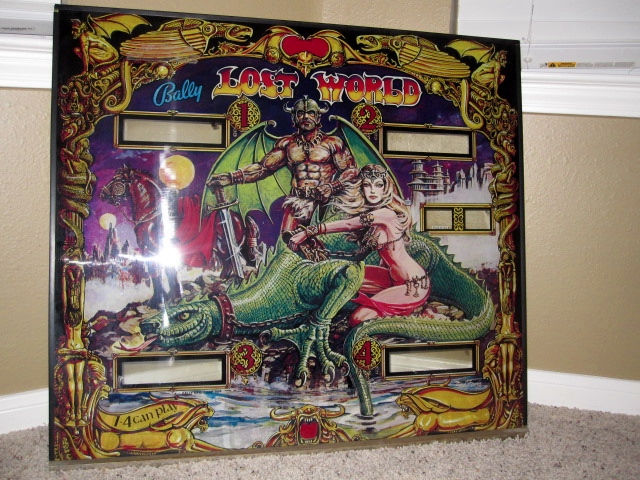
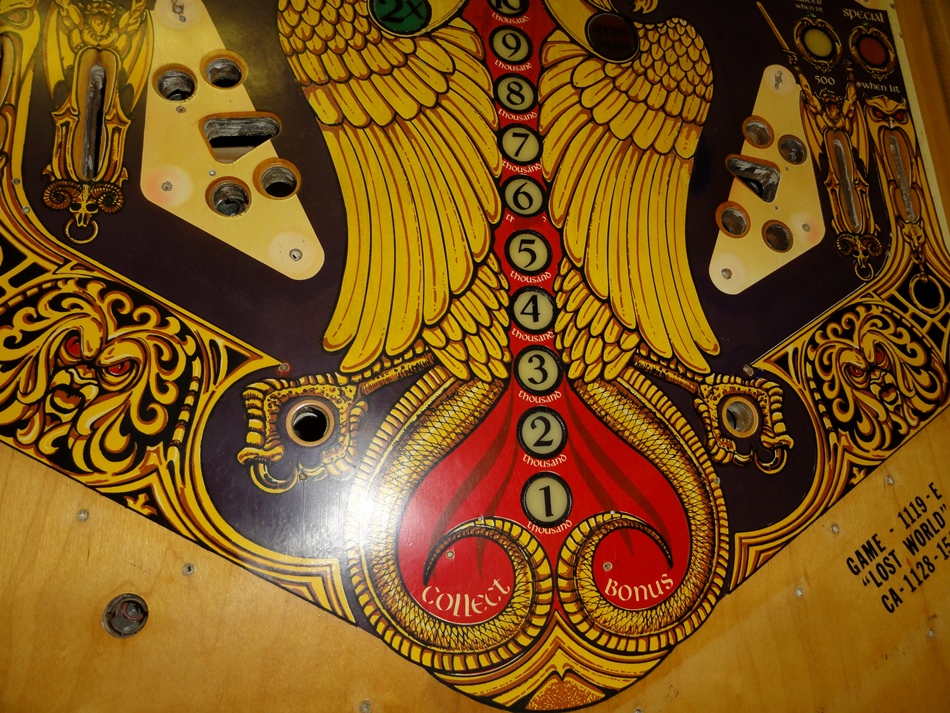
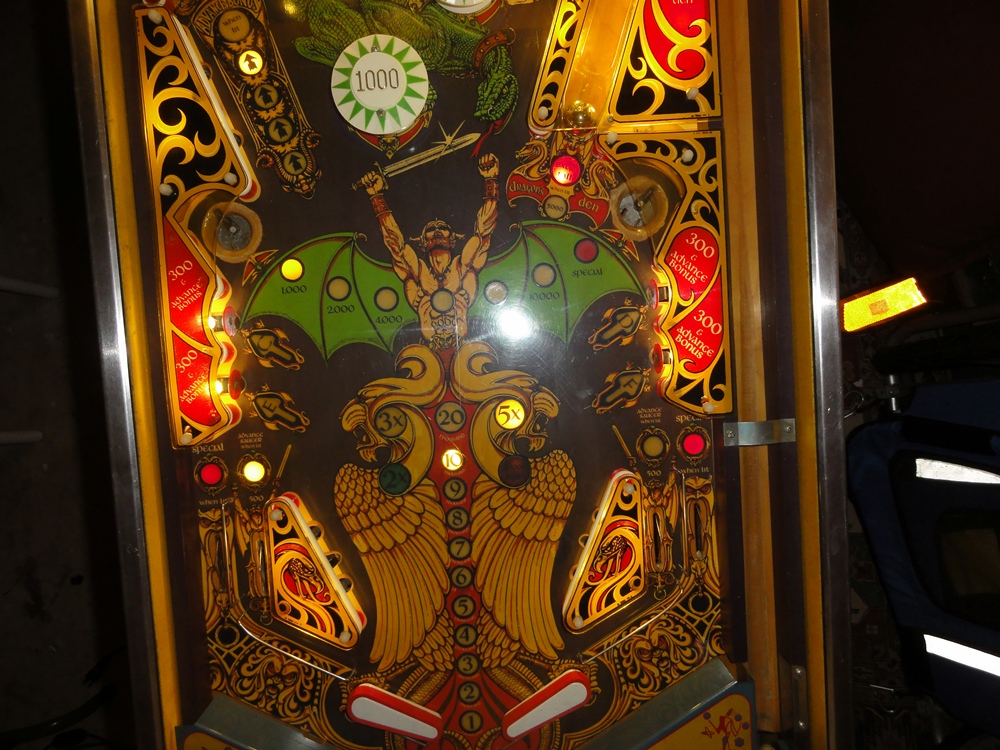
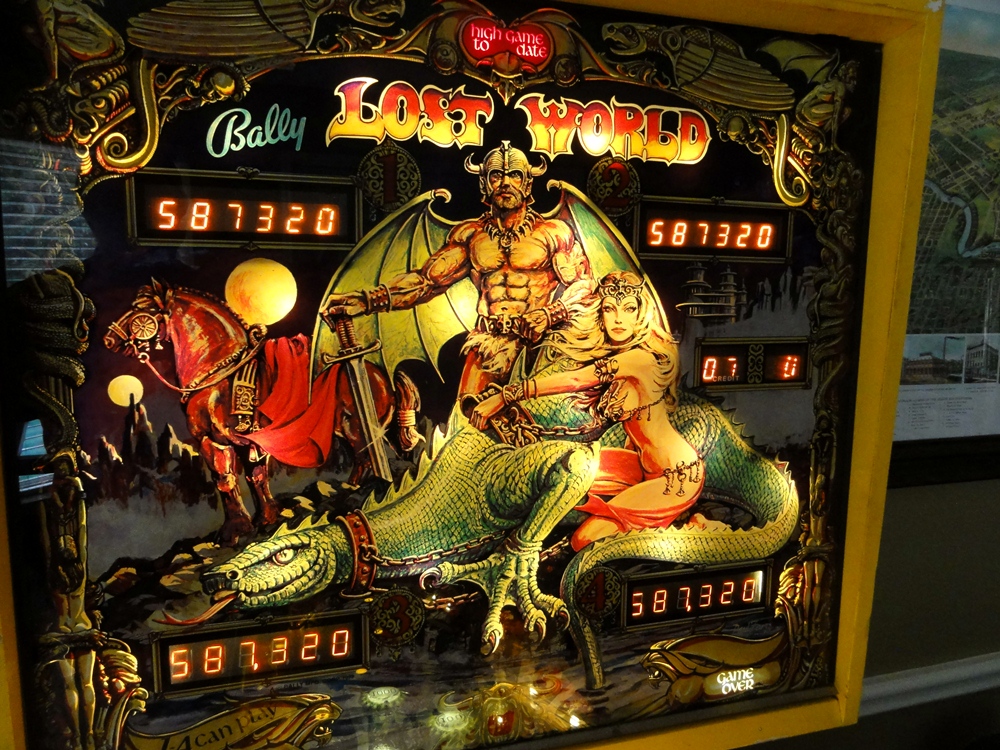
The famous Lost World backglass
1978 Bally Lost World
It had been a few months since I finished my last Pinball project (1979 Gottlieb Genie), so I had my eyes open for another one. Eventually, I saw an add on Craig's List for a non-working 1978 Bally Lost World, and decided to go check it out. OMG - the seller is a HUGE collector of pinball and coin-op machines. He repairs and restores them for a living. He buys macines in big lots - keeps one or two for his collection, and then sells the rest. He had a shipping container in his front yard! His workshop was full of old machines, jukeboxes, and more spare parts than I've ever seen. After talking for a while, he was kind enough to take me and my wife on a tour of his house - showing off his personal collection of around 200 coin-op machines. He had about 30 or 40 pinball machines - from EM's to DMD's, and lots of other cool coin-op stuff. Had several rare EM shooter games, strength testers, bowlers - you name it. I'm only dissapointed that I didn't take any pictures. He said that within the next year or so he plans to open a 'museum' of some kind - maybe down on the Kema Boardwalk, or perhaps Galveston. ....even if I hadn't bought the pin, the trip down there was worth it just to look around..
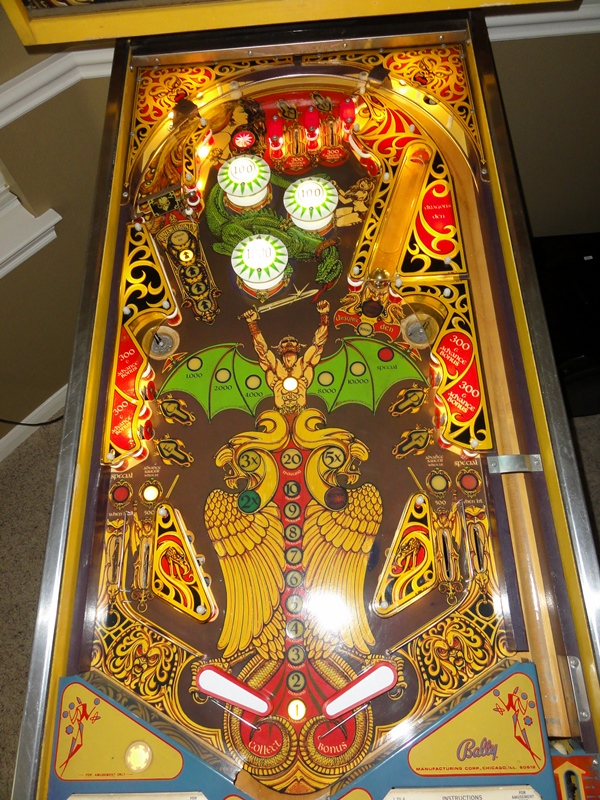
Anyway, the seller was asking $450. After looking it over, we settled on $350. The backglass is perfect - no peeling, no flaking, no crackling - not even a scratch. The cabinet is also in pretty good shape with almost no fading. The playfield, well it's about a 6 - some wear near the slingshots and normal wear around the kickouts, inserts are cupped a bit, etc. The MPU has the original battery still attached, and is completely toast. My goal with this project was to touch-up, and then clearcoat the playfield. I've never tried this, but it's the 'next step' in my pinball restoration evolution.
OK, let's see the pics!
The famous Lost World backglass
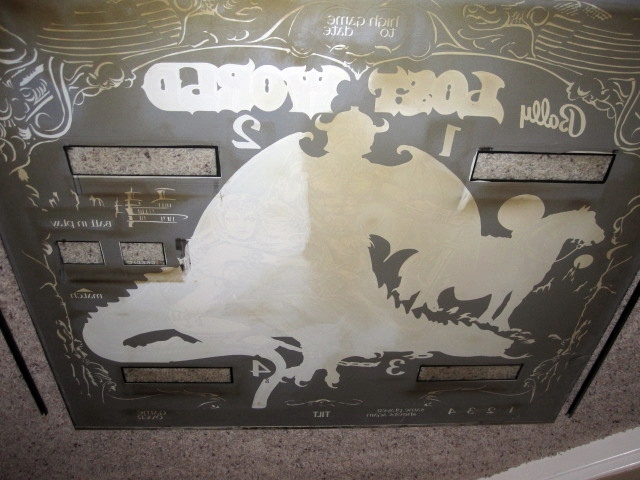
Can you tell which side has been cleaned?
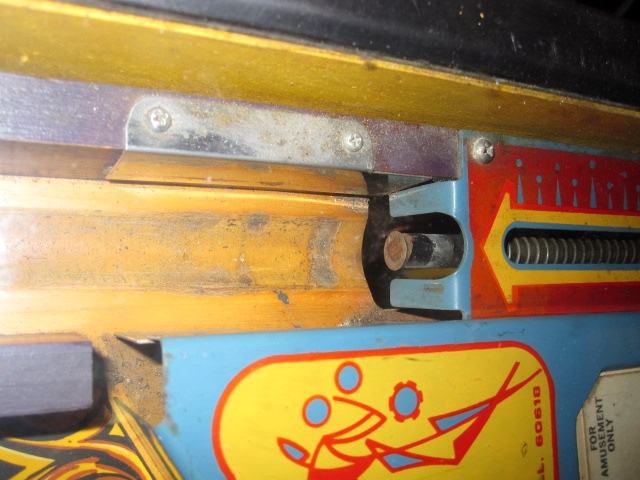
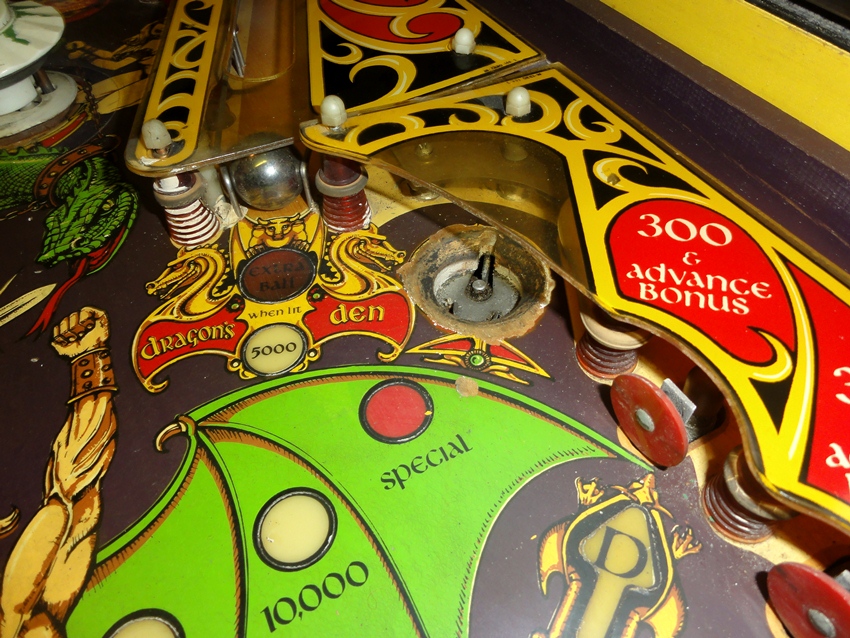
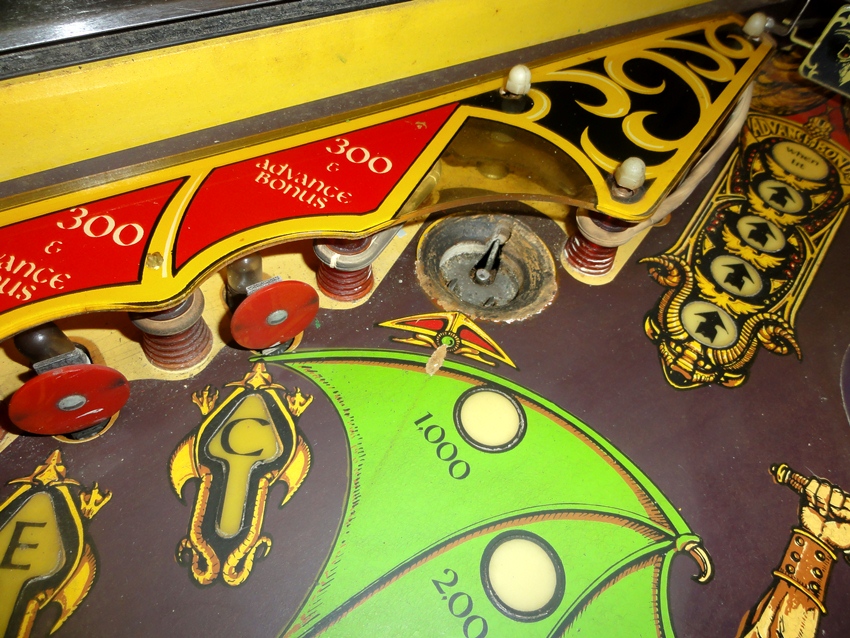
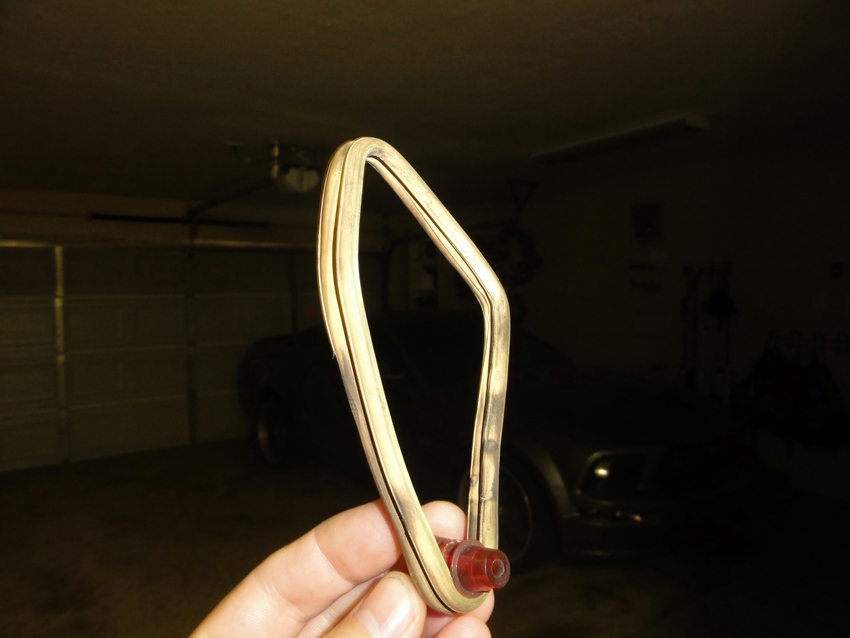
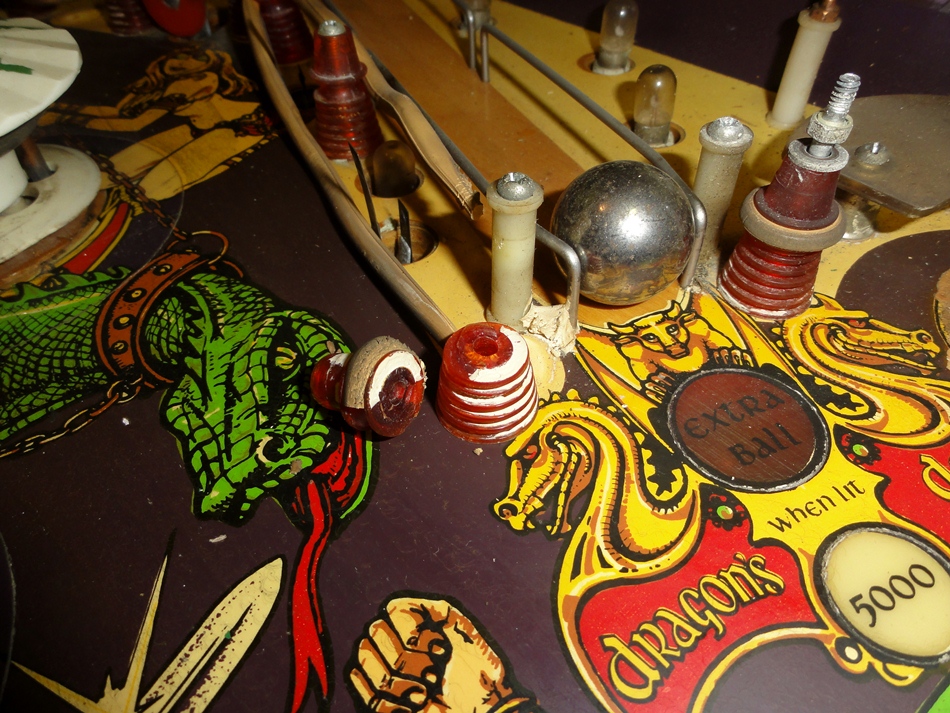
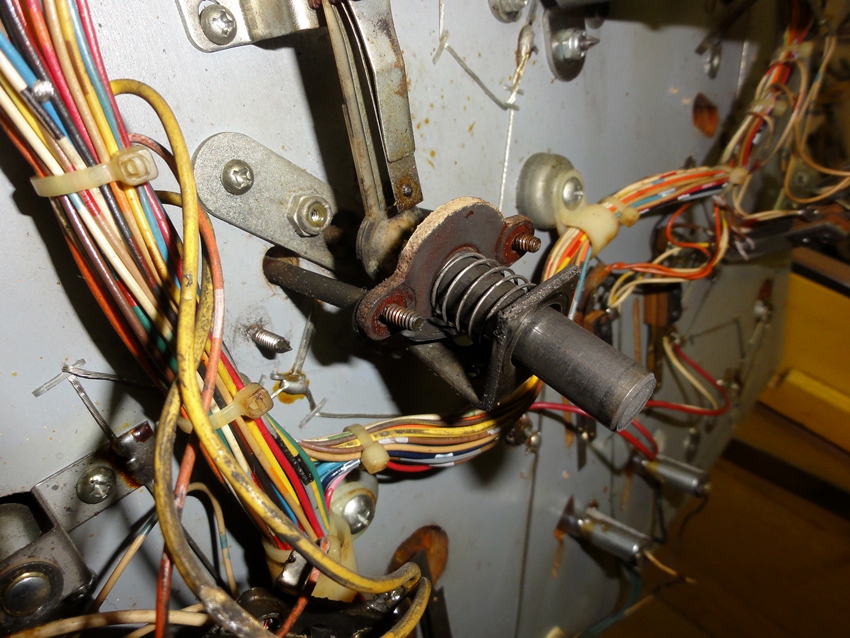
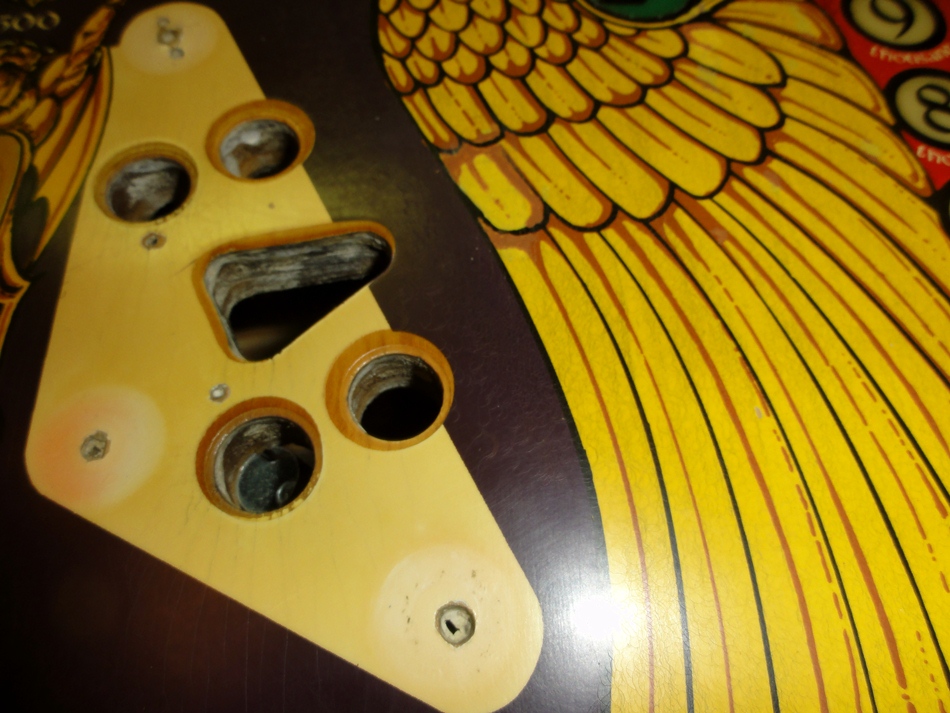
The shooter rod was completely mushroomed out.
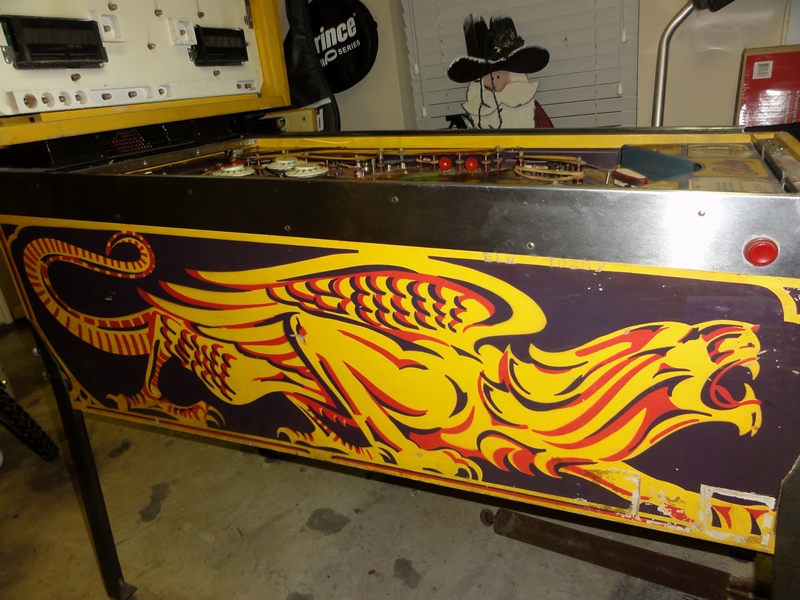
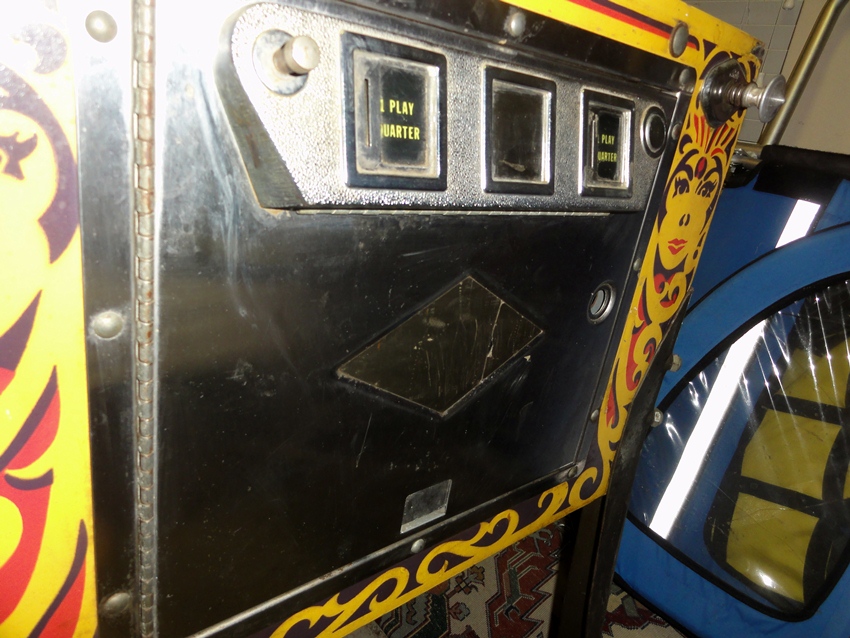
It's a bit dinged up, but there's very little fading on the cabinet.
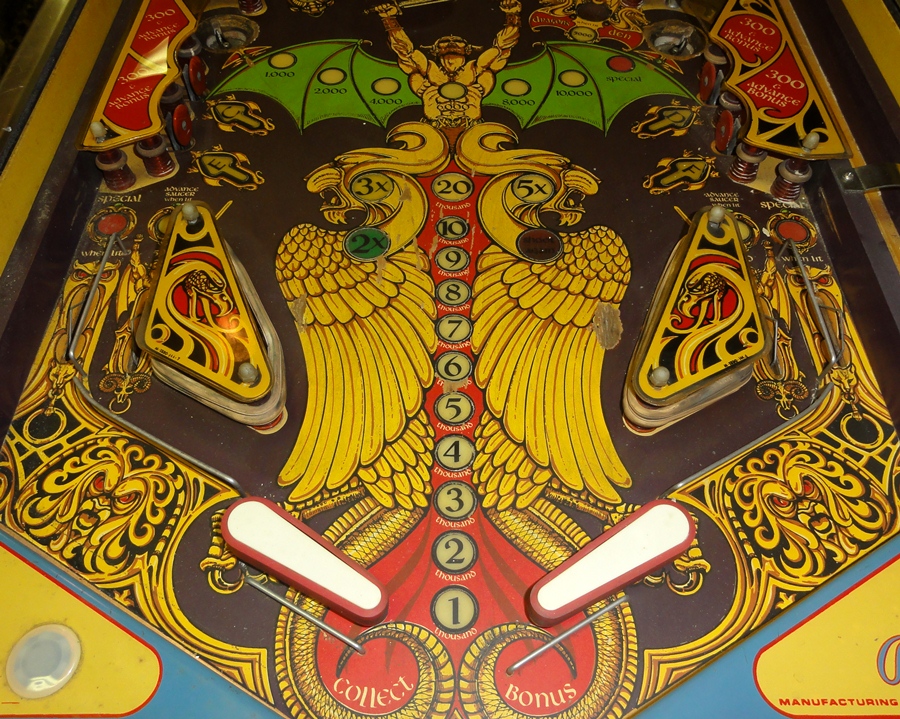
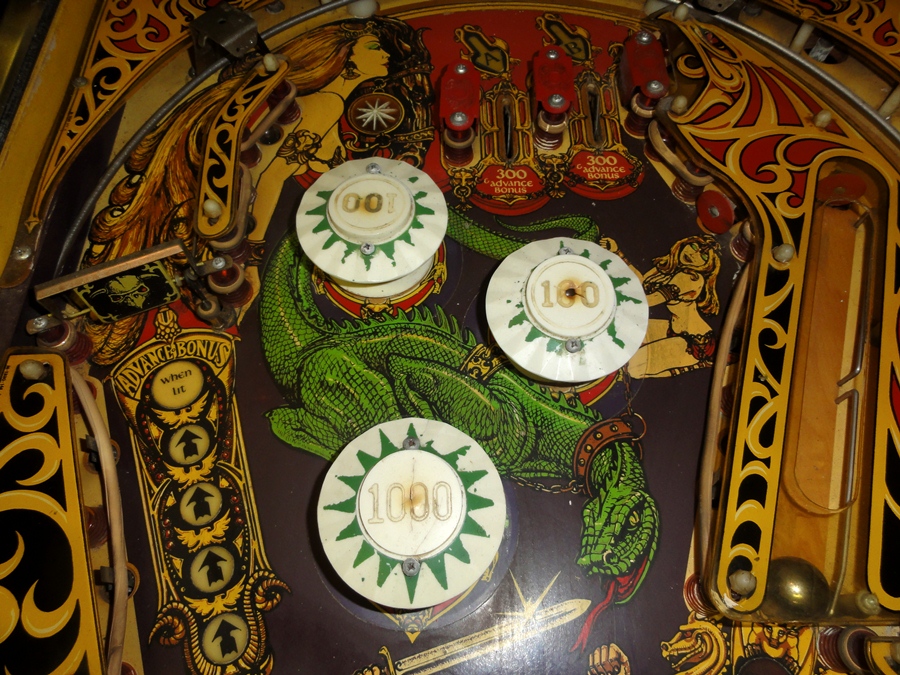
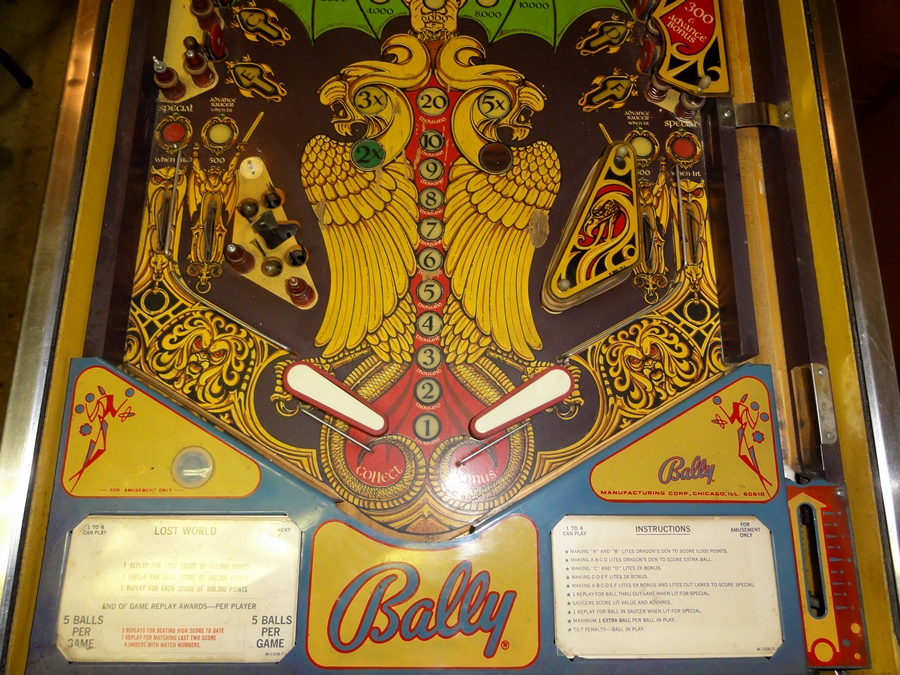
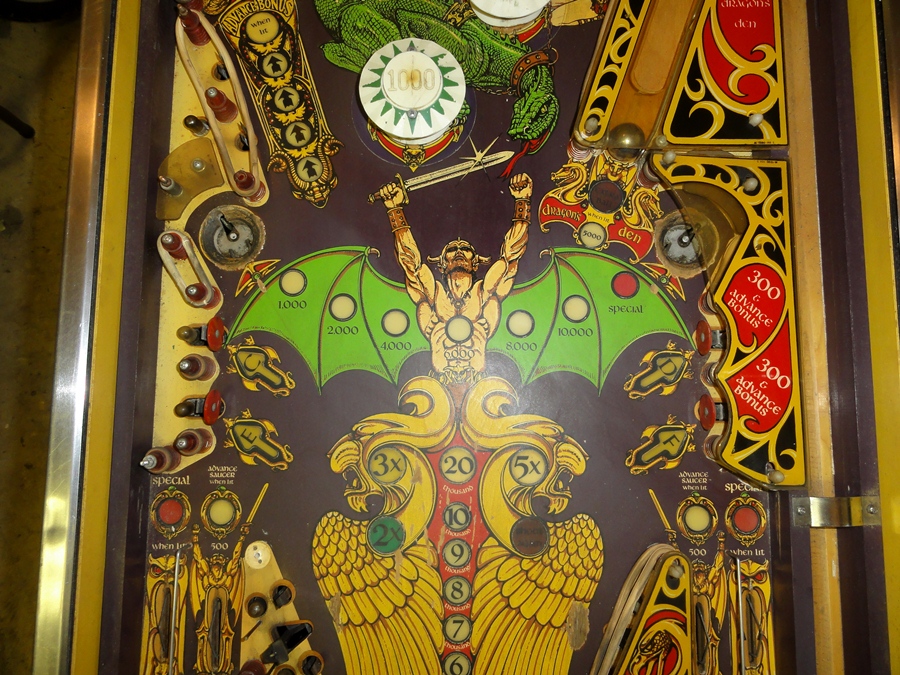
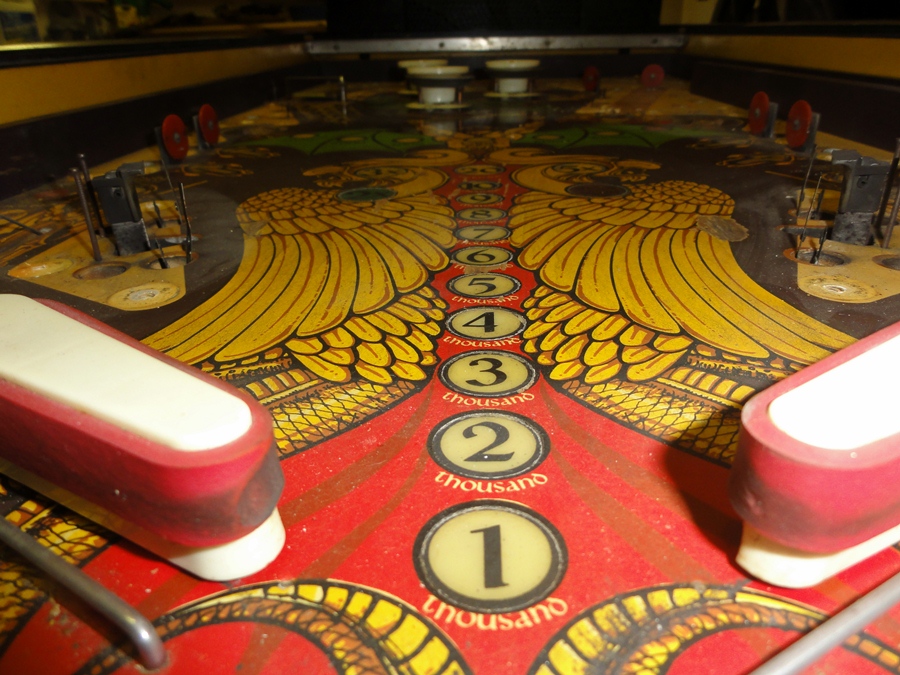
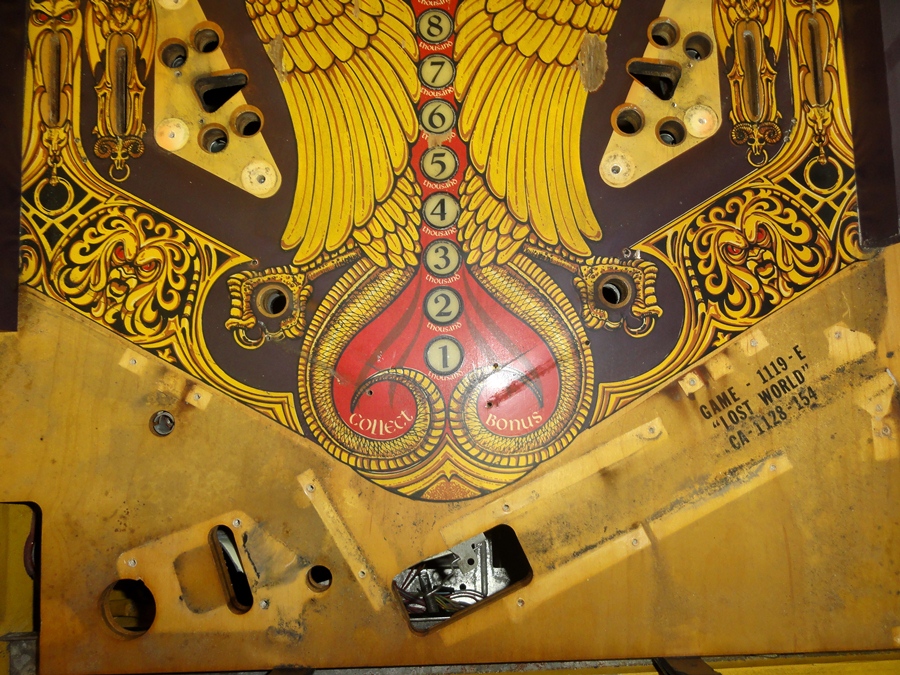
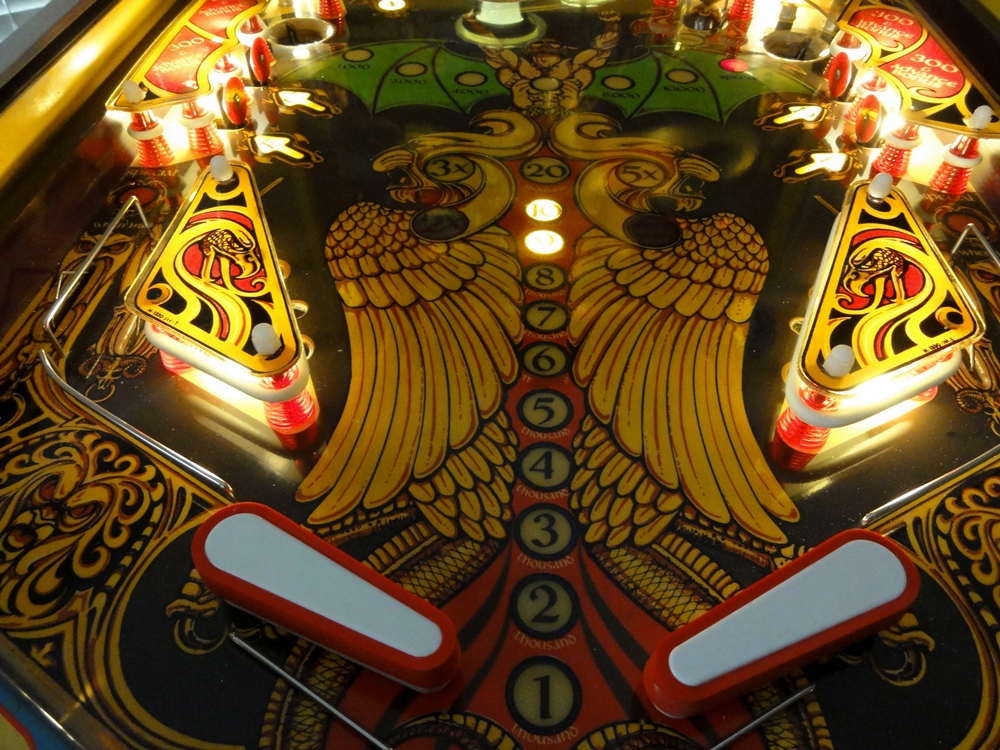
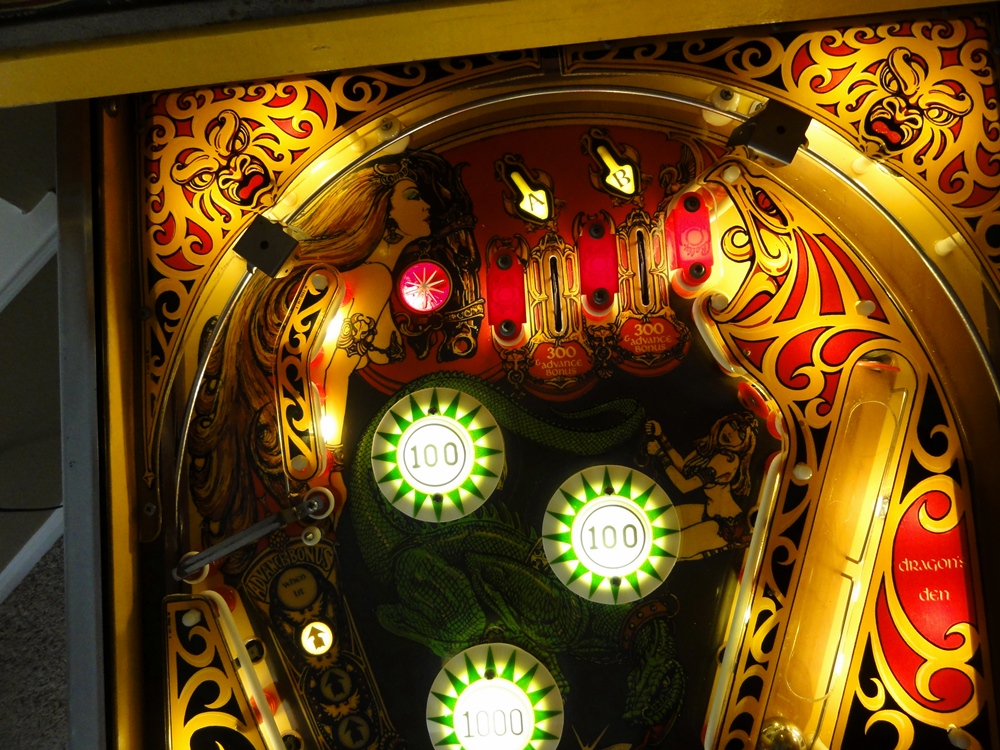
Notice the wear spots near the slings, and up through the middle.
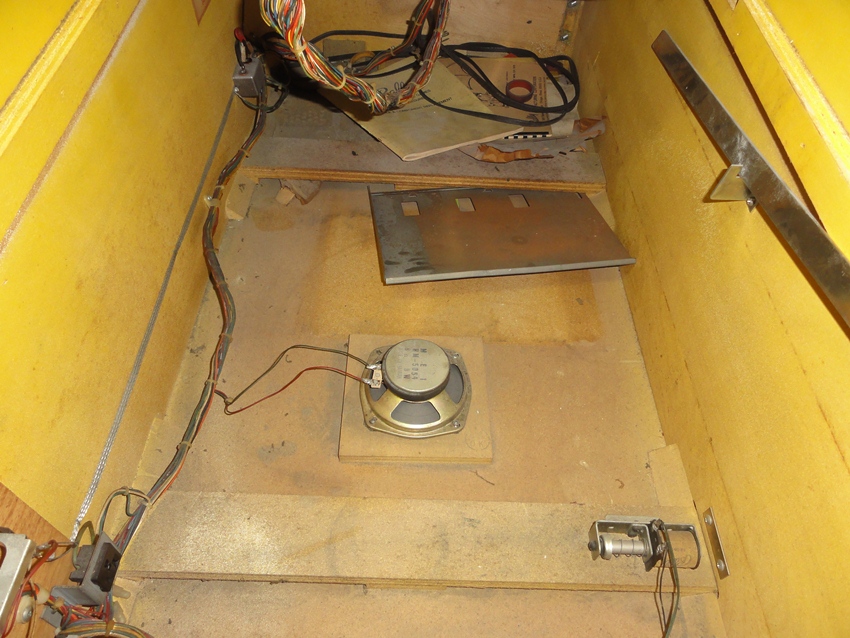
The inside of the cabinet was surprisingly clean....
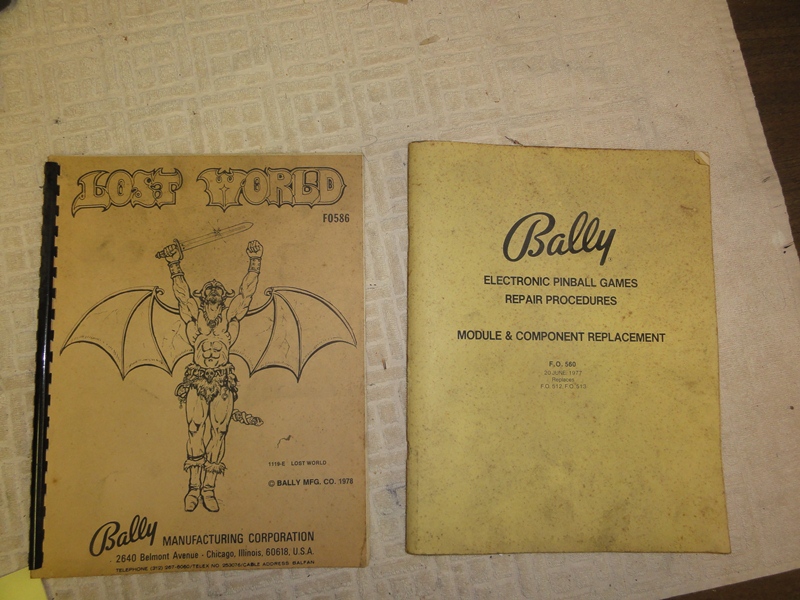
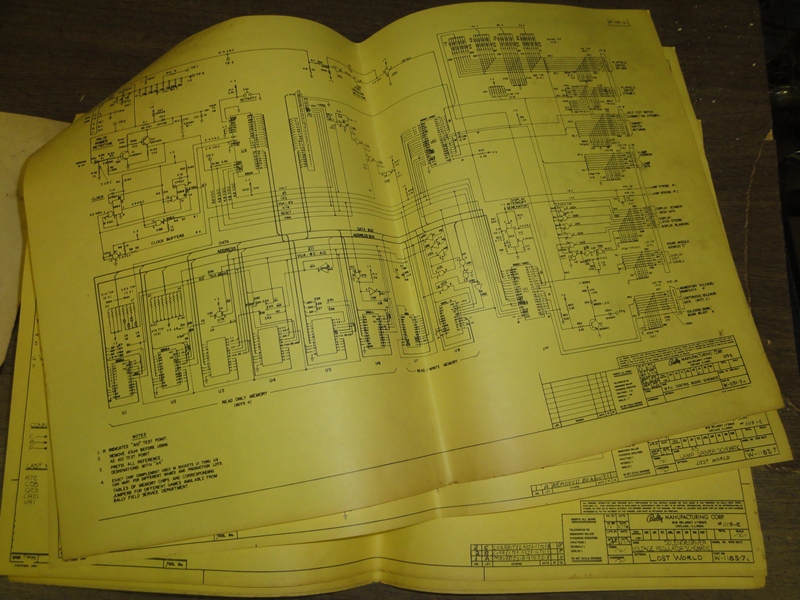
...and look what I found - all the original documentation!
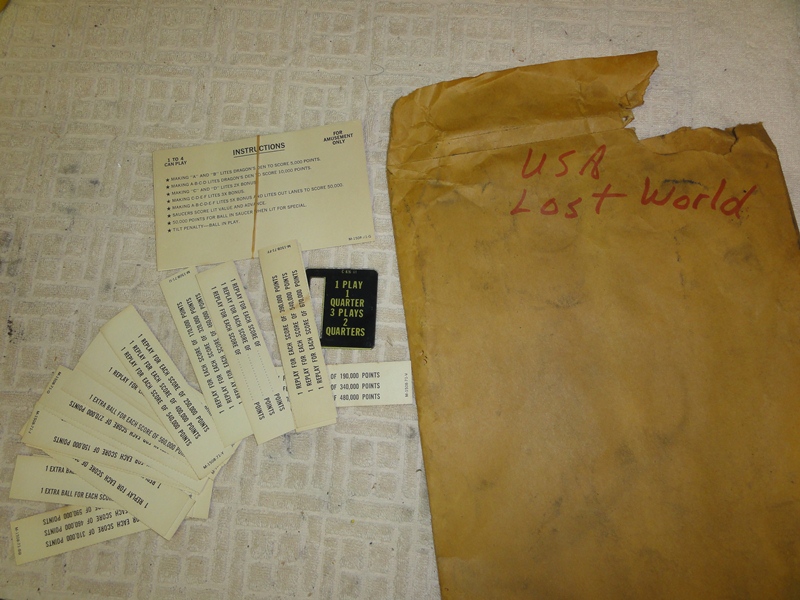
It's a 34 year old goodie bag!
STRIPPING THE PLAYFIELD
Yeah, the rubbers are just a little
bit stiff.
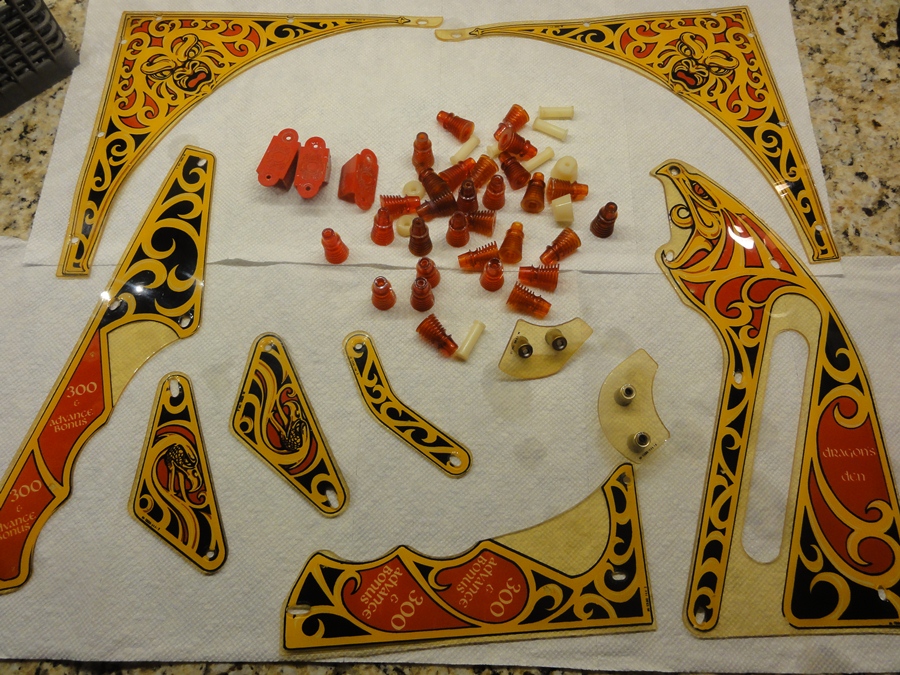
Here's all the plastics after running them through the diswasher
Looking good!
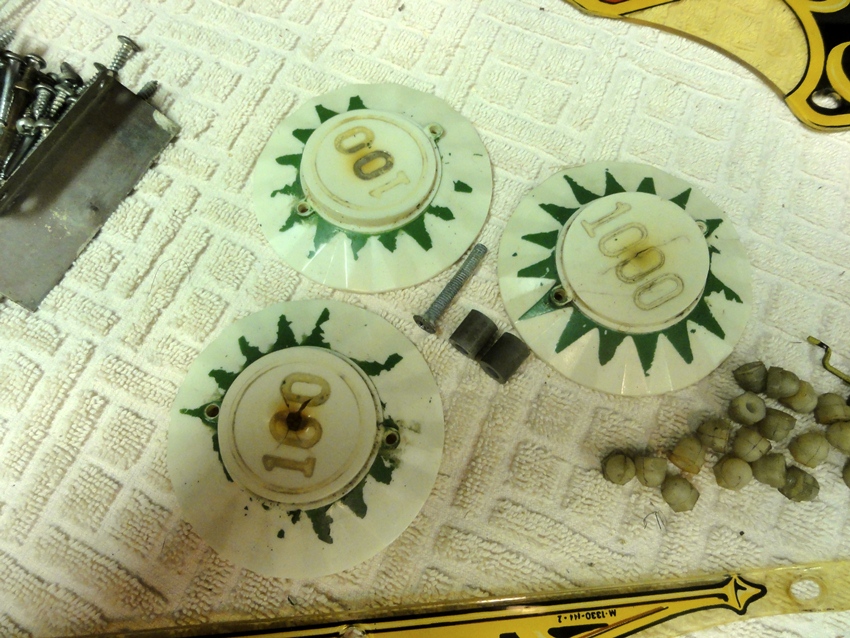
No, I didn't even try to save these - they're shot.
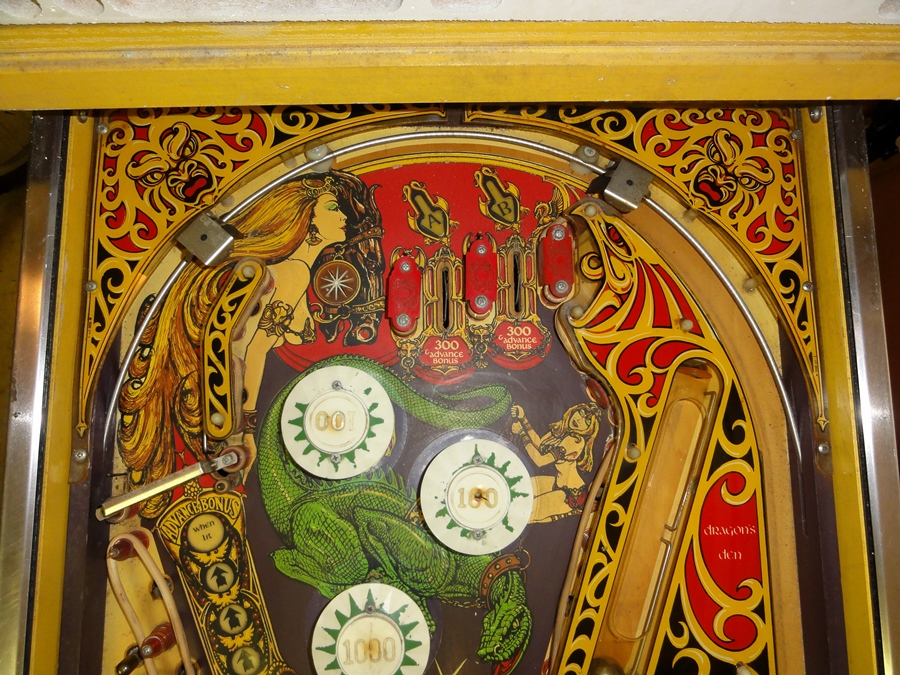
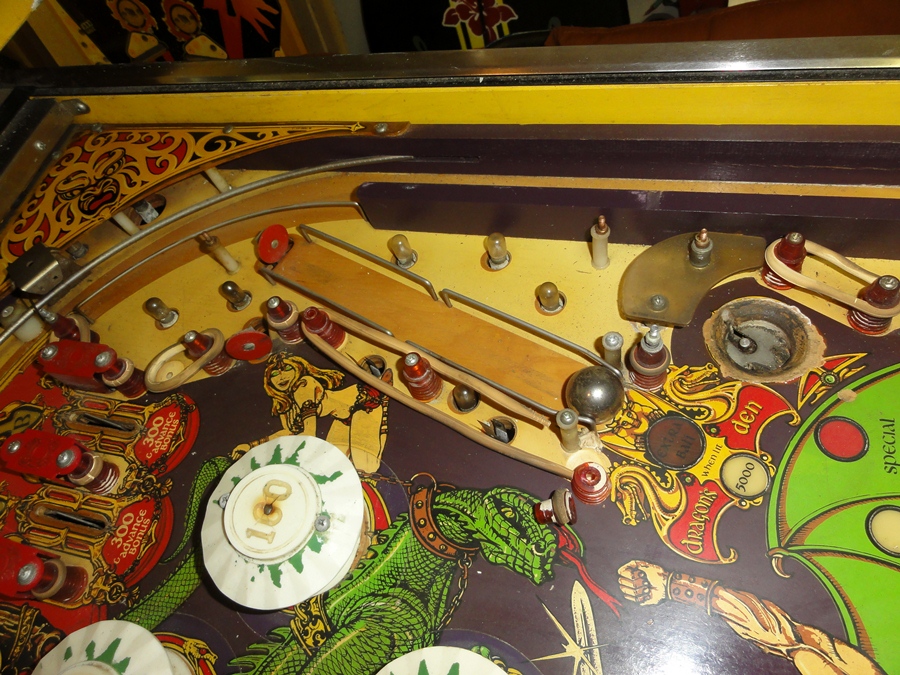
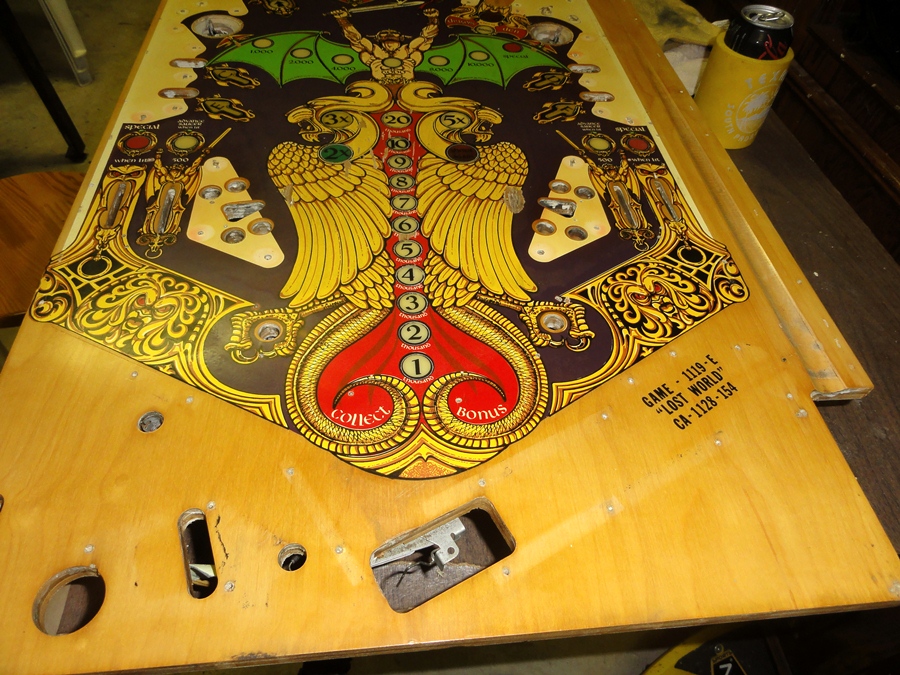
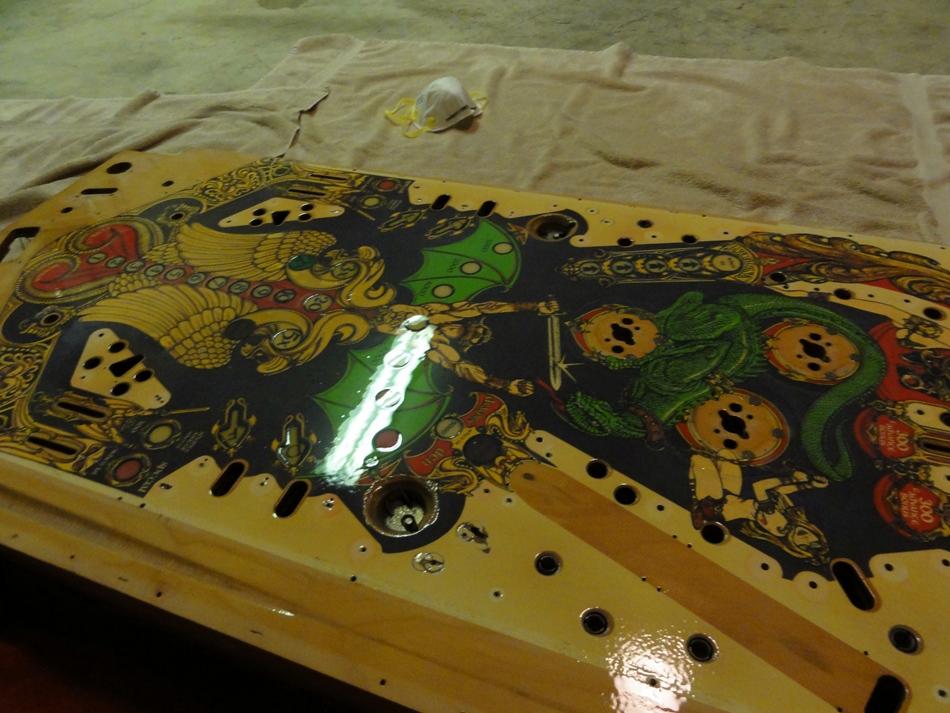
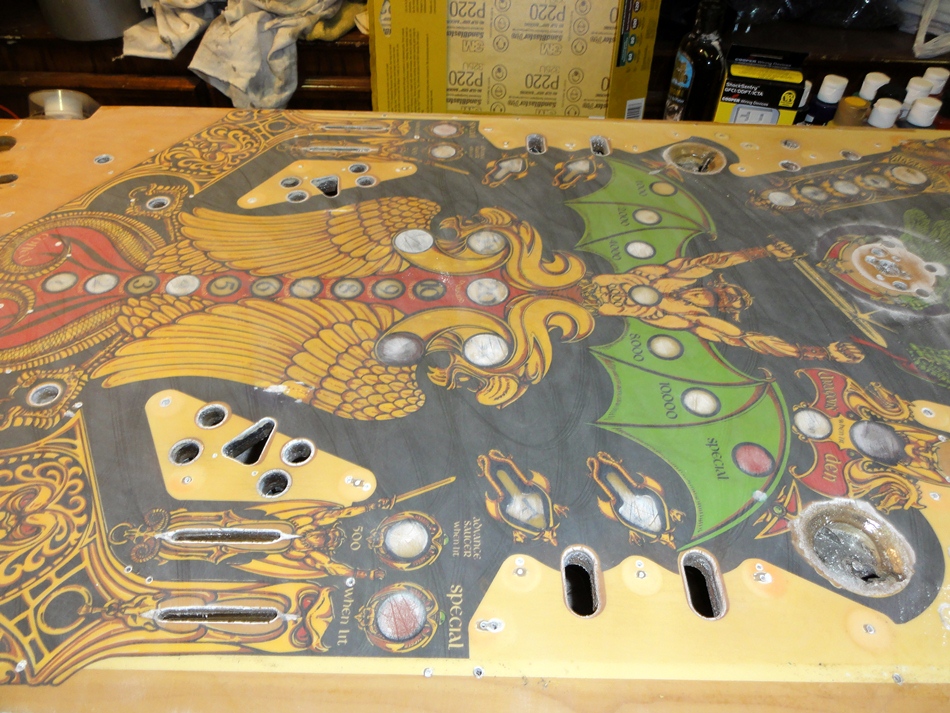
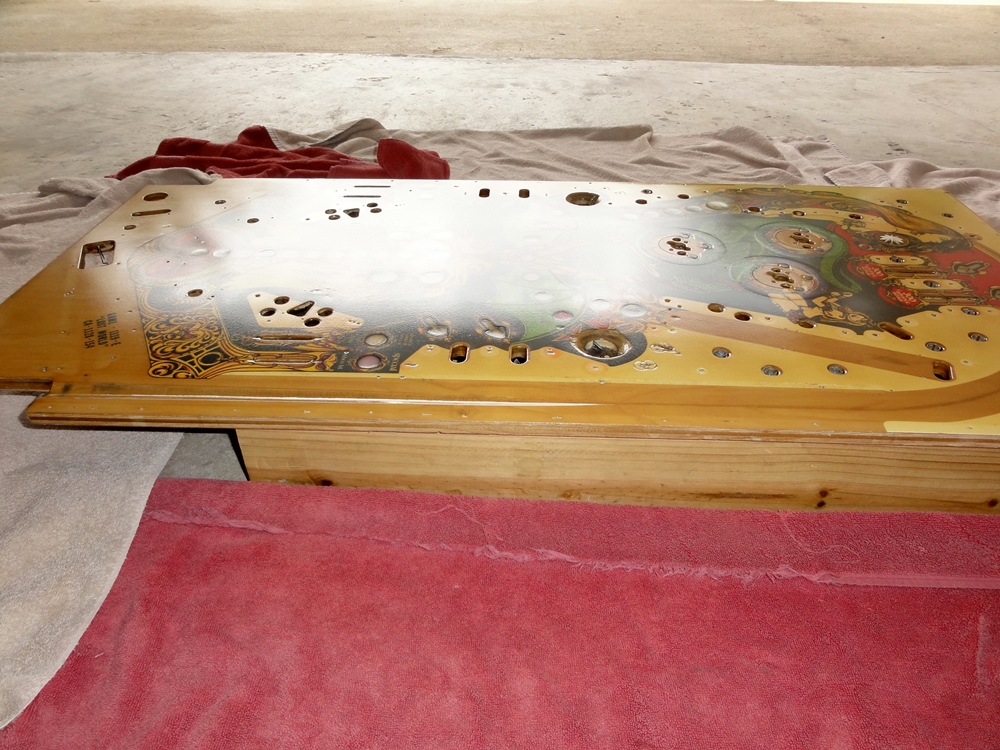
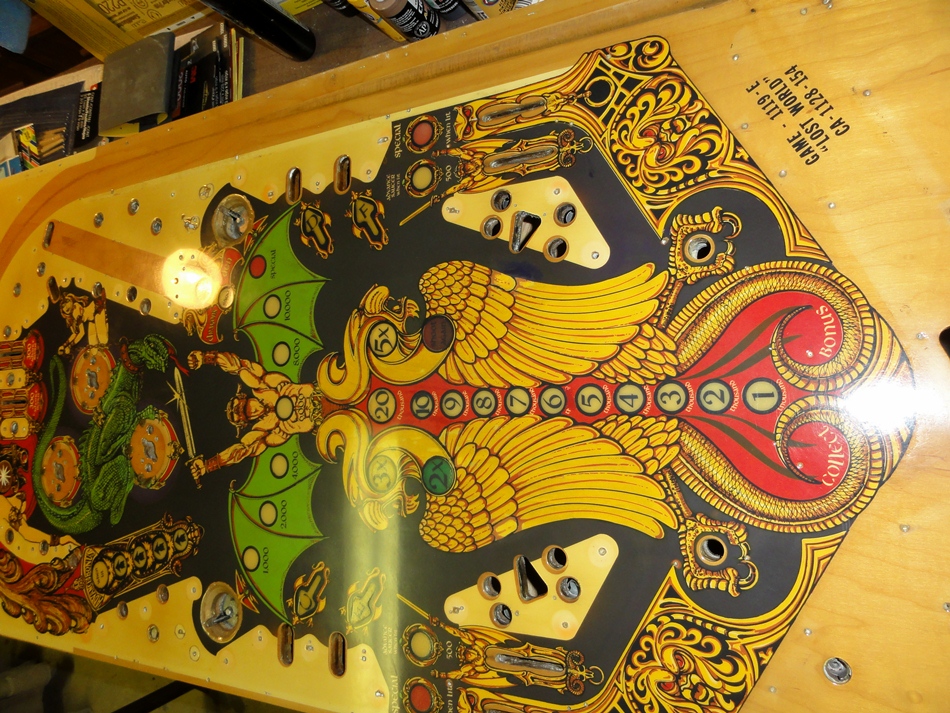
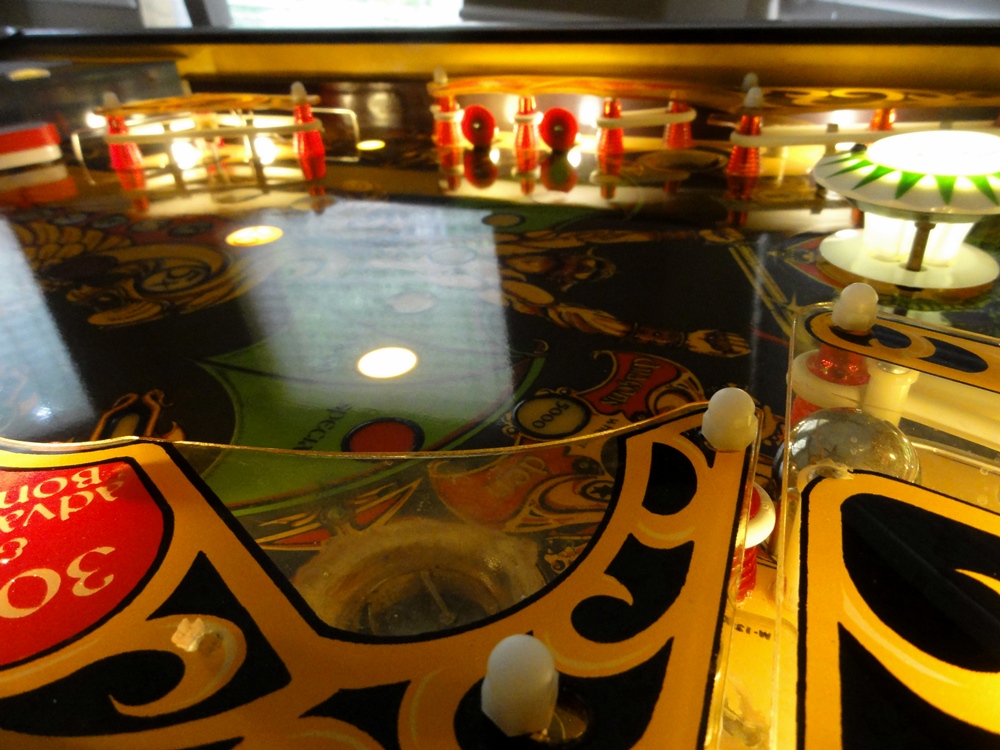
The playfield is stripped, and ready for cleaning.


Such a dirty girl.

CLEANING THE PLAYFIELD
After several rounds of Novus 2
and Magic Eraser, the playfield is clean.

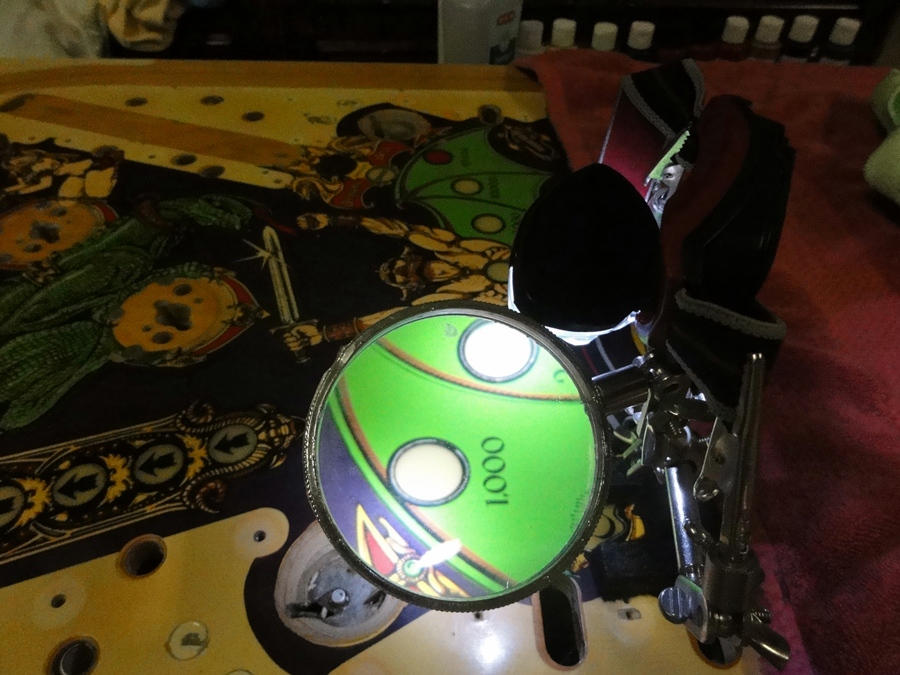
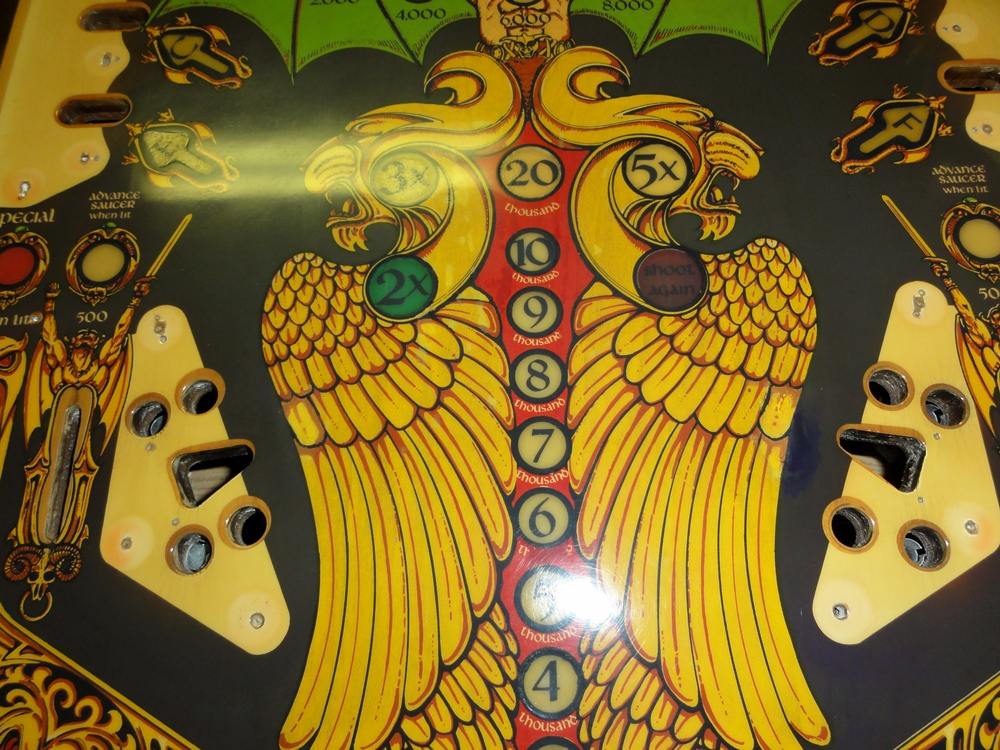
TOUCH UP PAINT
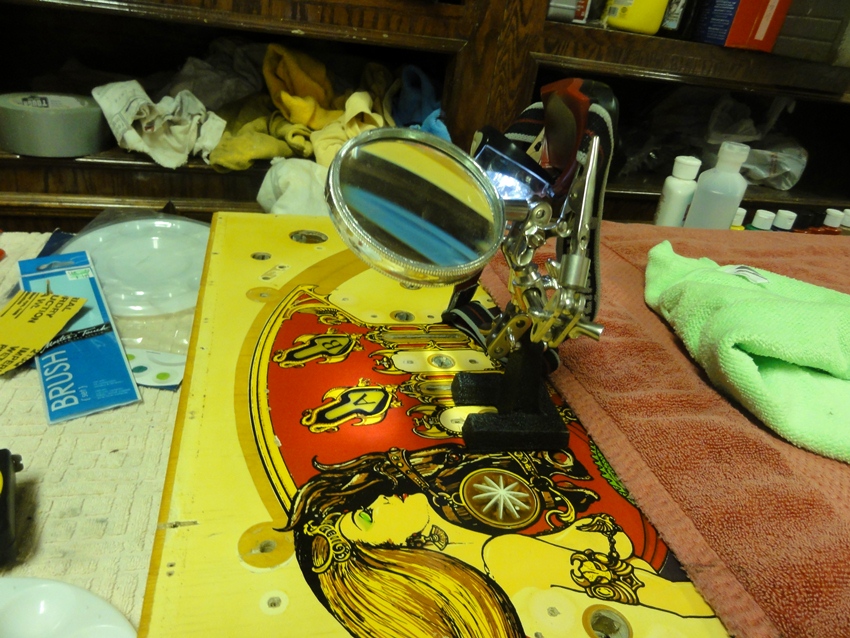
I used a magnifying glass and LED
light to see the small details.
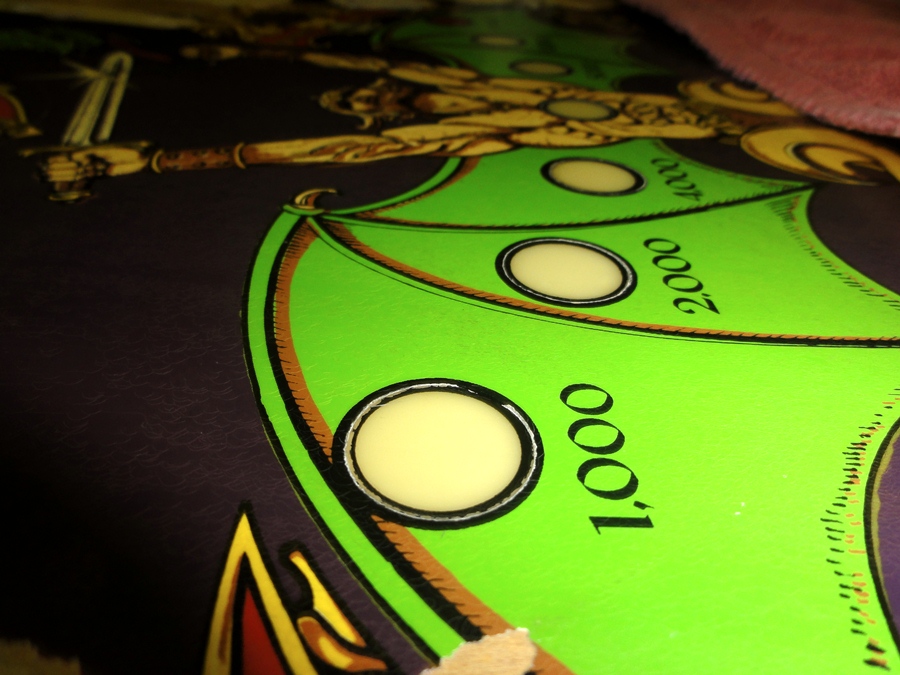
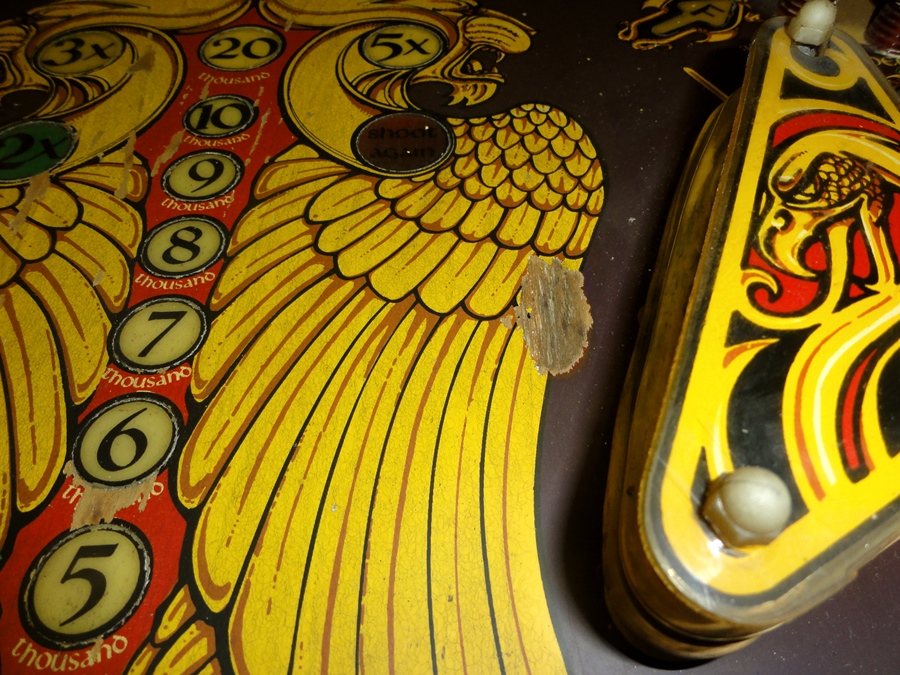
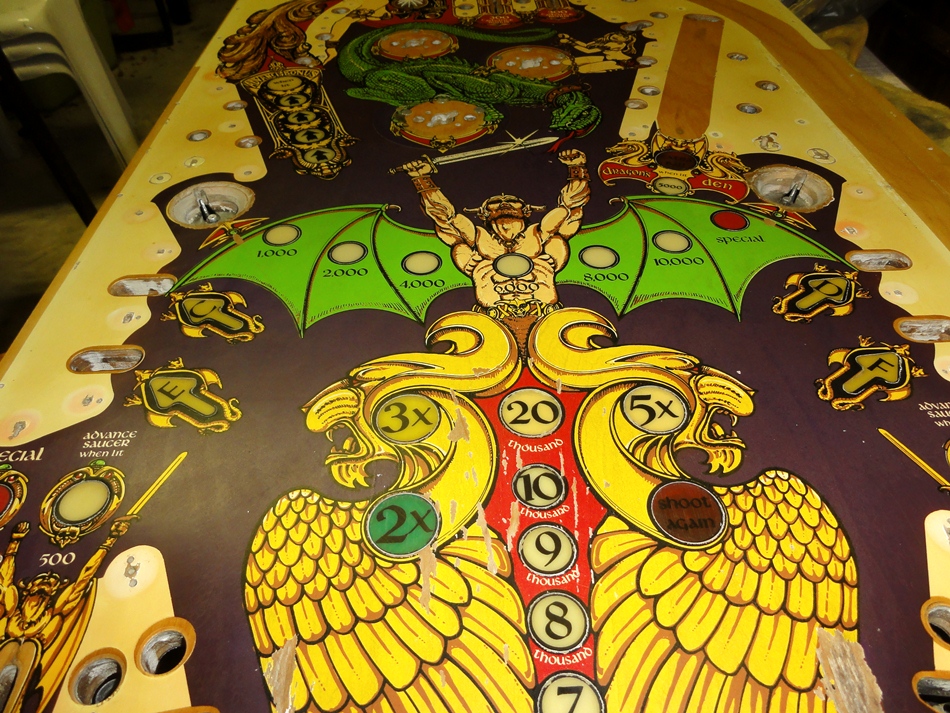
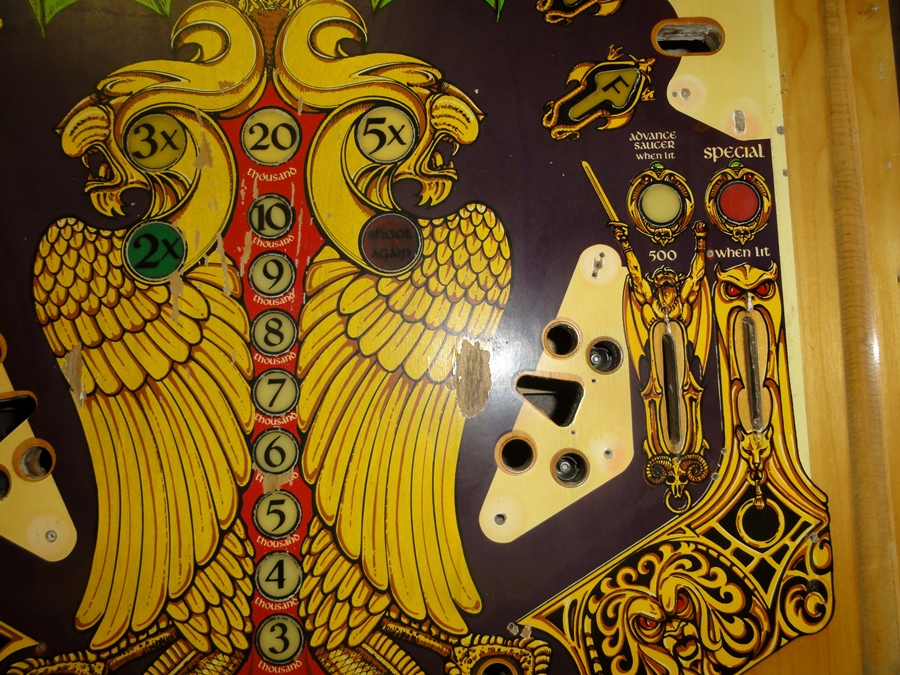
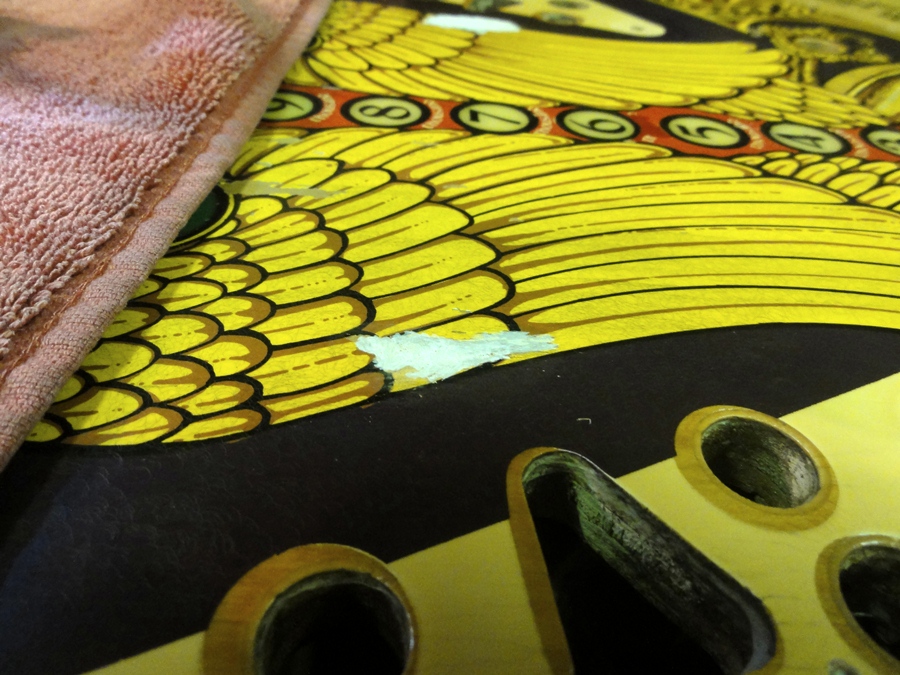
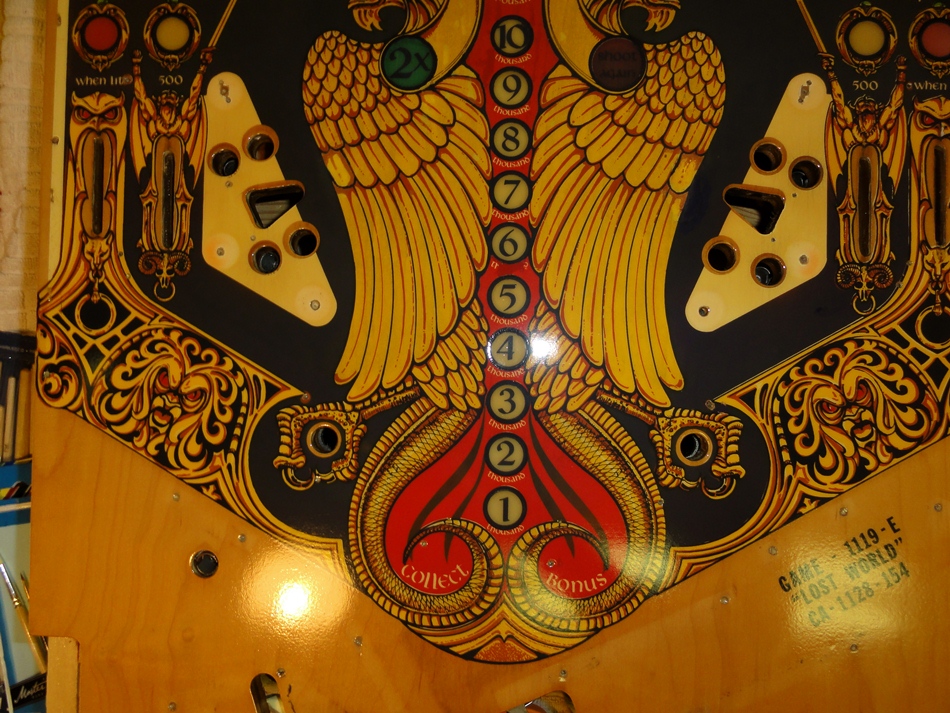
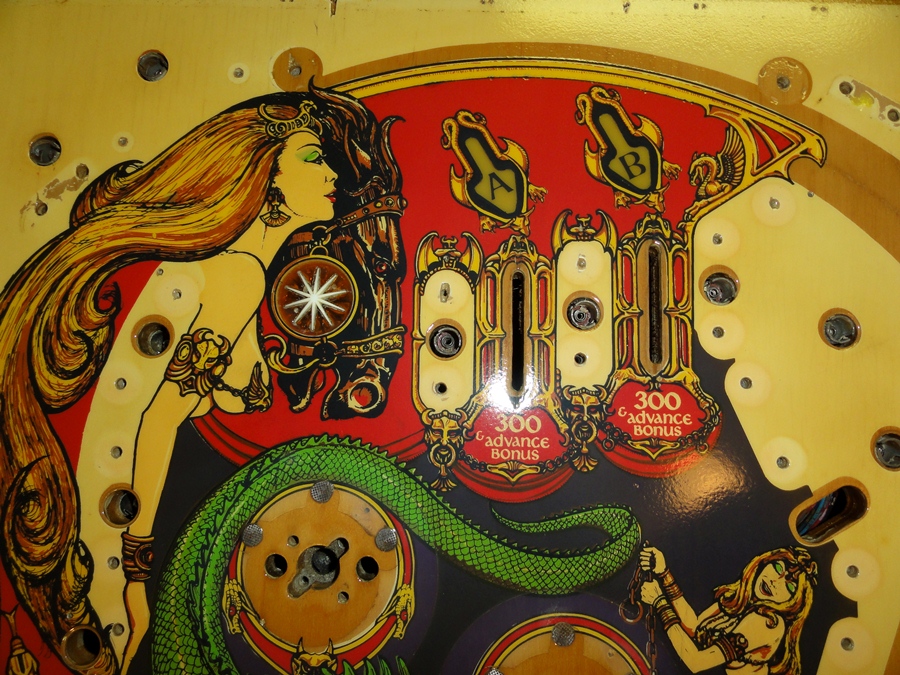
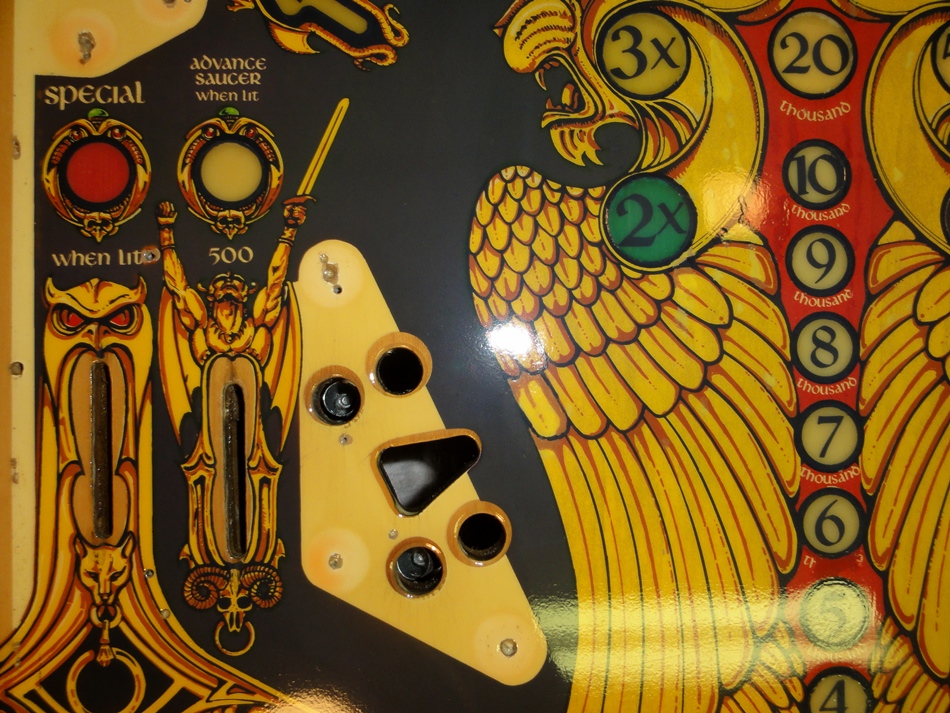
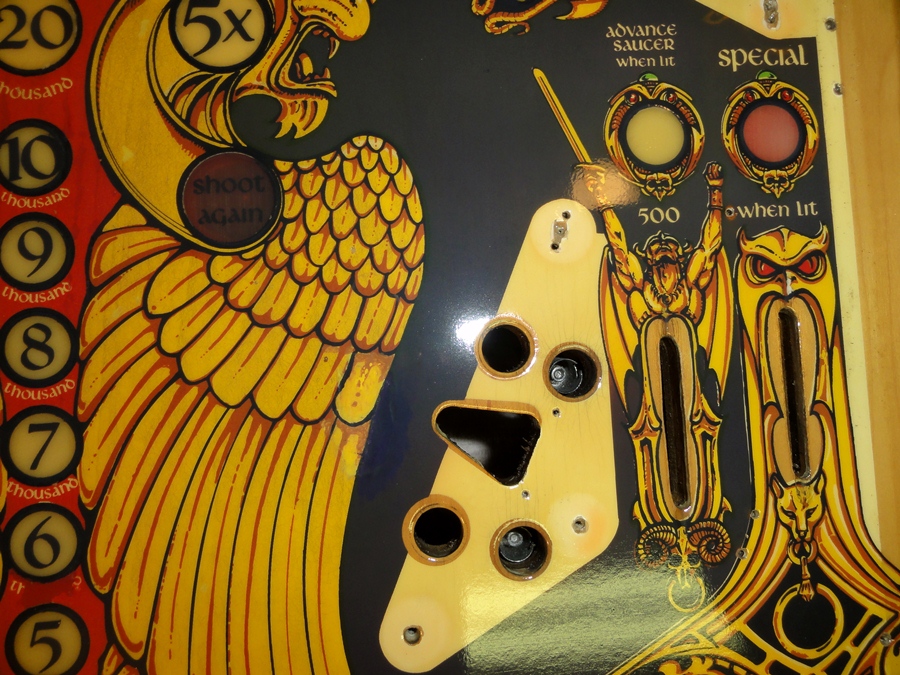
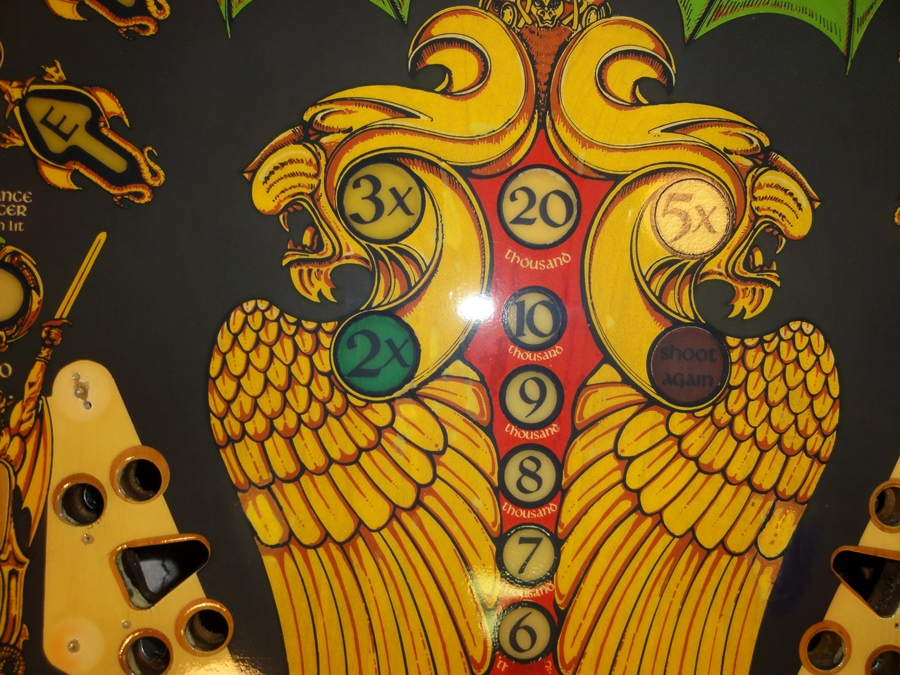
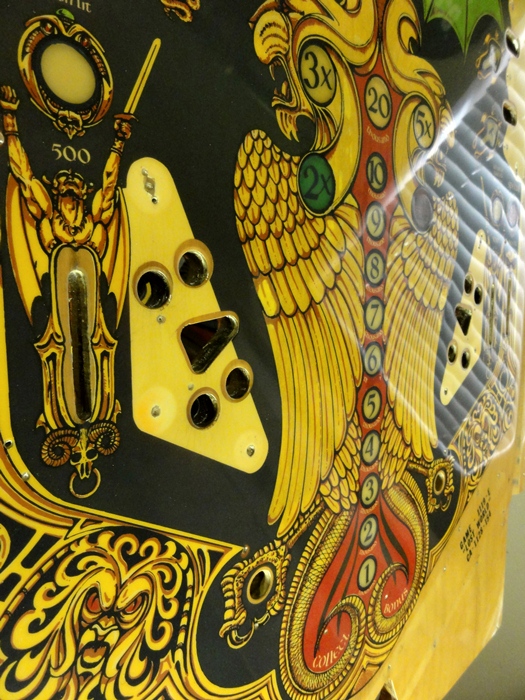
Almost all of the key lines around the inserts needed repainting.

Bottom key line has been repainted, while the top one has not.
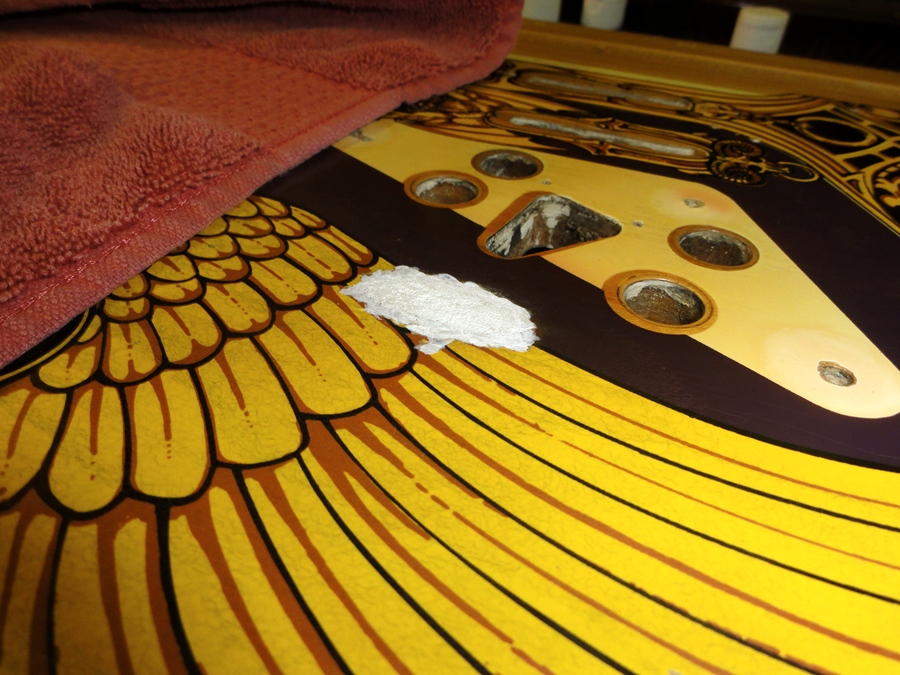
For the worst areas of wear, I used wood filler and then primed 'em white.
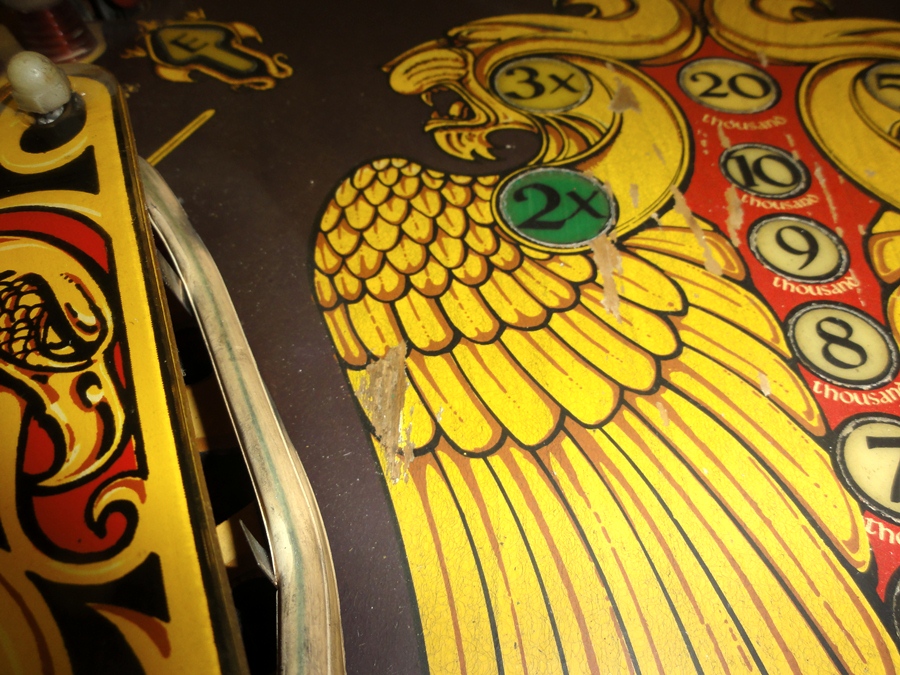
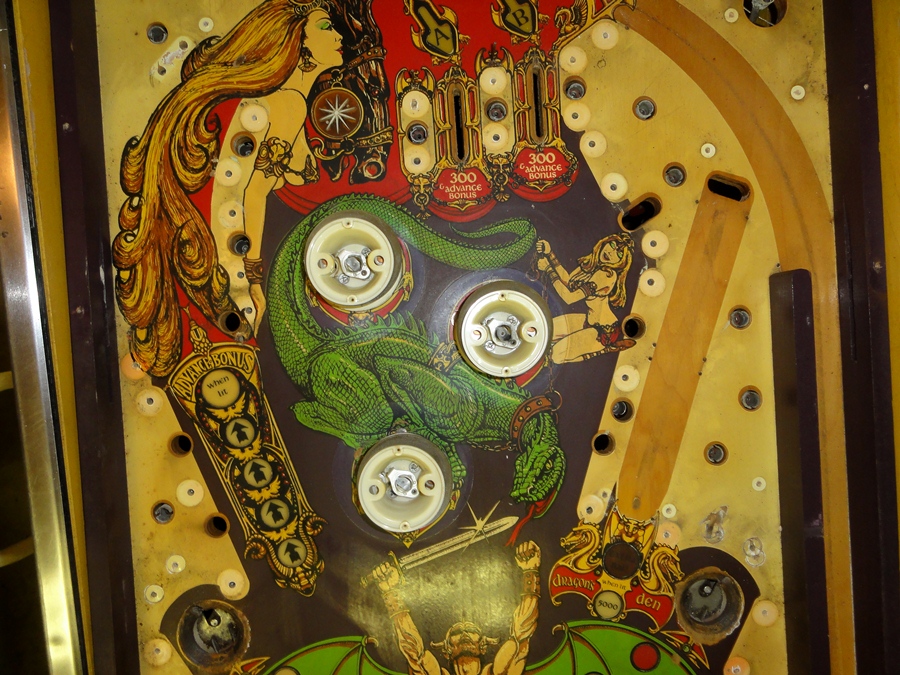
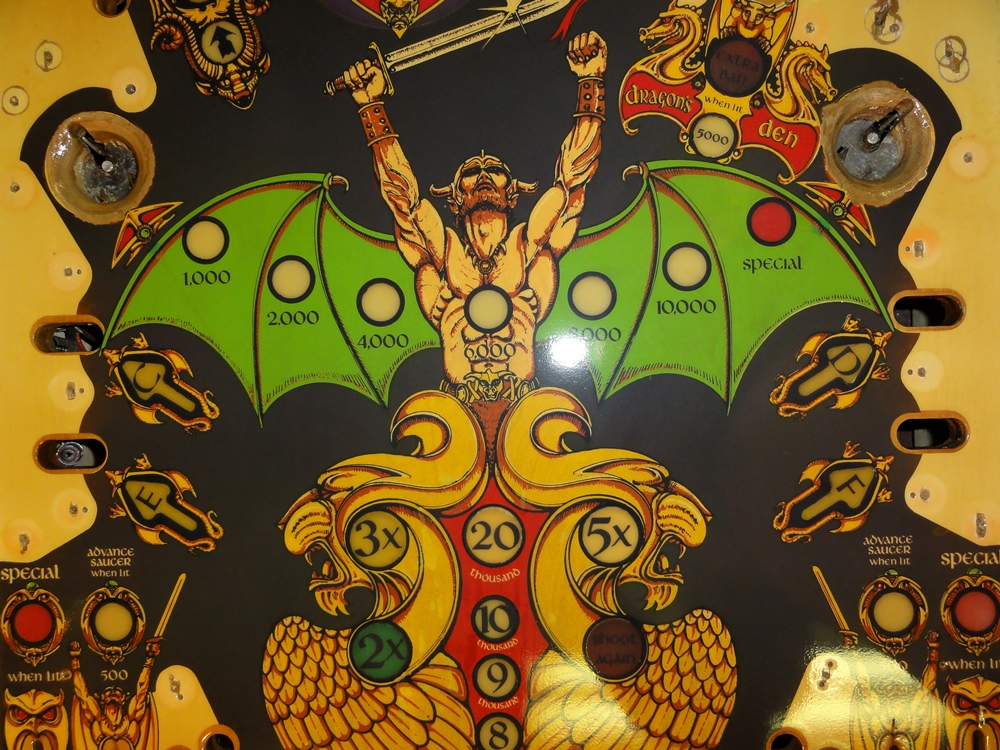
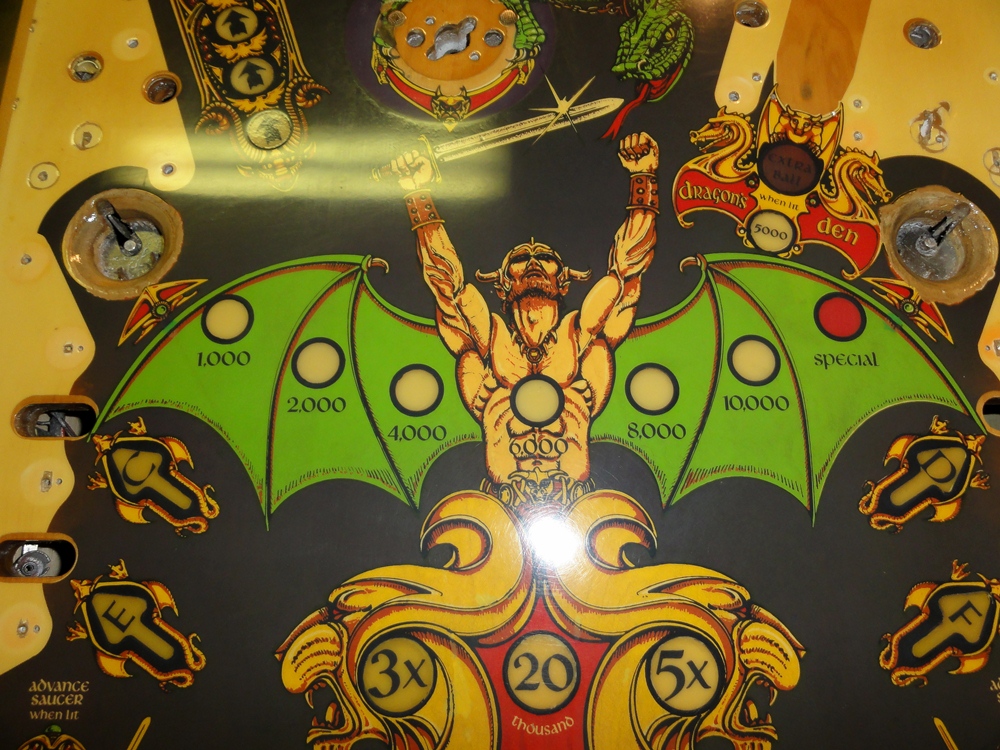
Touch up paining complete.
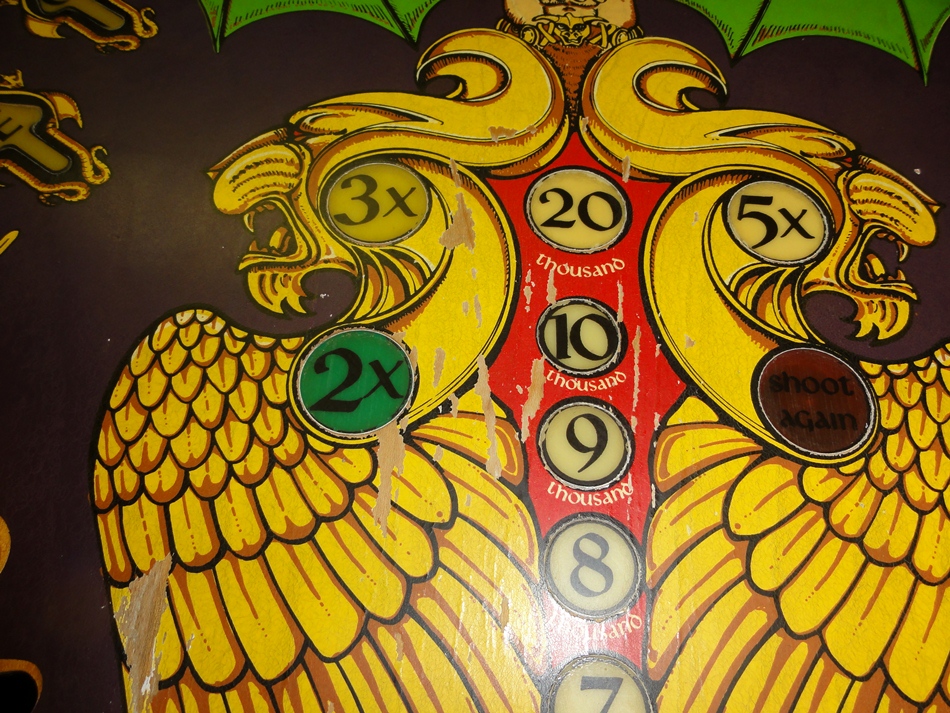
Matching paint colors isn't easy, but I think I did OK for my first attempt.

Getting the red right was the hardest part.
CLEARCOATING THE PLAYFIELD
I used Varathane from a spray can.
It's not the most professional technique, but it worked OK for my budget.

After a few coats of clearcoat, it looks much better, but you can see the 'orange
peel'.

One more round of sanding before the final coat of clear was applied.
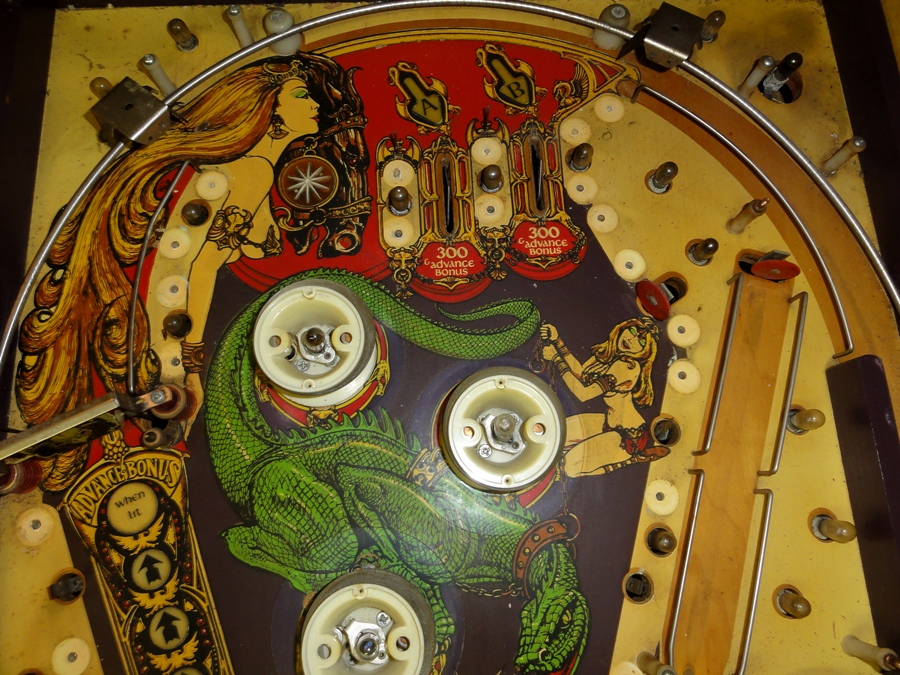
The final coat. You can see that a couple of the inserts are still slightly
cupped. I thought 5 or 6 coats - sanded between - would fill them, but I was
wrong.
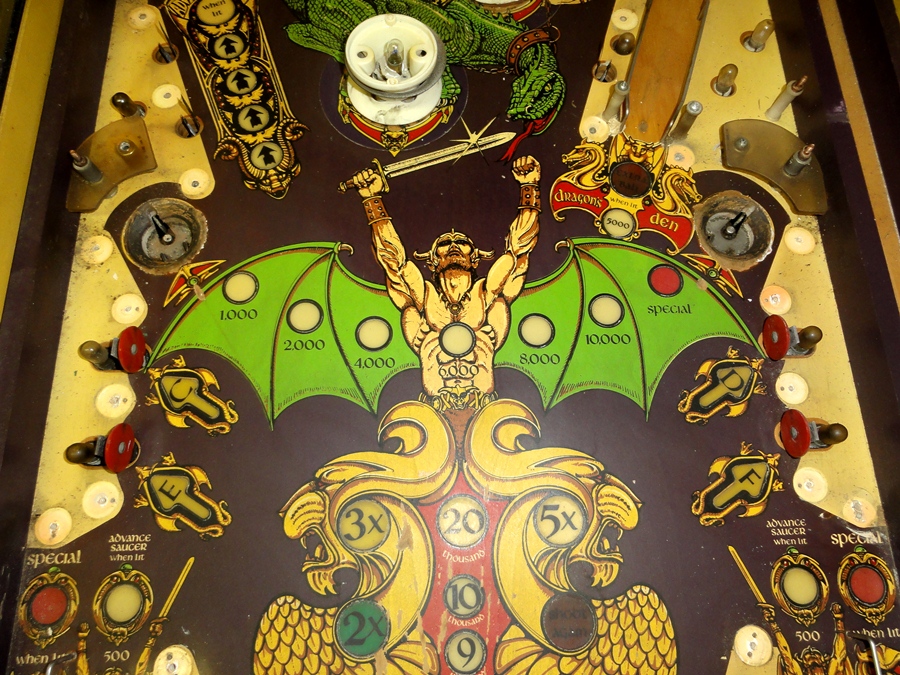
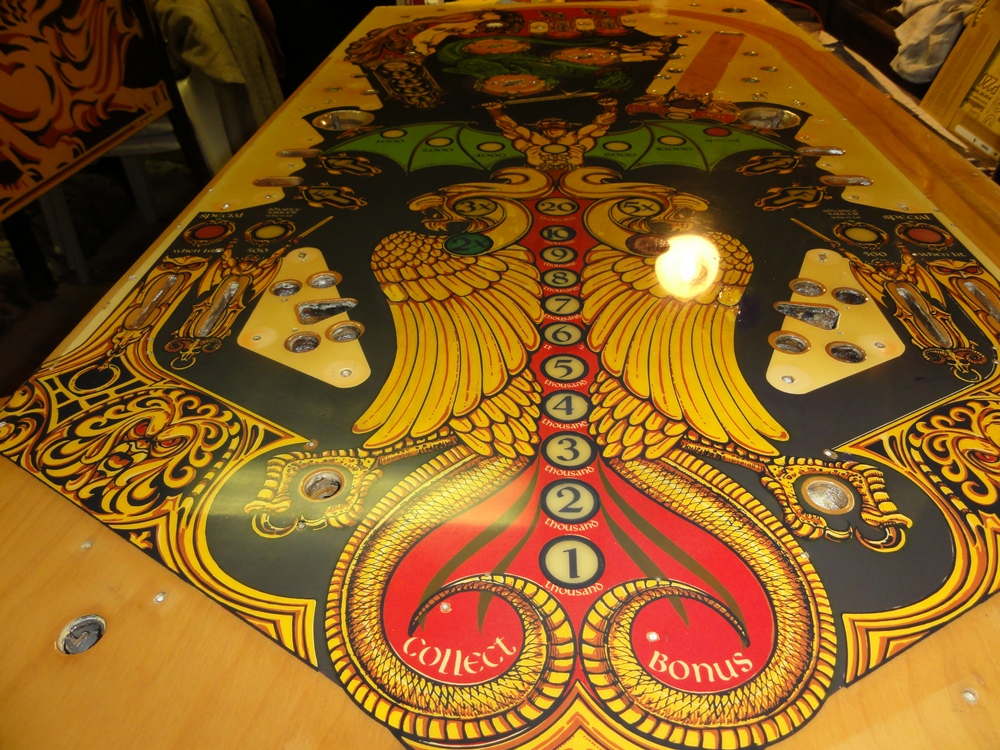
It's still a LOT better than it was - but it's not perfect. That's OK - this
was supposed to be a learning experience anyway. I know what to do next time.
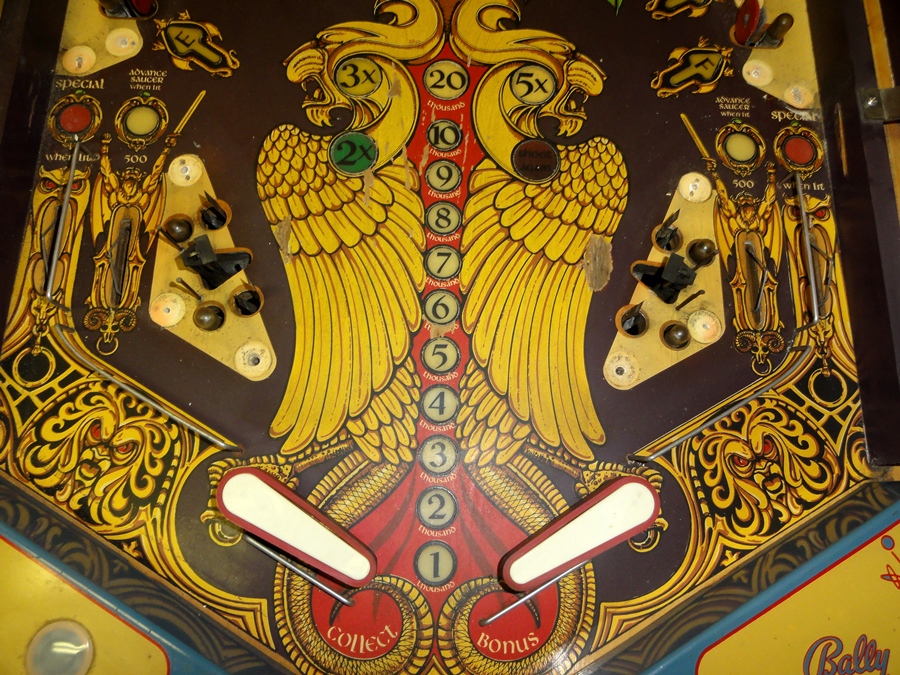
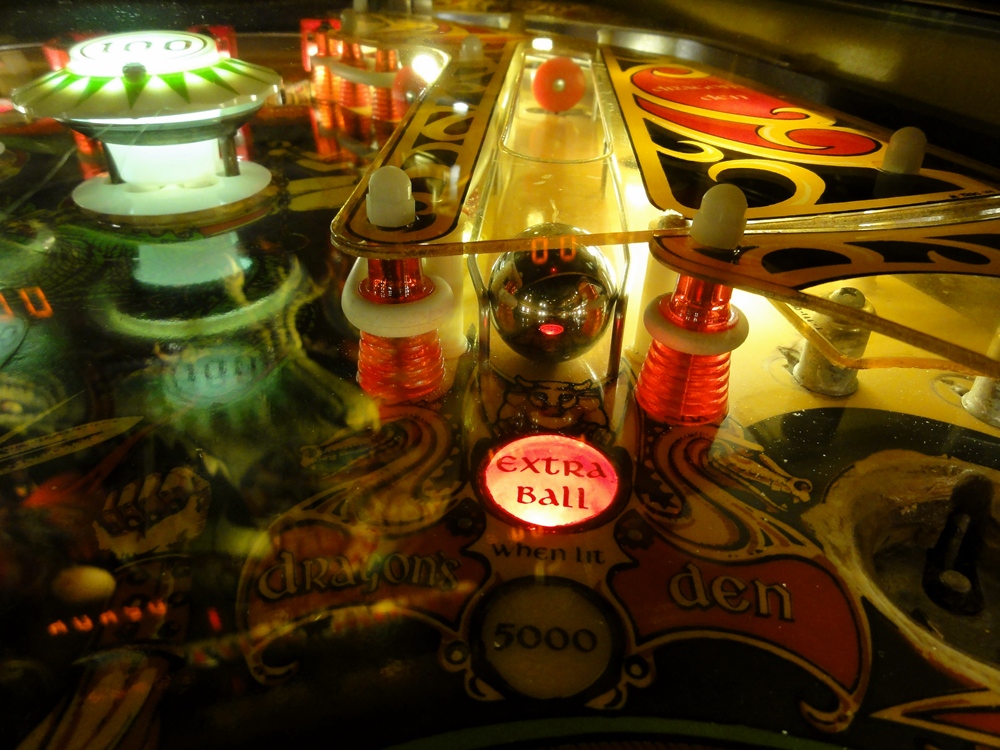
After sanding, buffing and polishing - I think it looks pretty darn good.
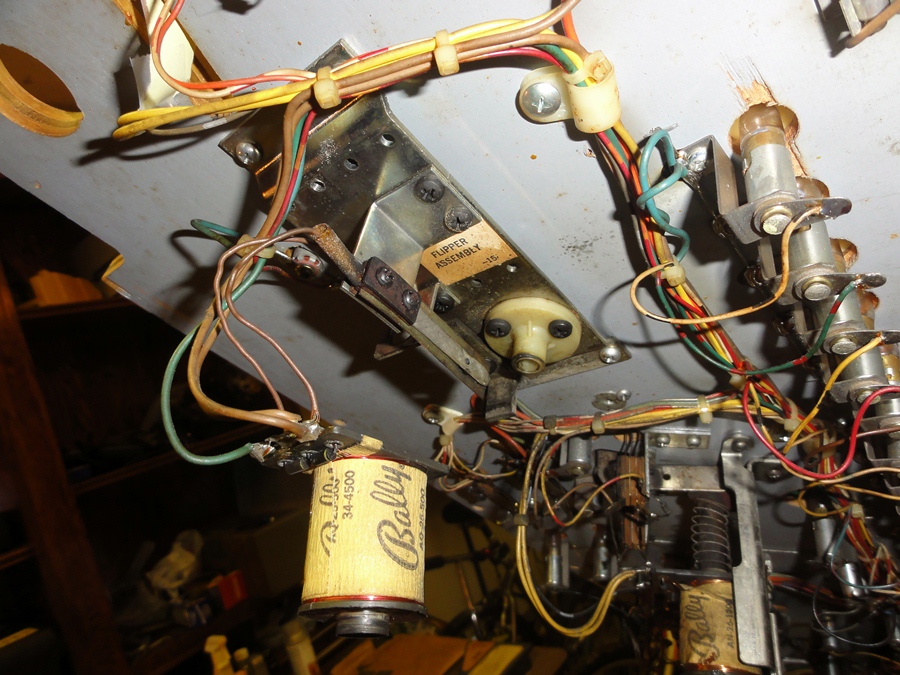
PUTTING IT ALL BACK TOGETHER
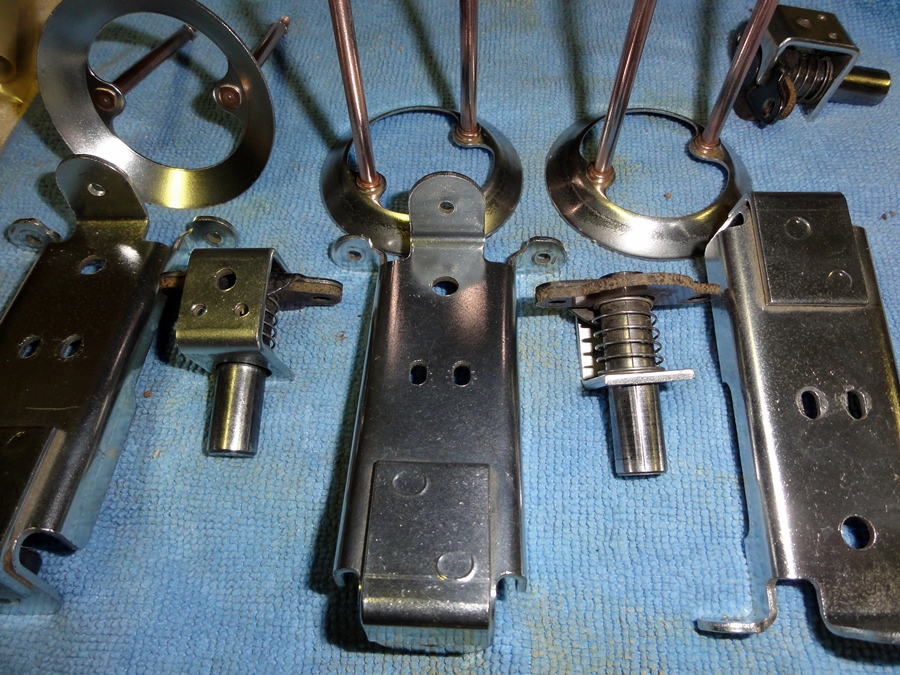
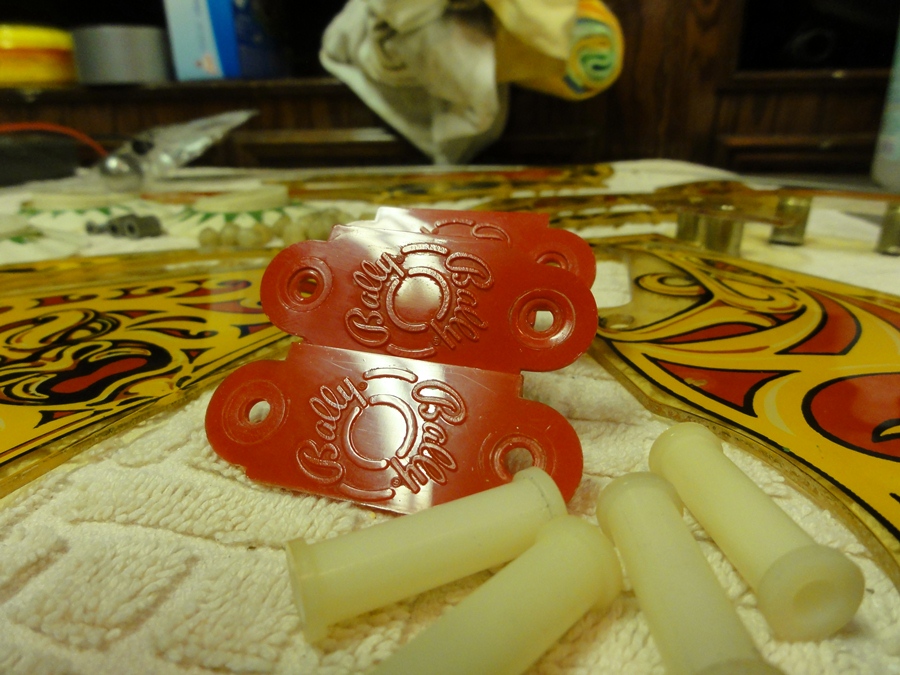
I tumbled all the metal parts,
and was amazed at how shiney they look now.
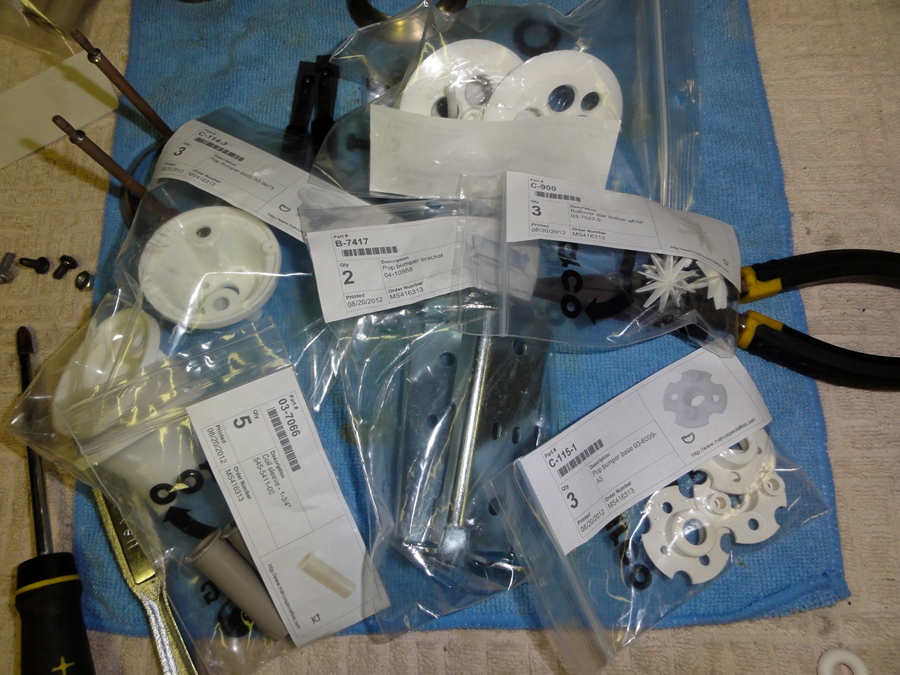
The pop bumpers had to be completely rebuilt.
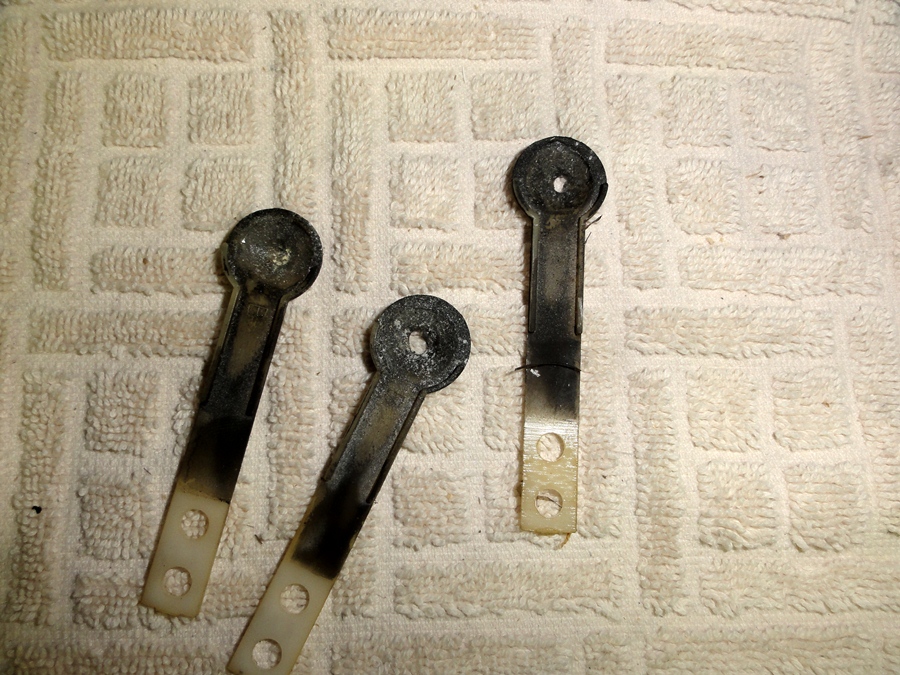
The spoon switches were shot, had holes in them!
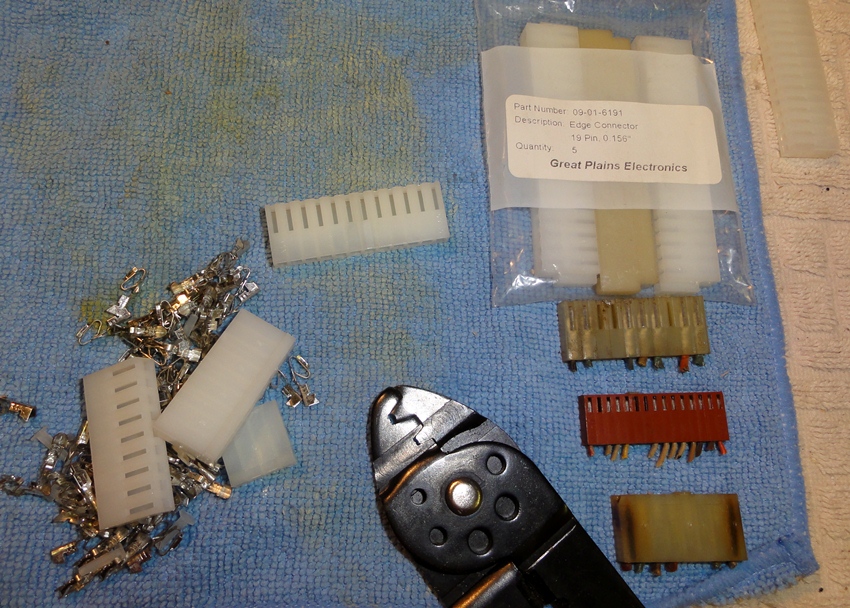
The first thing you learn when repairing pinball machines is how to rebuild
the connectors.
Clip the wire, strip it, crimp on a new pin, and insert into new connector -
then repeat another 60 times or so.
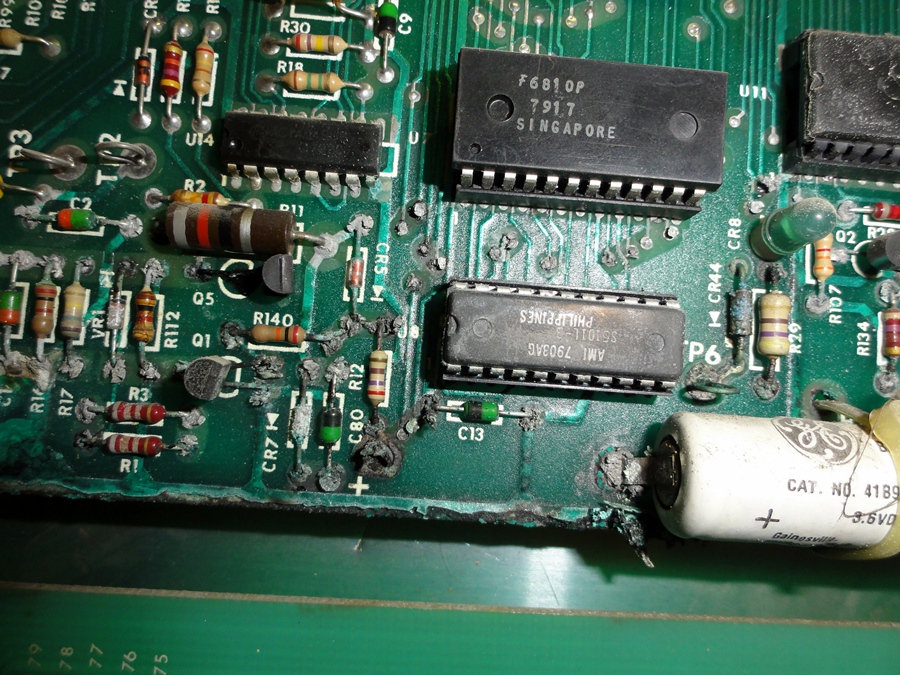
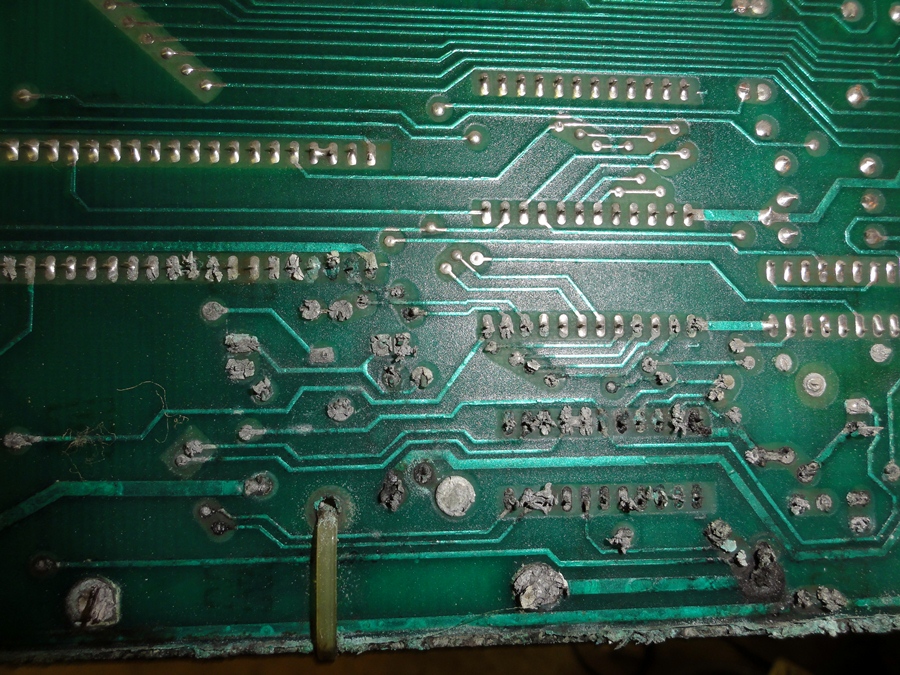
Yeah, I'm pretty sure this board is beyond repair. It's a good thing they sell
replacements.
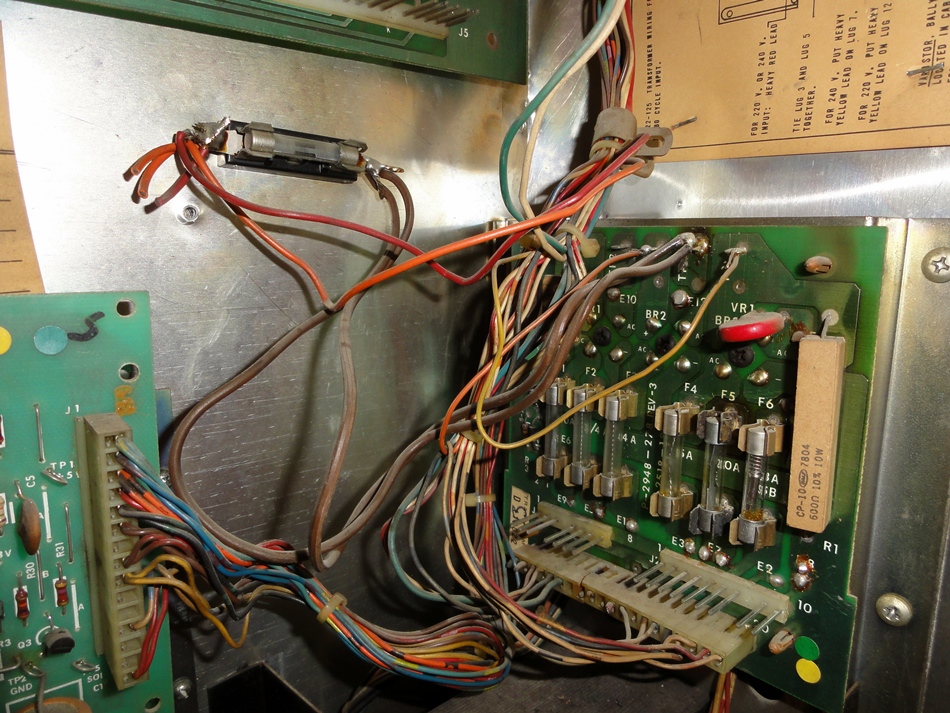
The power rectifier board was also hacked up. No, you're not supposed to connect
wires directly to the test points.
IT'S ALIVE!!!!
After rebuilding the connectors,
and putting in a new MPU, power, solinoid driver and lamp boards, rebuilding
the pops and flippers - it's ALIVE!
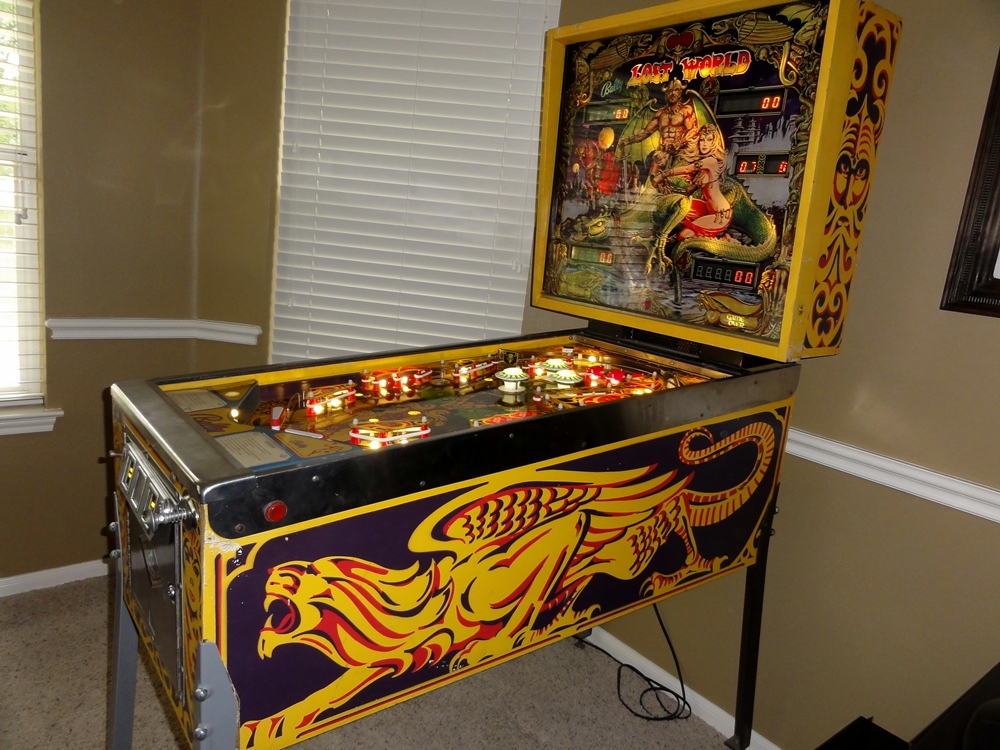
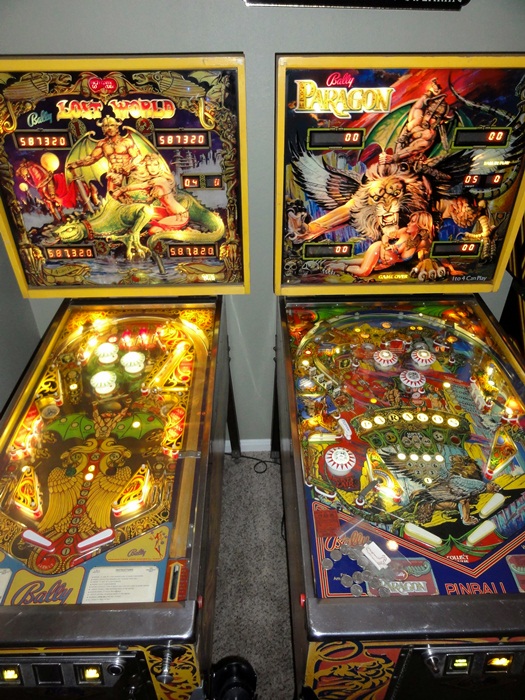
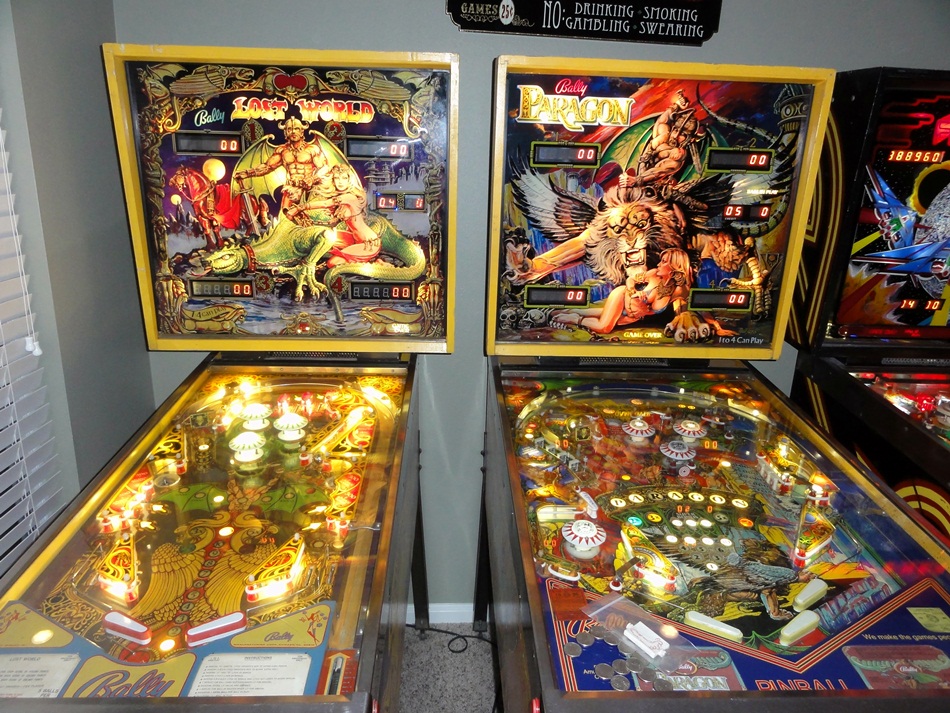
I had it in my office for a while, but decided that it really should be up in
the game room next to it's sister machine Paragon.
...PINBALL IS FUN!!!!!!!!!!!!!!
![]()