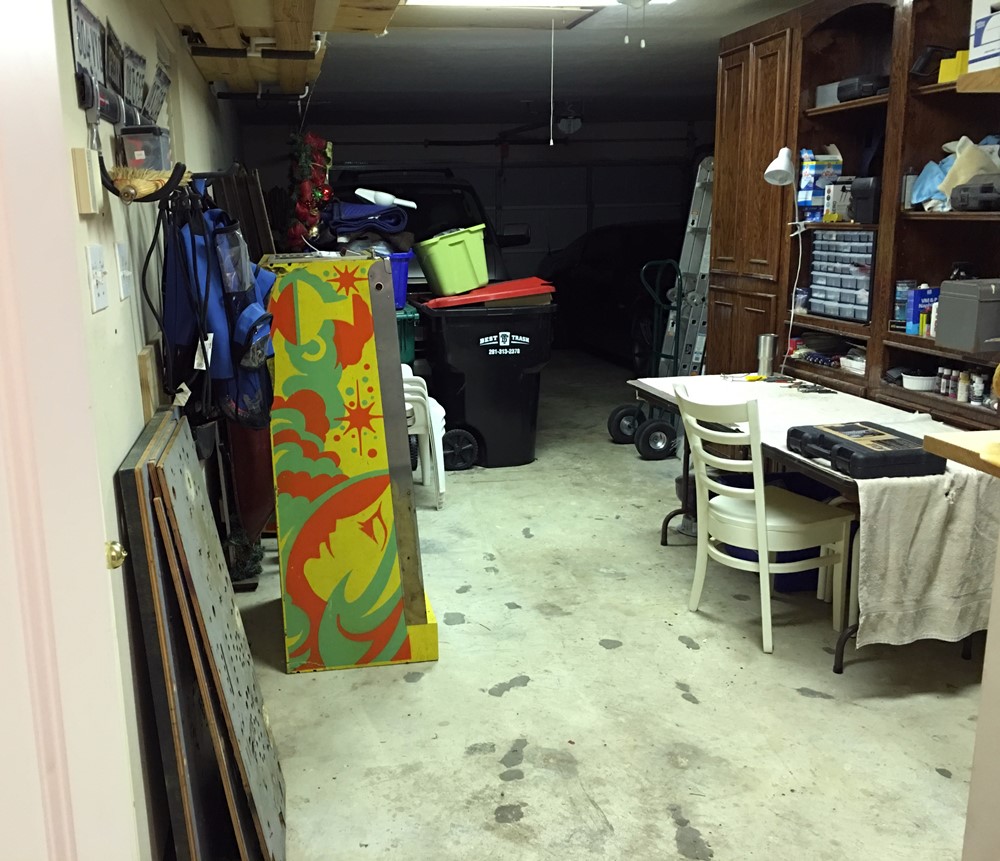
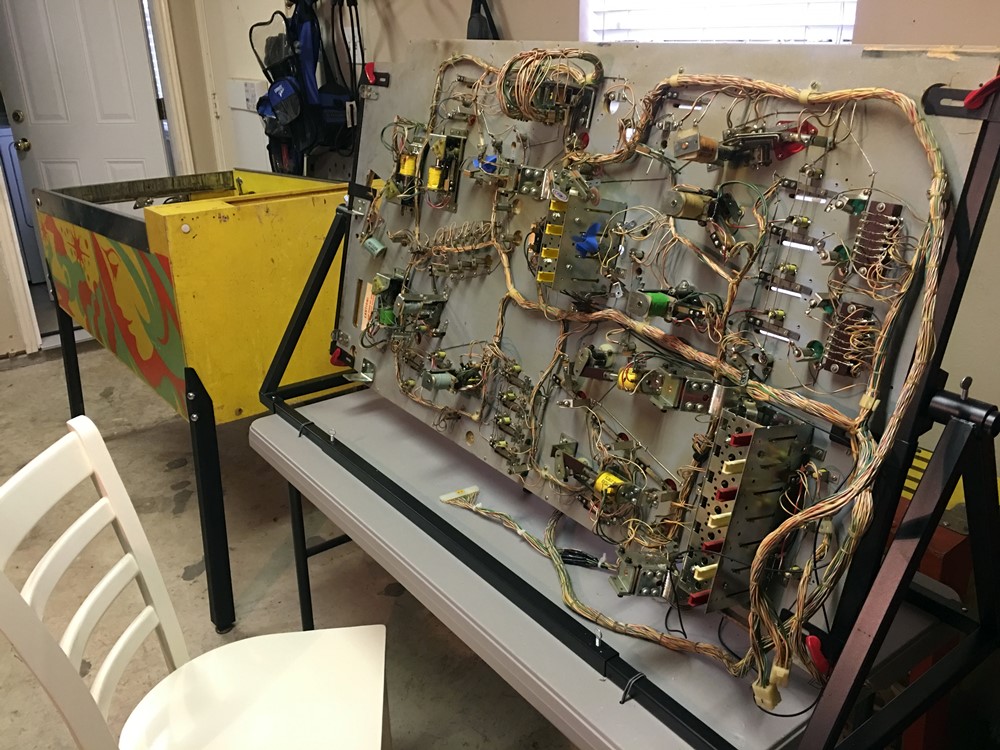
My workshop is not very glamorous, but I'm happy to have the space to tinker around.
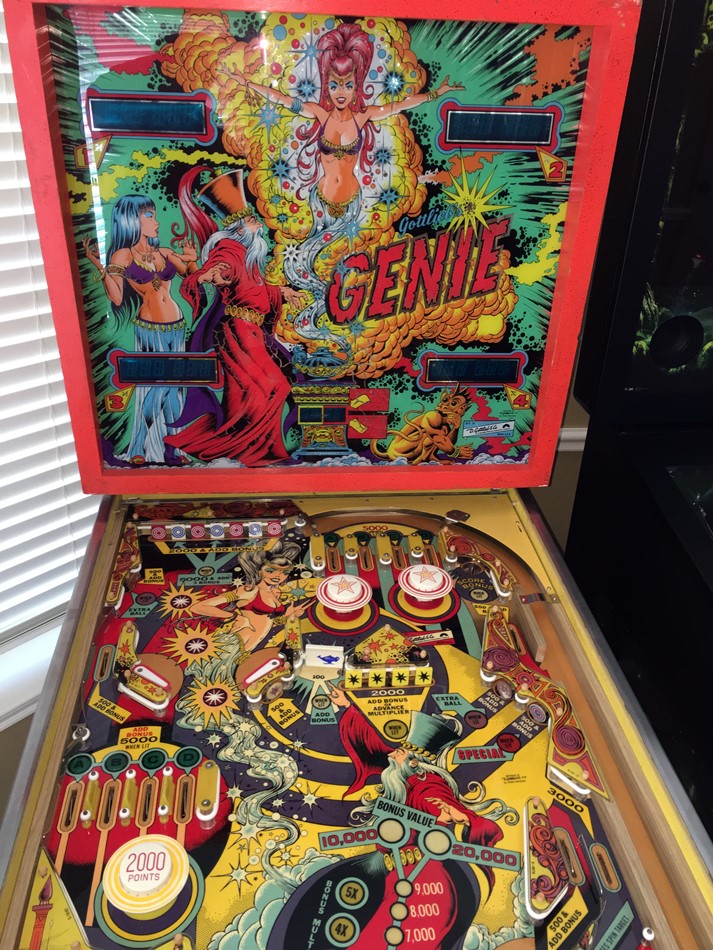
1979 Gottlieb Genie restoration
I've owned a Genie pinball machine before - you can read all about that one right here. I always thought it was fun, and loved the artwork - so when another one came up for sale locally for only $300, I could not pass it up. It was in pretty good shape cosmetically, but would not boot up or play a game. No problem - I can fix it!
For those in the pinball hobby, I've coined the phrase "player's restoration". It means I fix the things that impact the play of game, and don't fuss about the super small details like polishing screws on the underside of the playfield. On this machine, I decided is was probably going to stay in my collection for a while, so I wanted to try touching up and clear coating the playfield. I took a LOT of pictures along the way, so grab a cold beverage, make yourself comfortable, and read on!
My workshop is not very
glamorous, but I'm happy to have the space to tinker around.
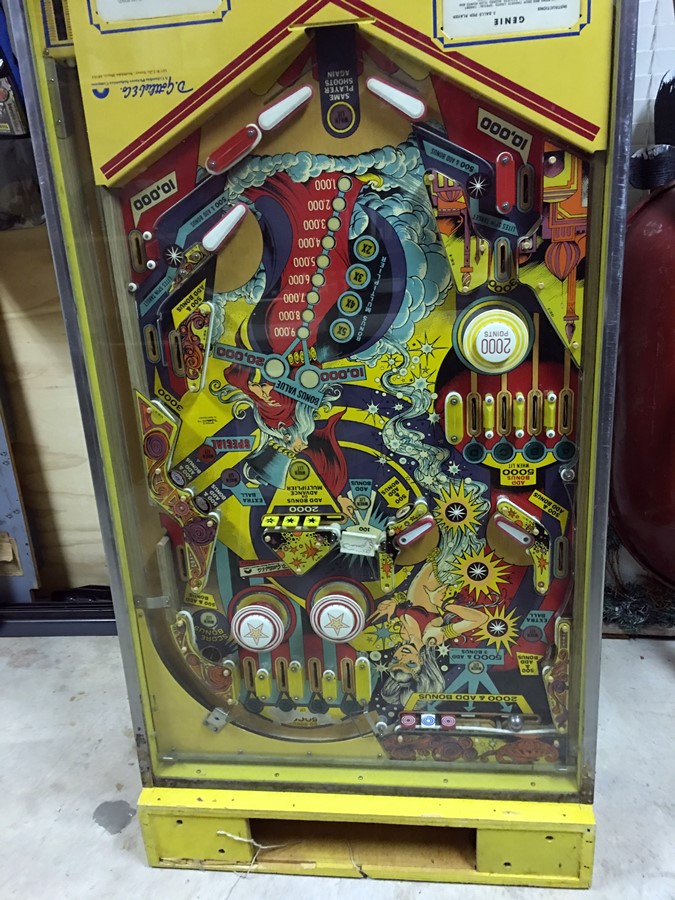
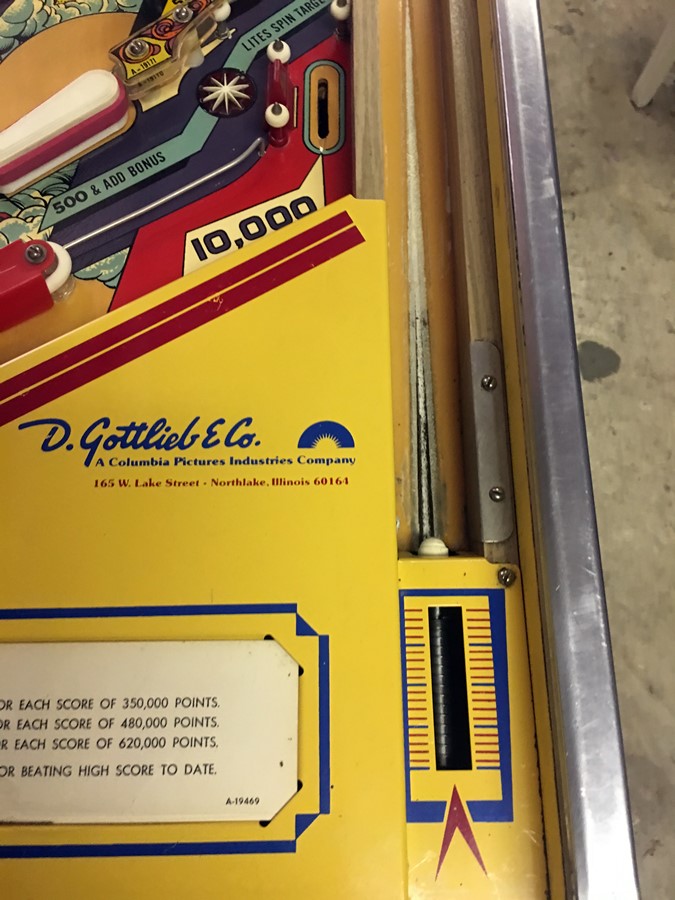
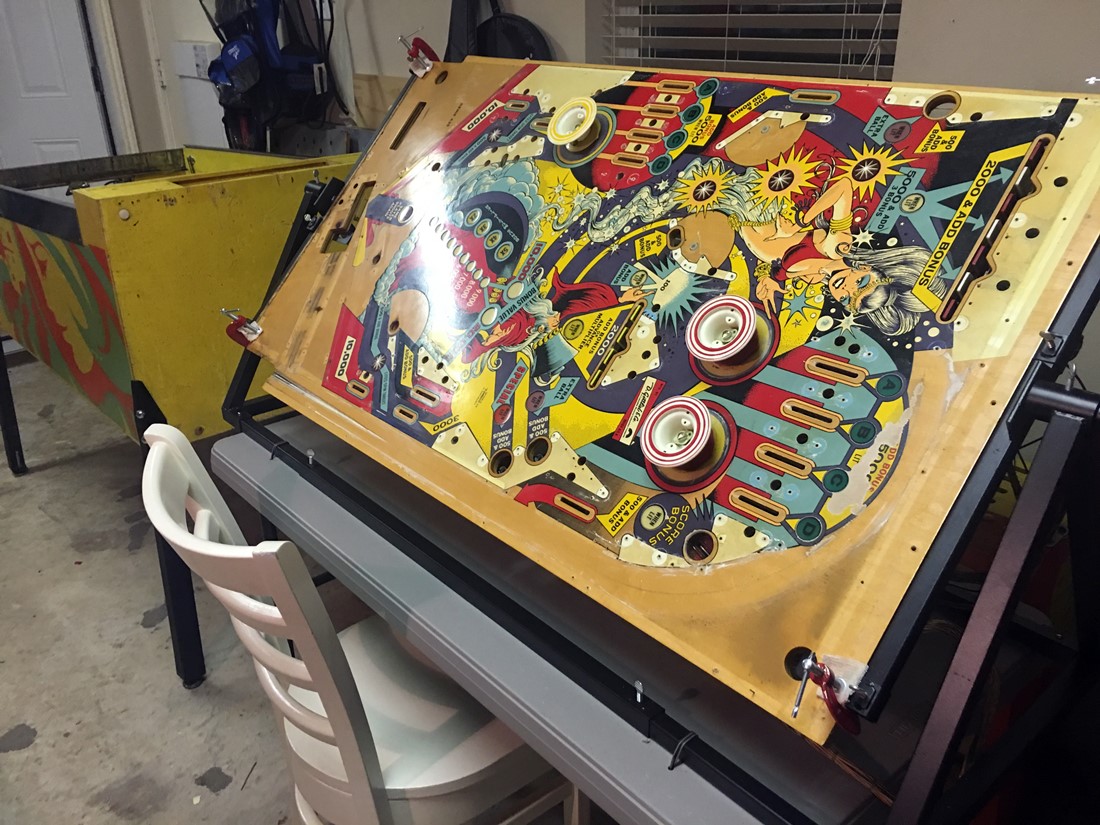
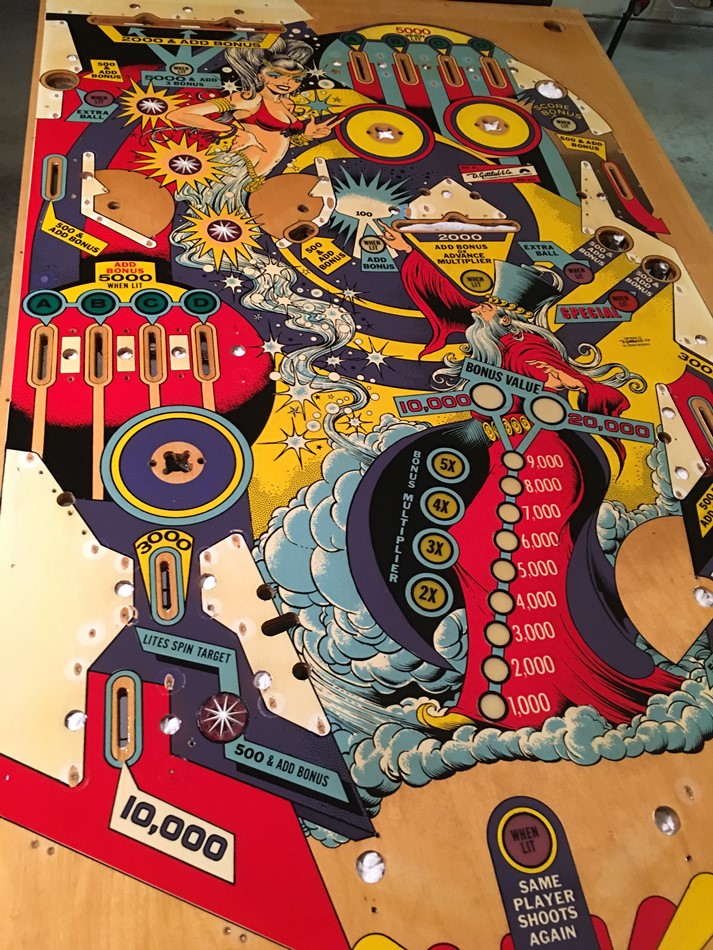
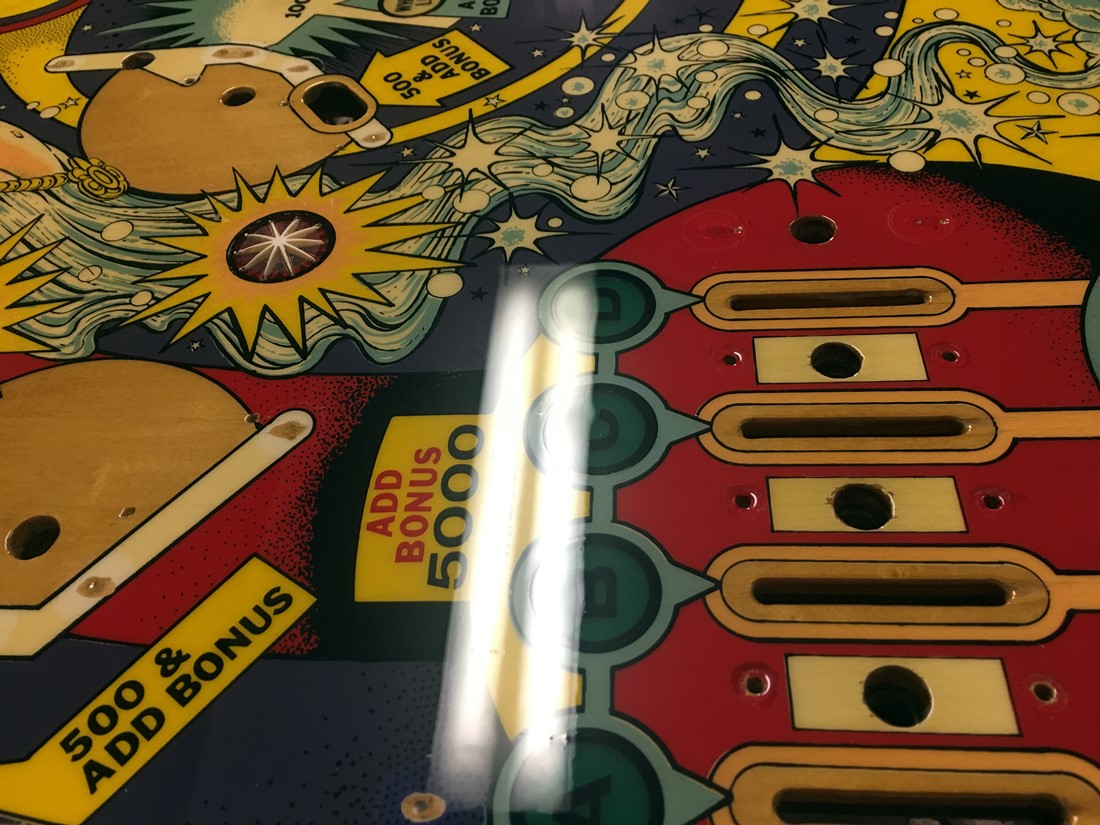
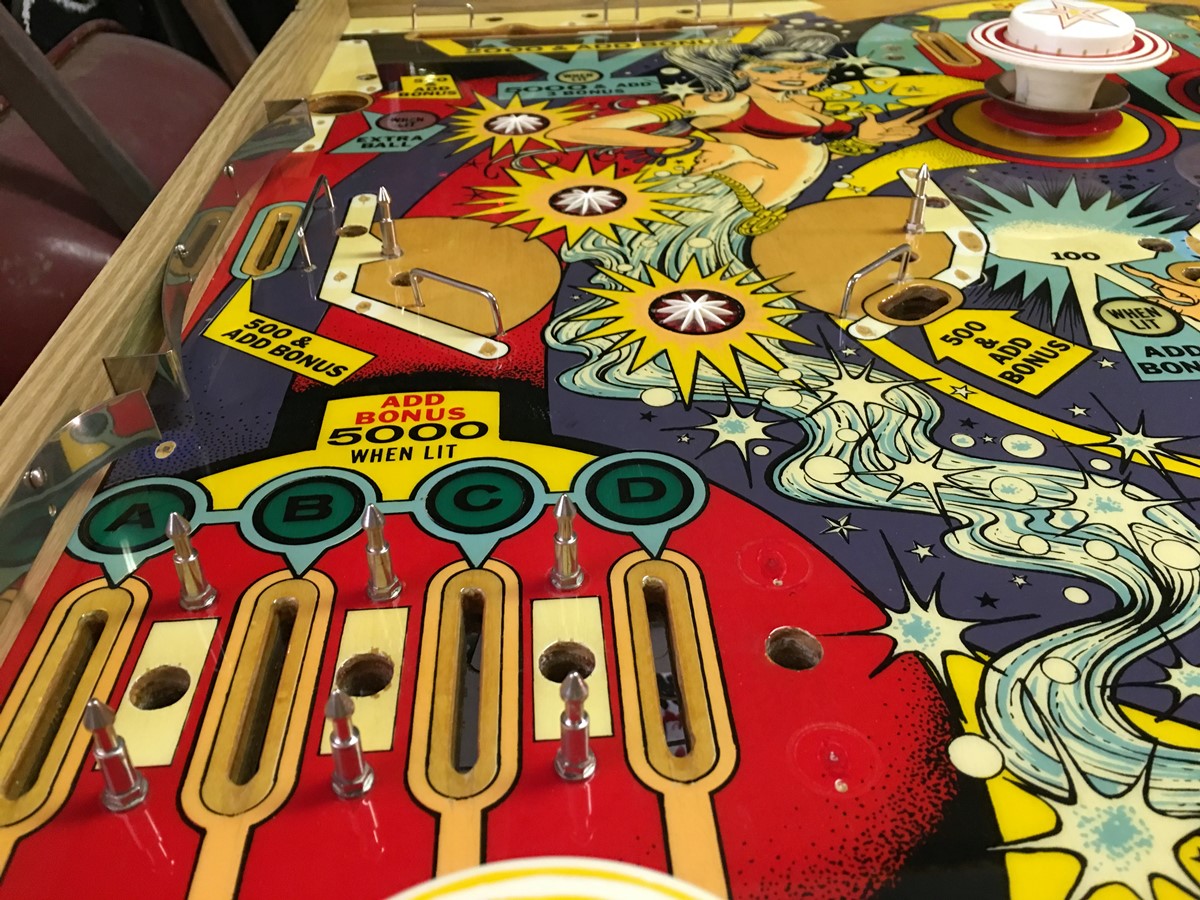
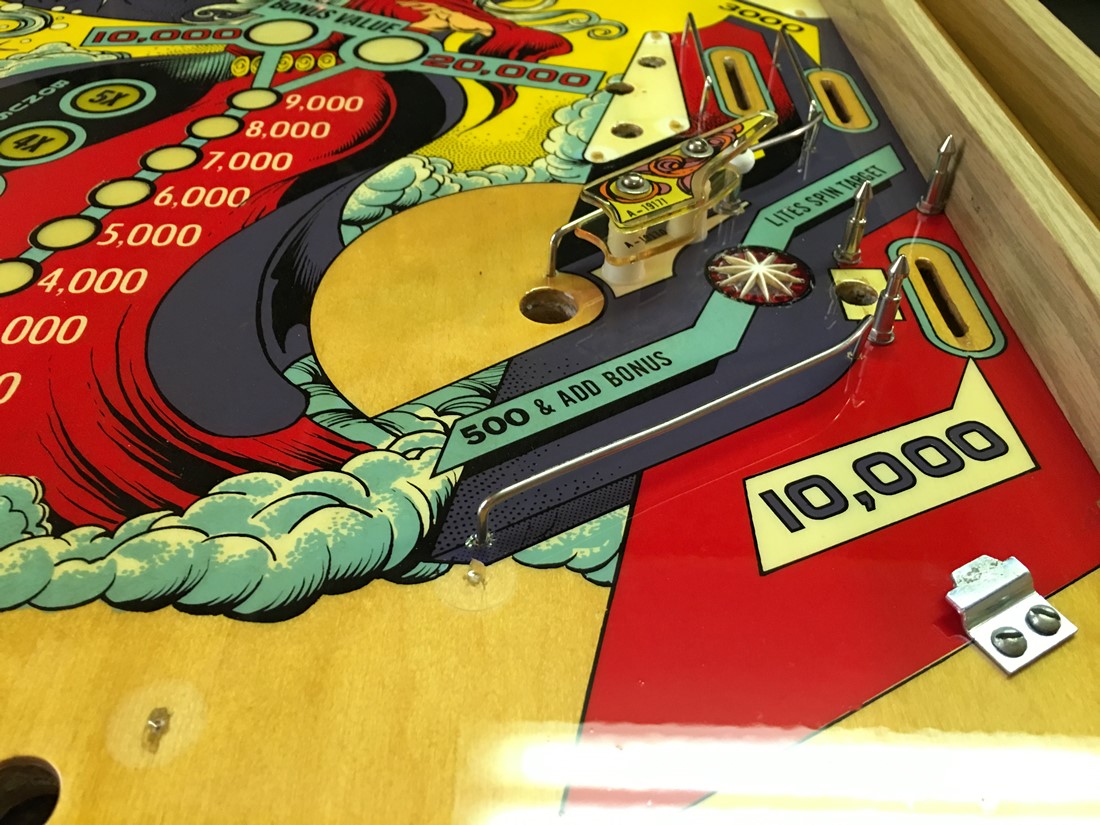
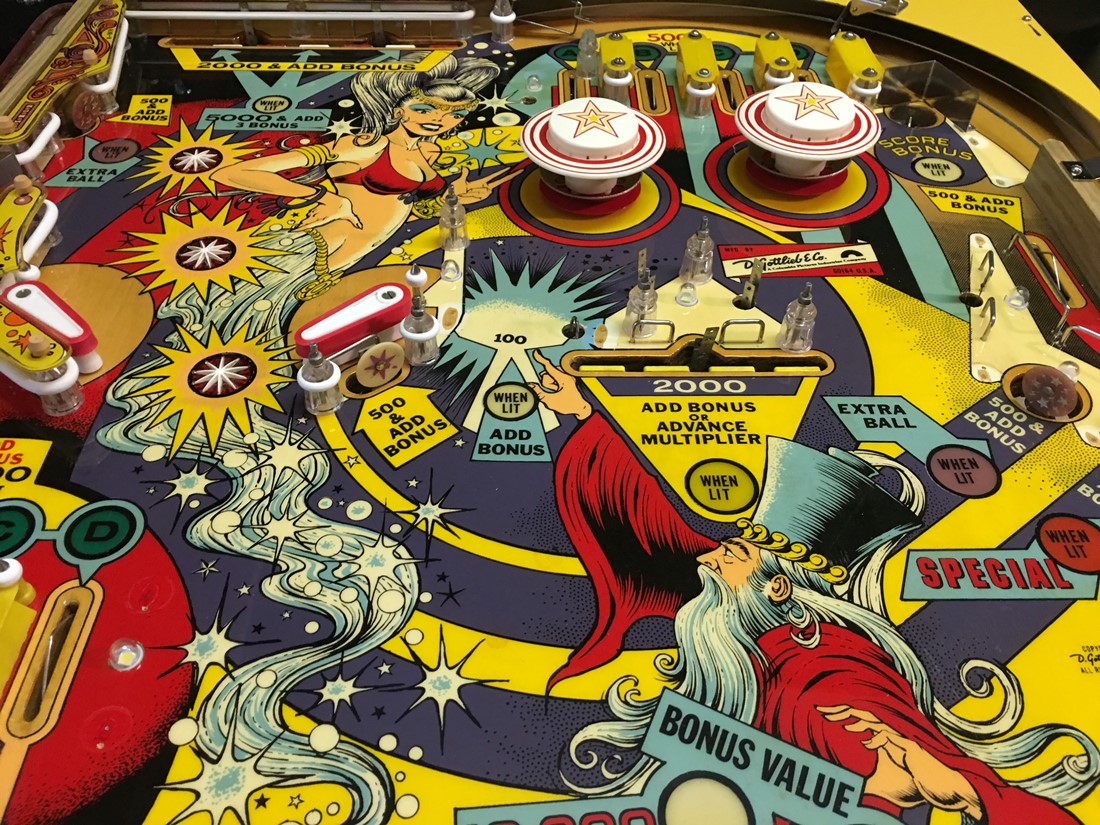
See, it's in pretty good shape overall.
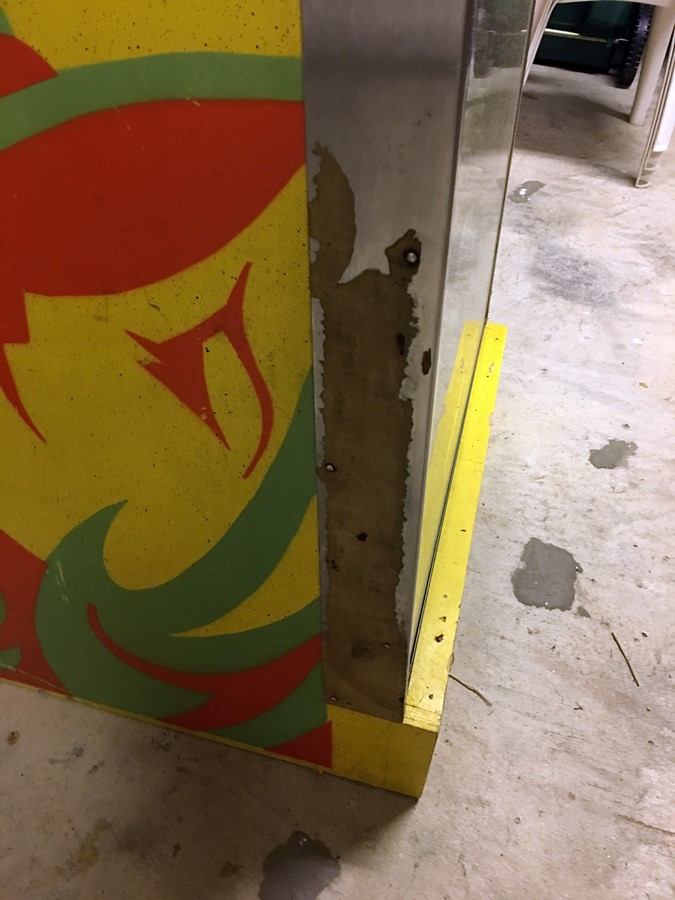
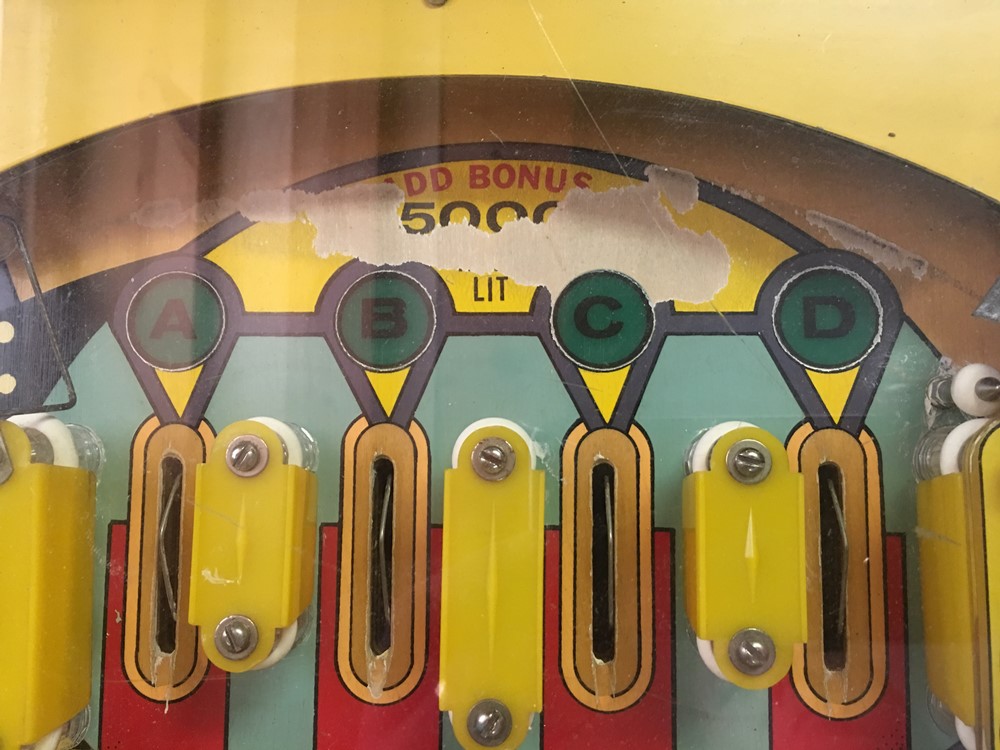
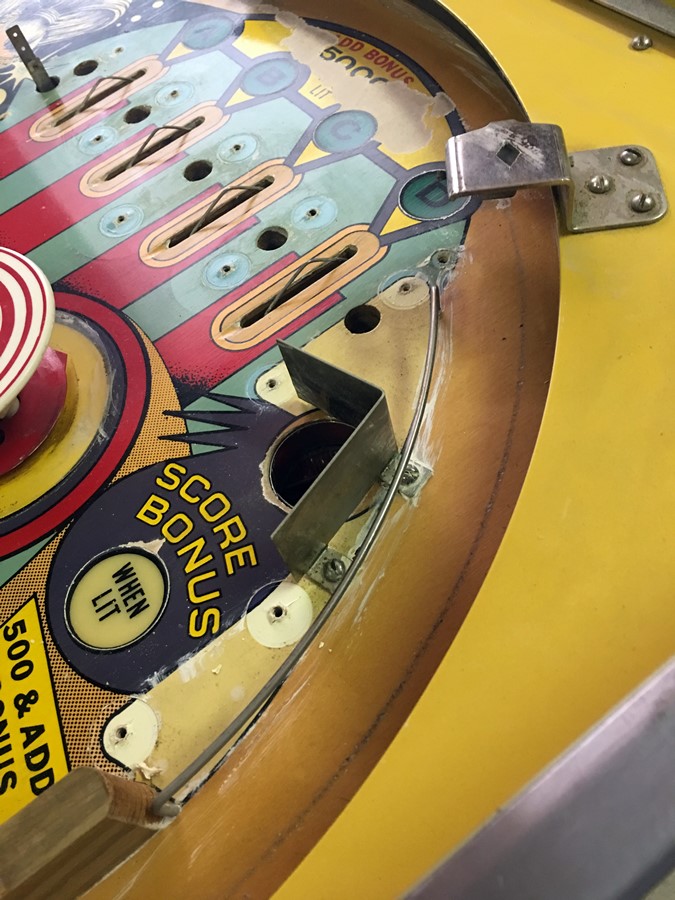
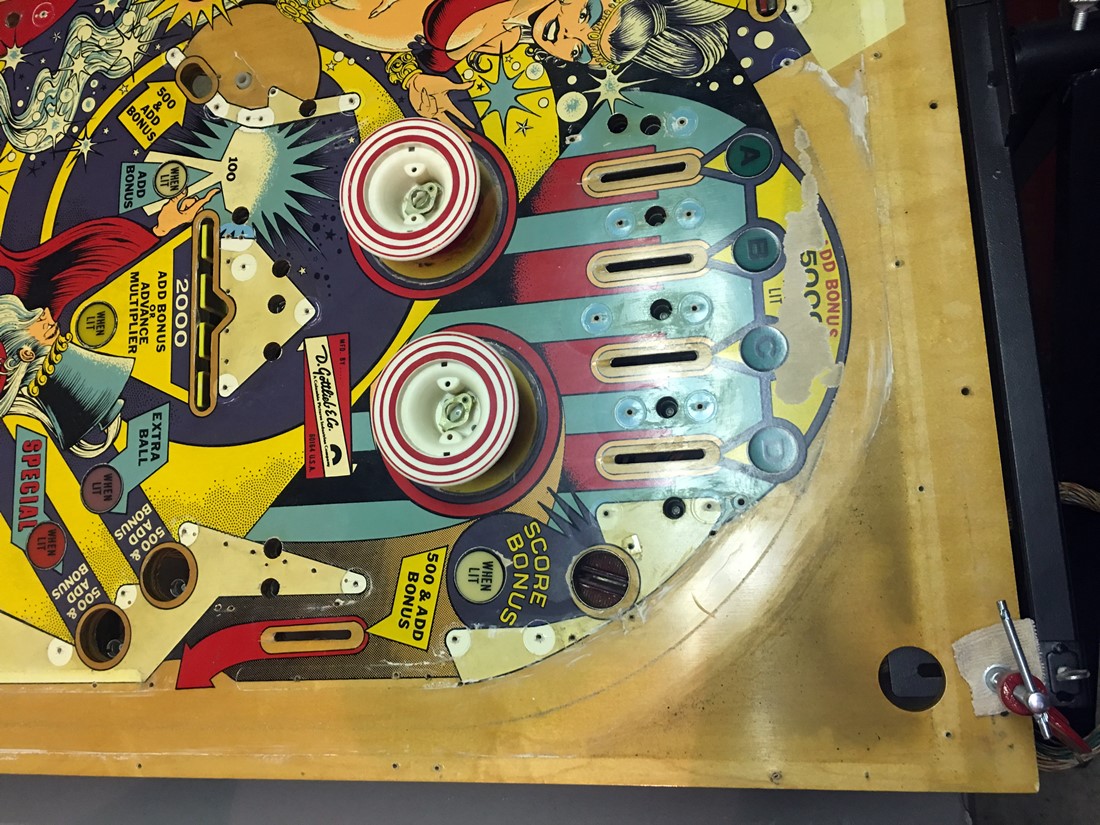
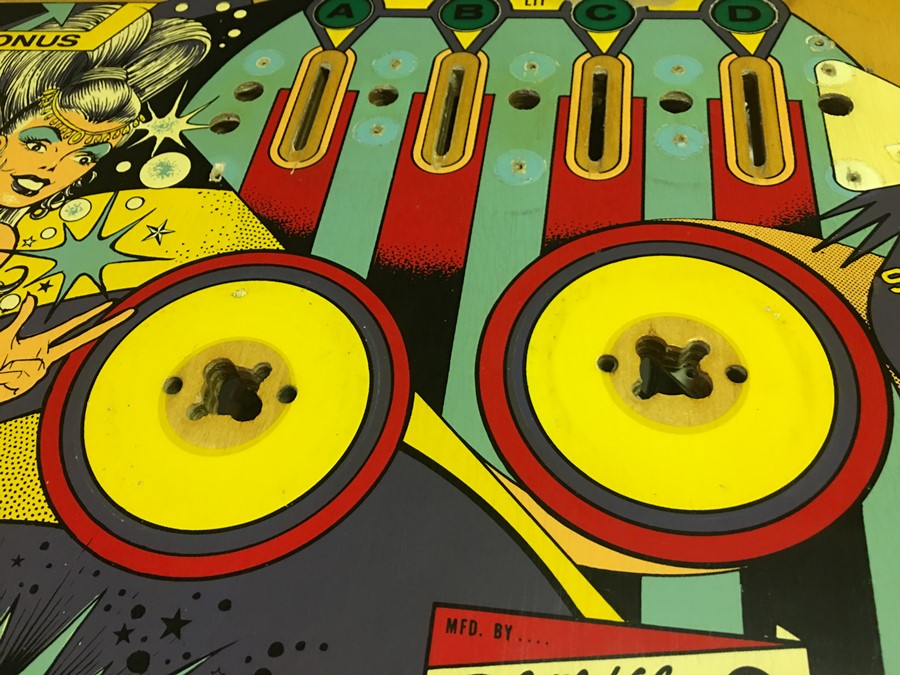
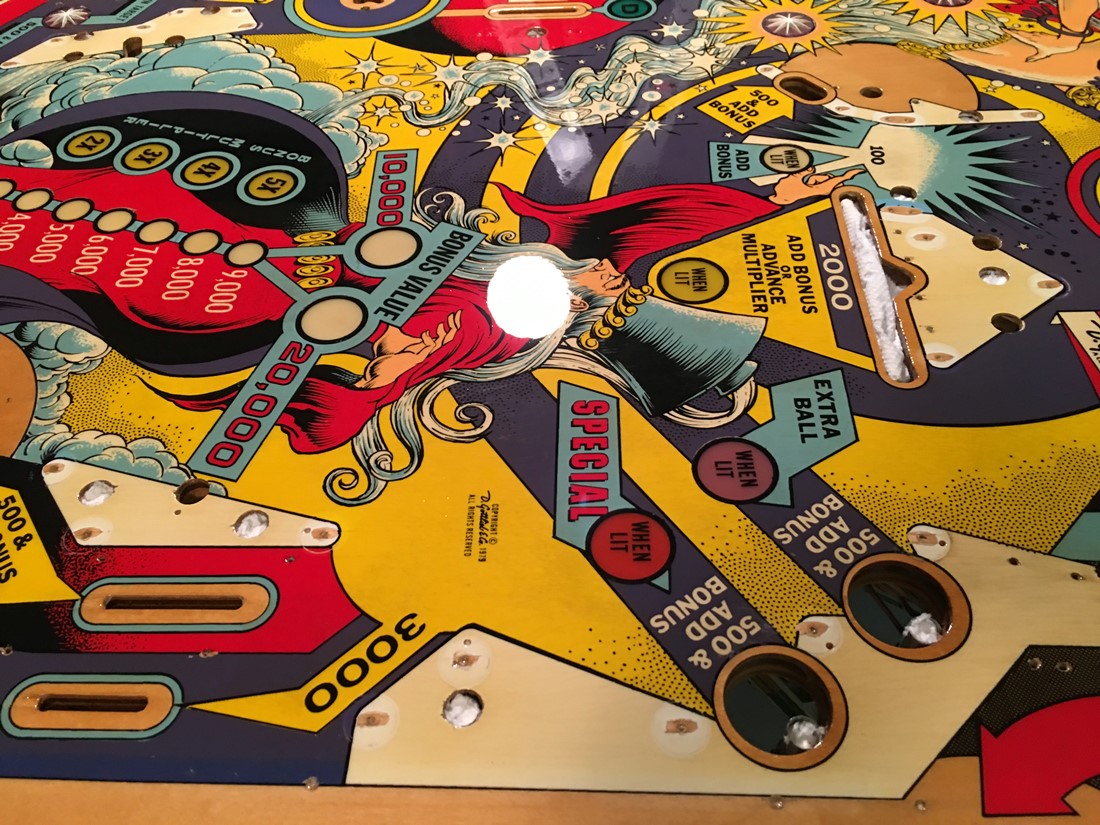
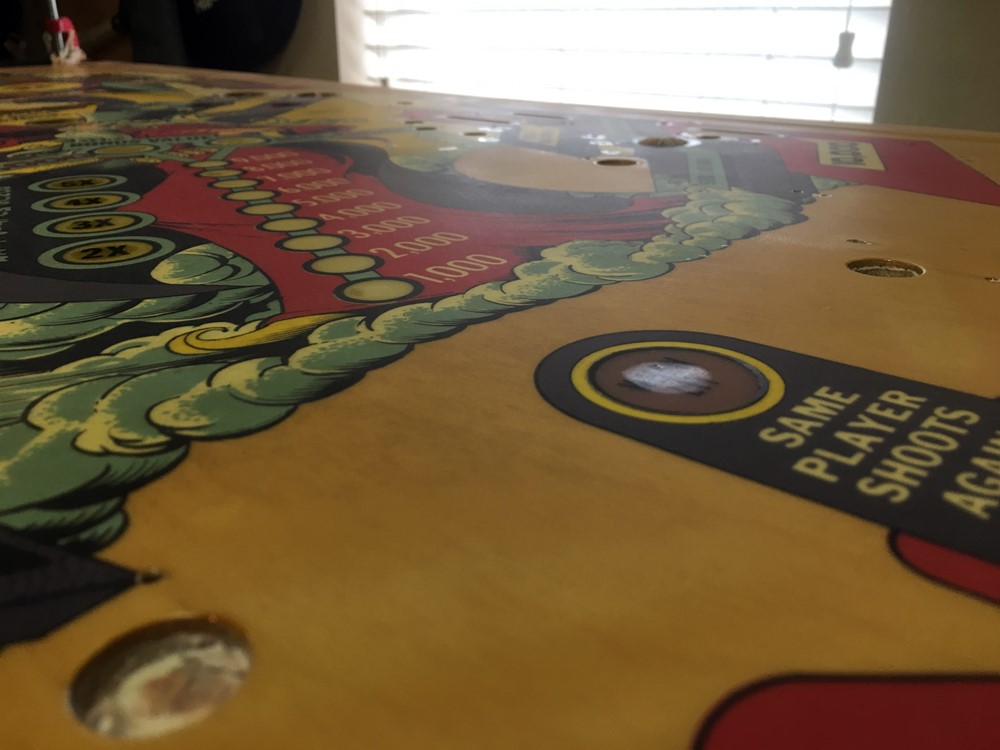
Yikes, this is the worst spot.
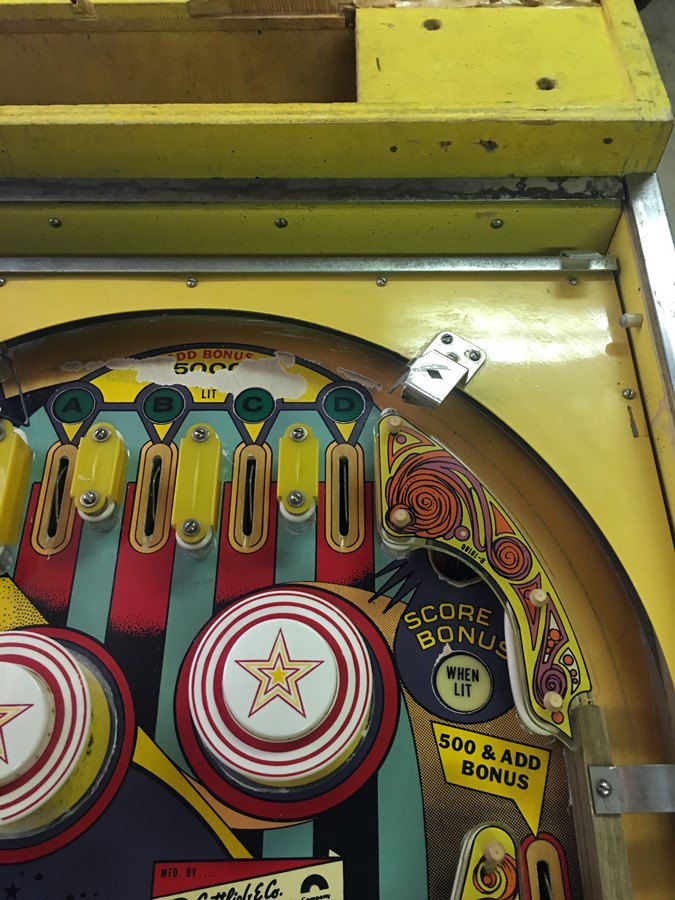
This area is completely 'blown out'
Need to clean up this sticky tape residue...
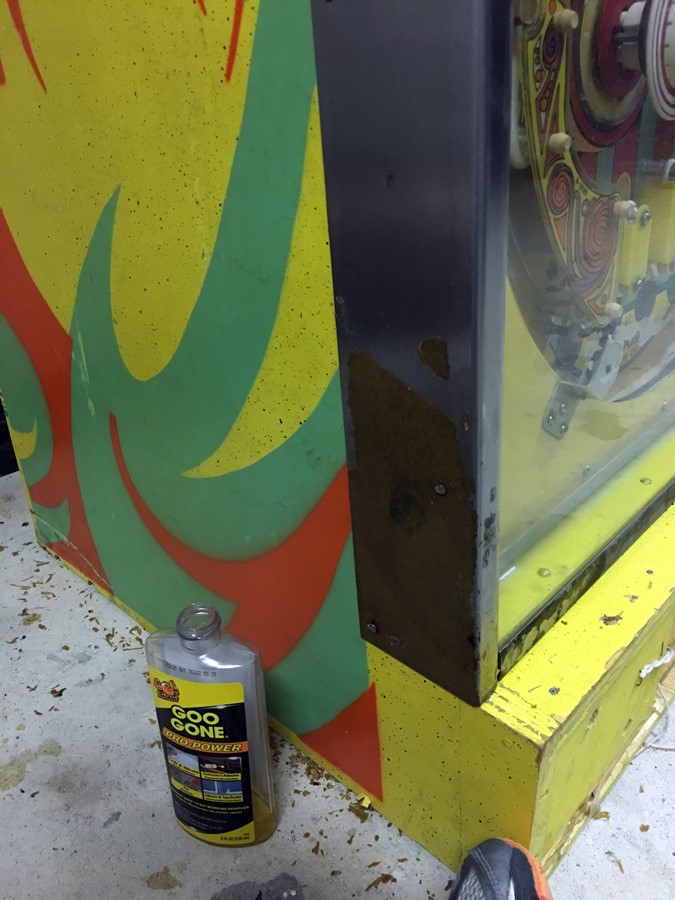
...it came off OK with some Goo-Gone and plenty of elbow grease.
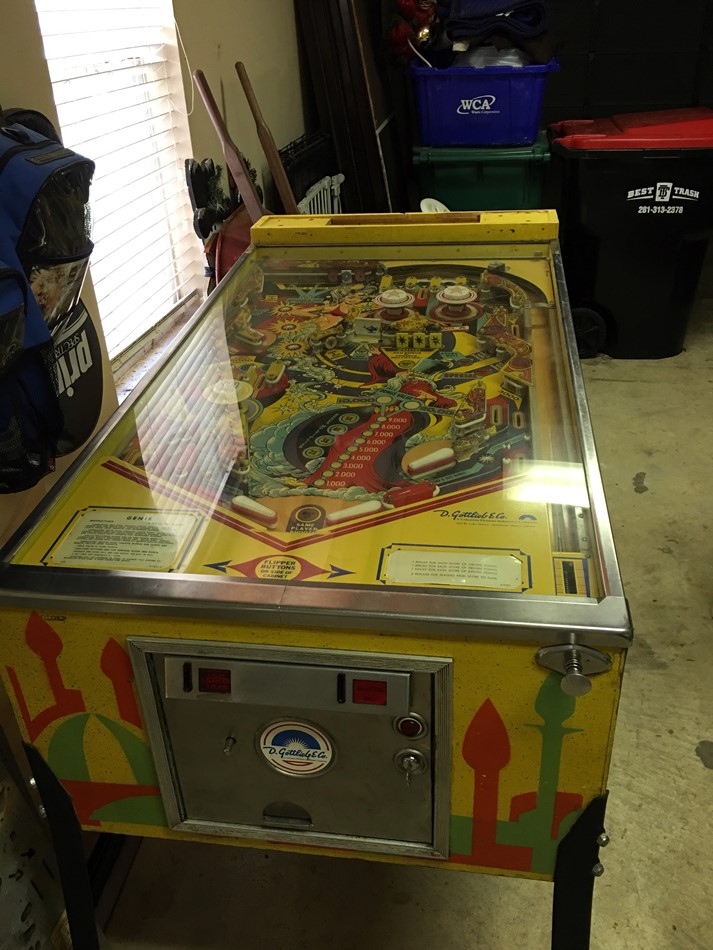
It's up on the legs.
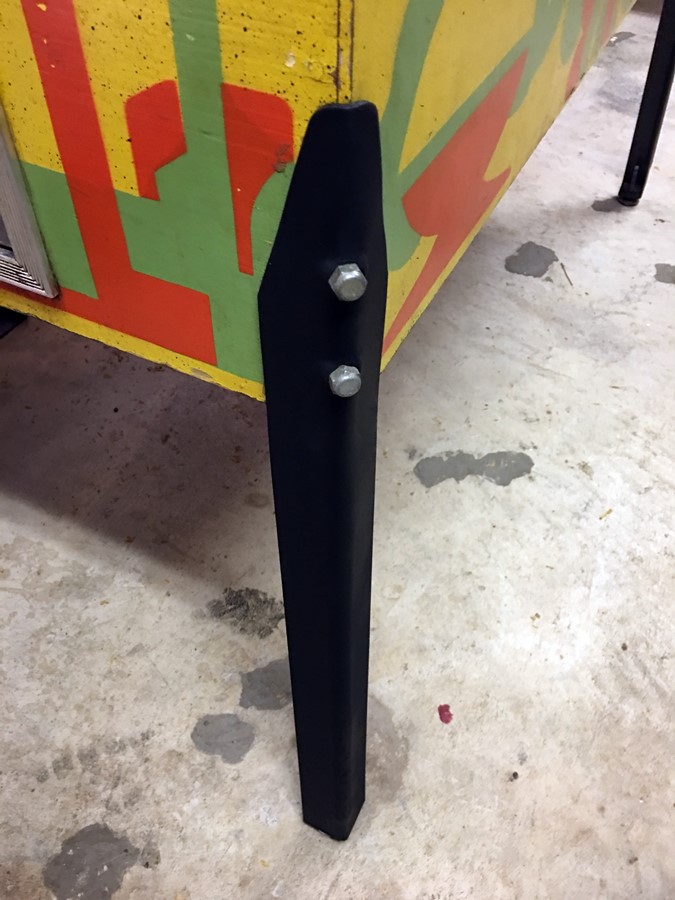
Speaking of legs, I went ahead and painted the old ones.
...hmmm...still not sure how to handle this part...
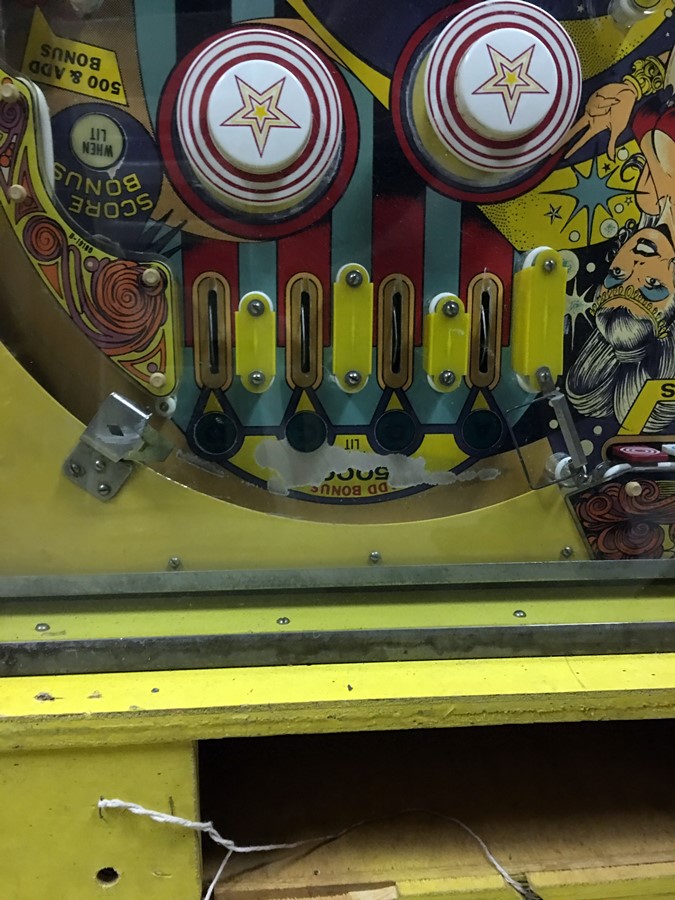
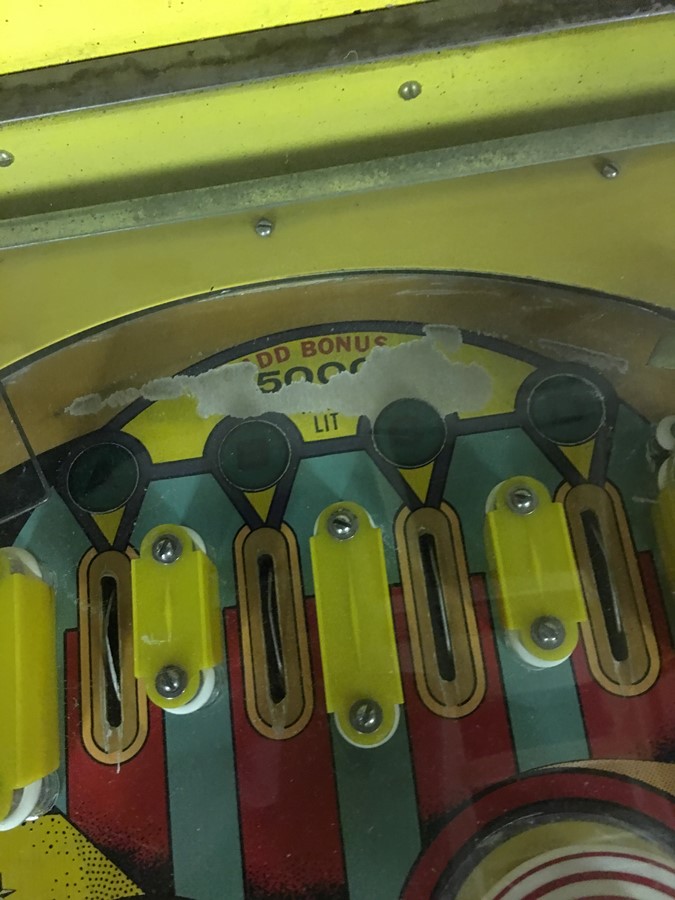
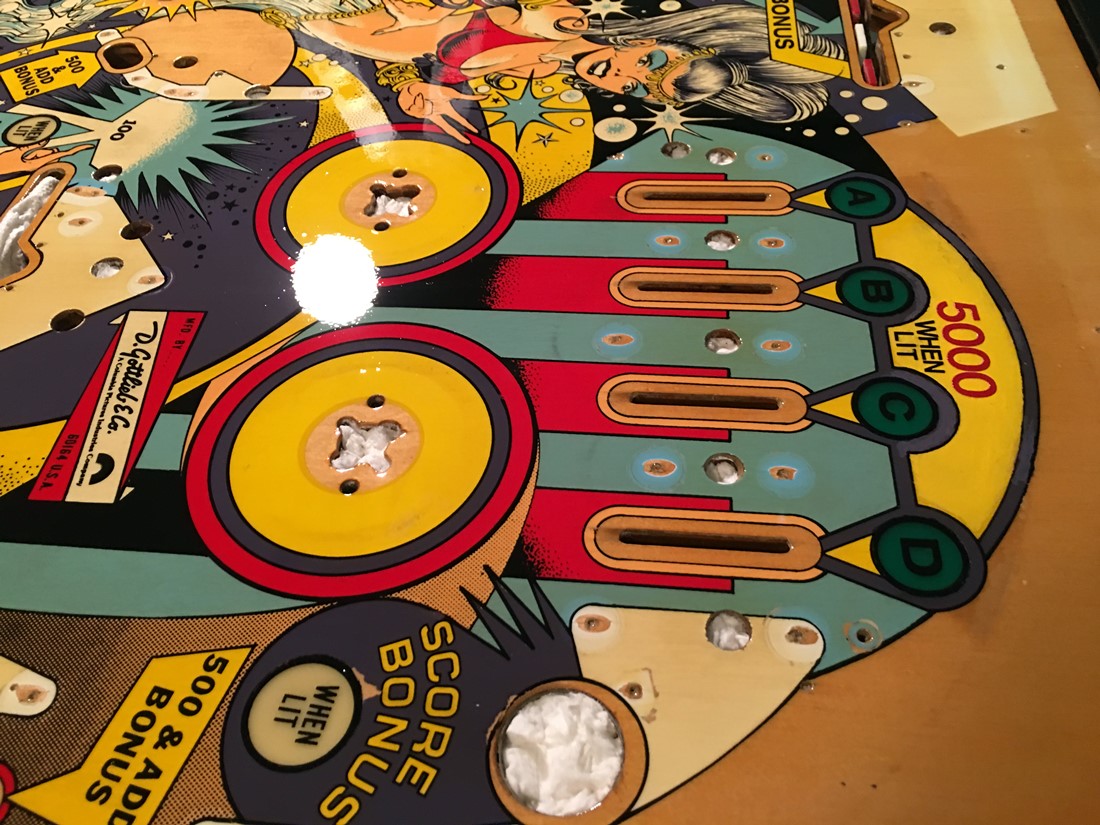
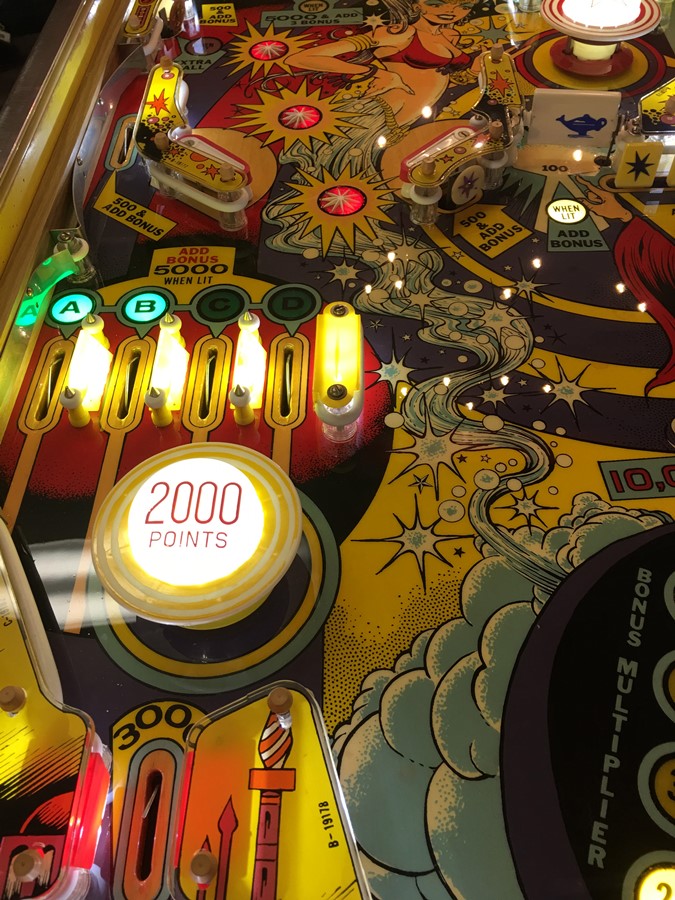
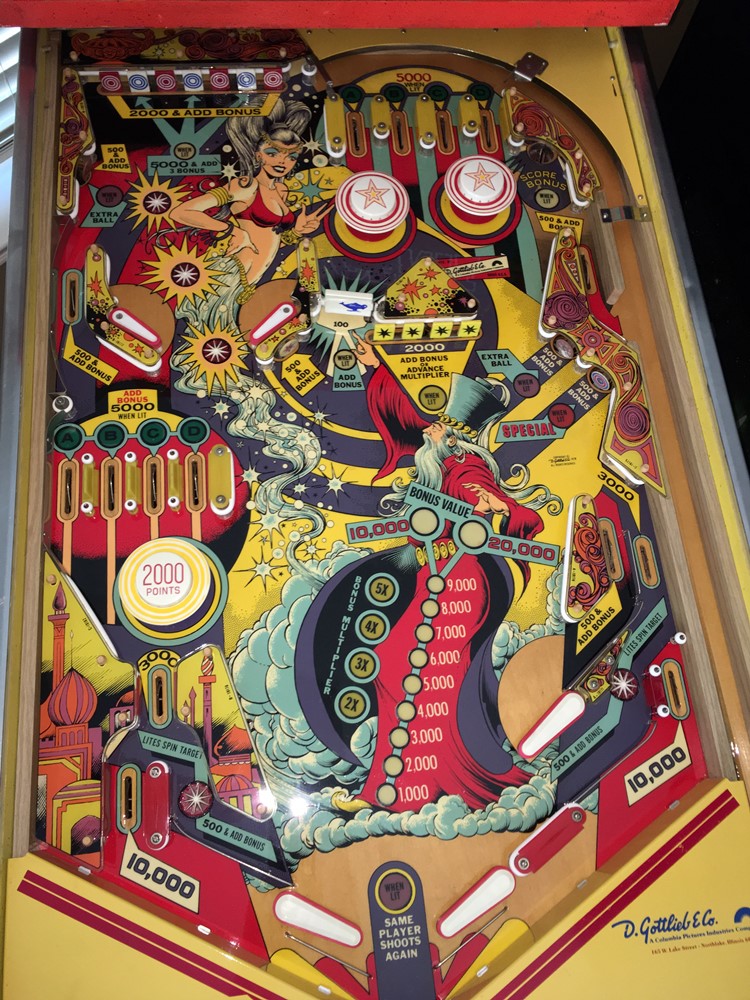
You can see the cupping of the inserts..
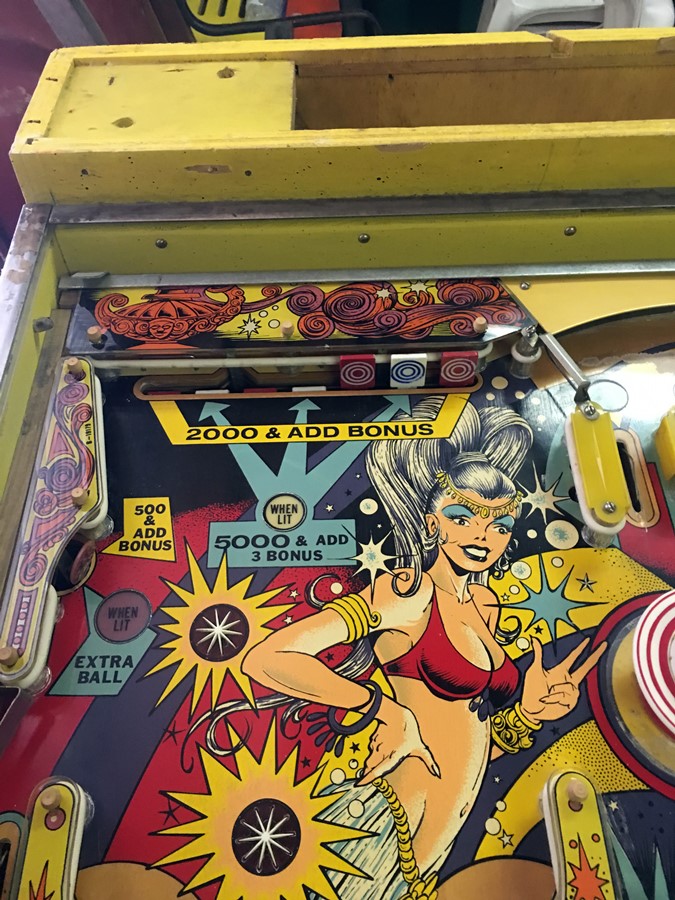
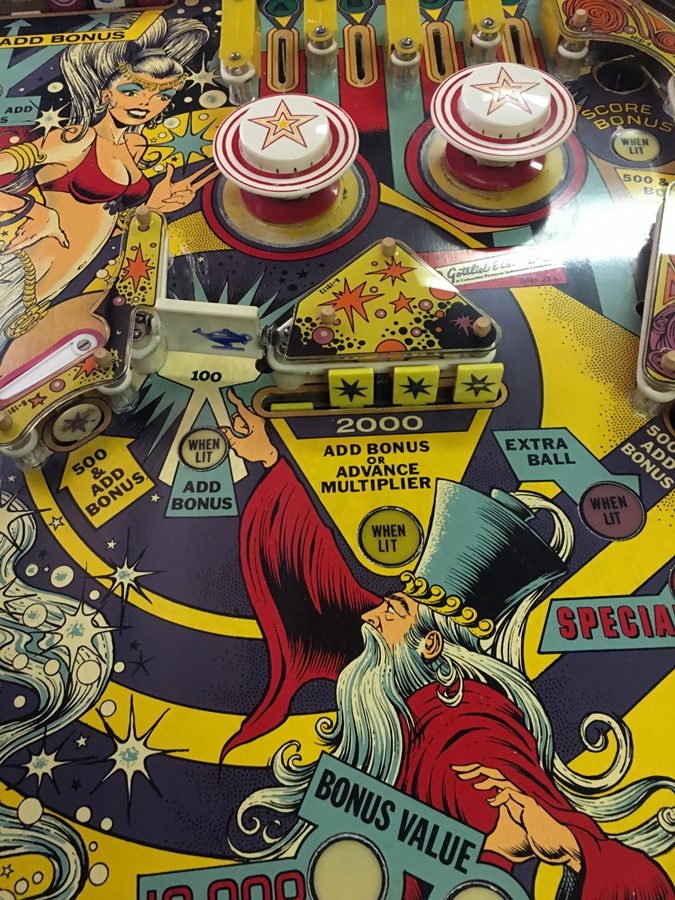
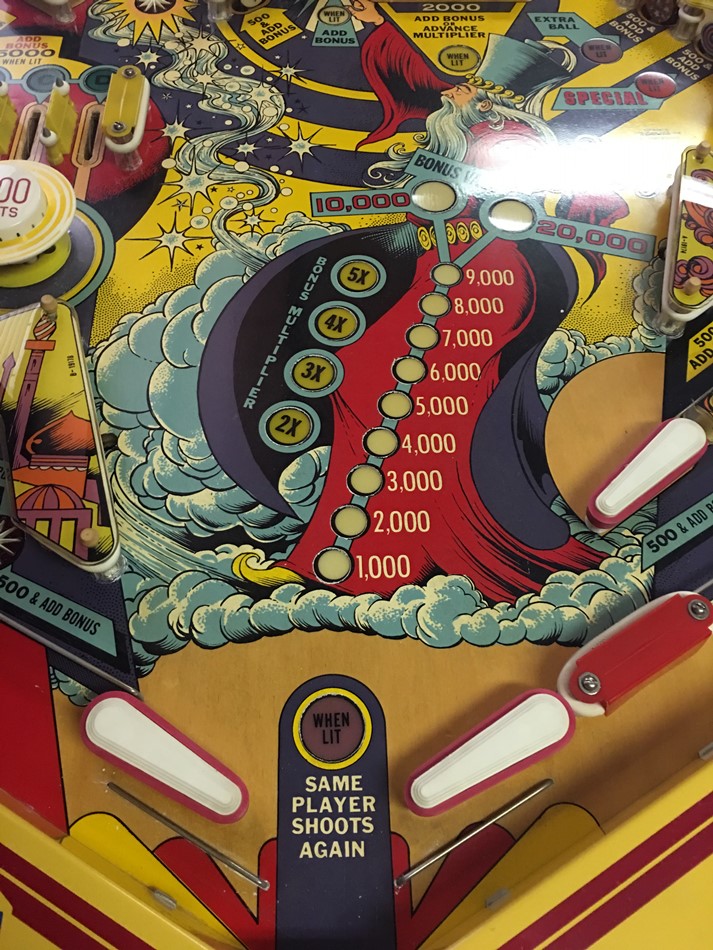
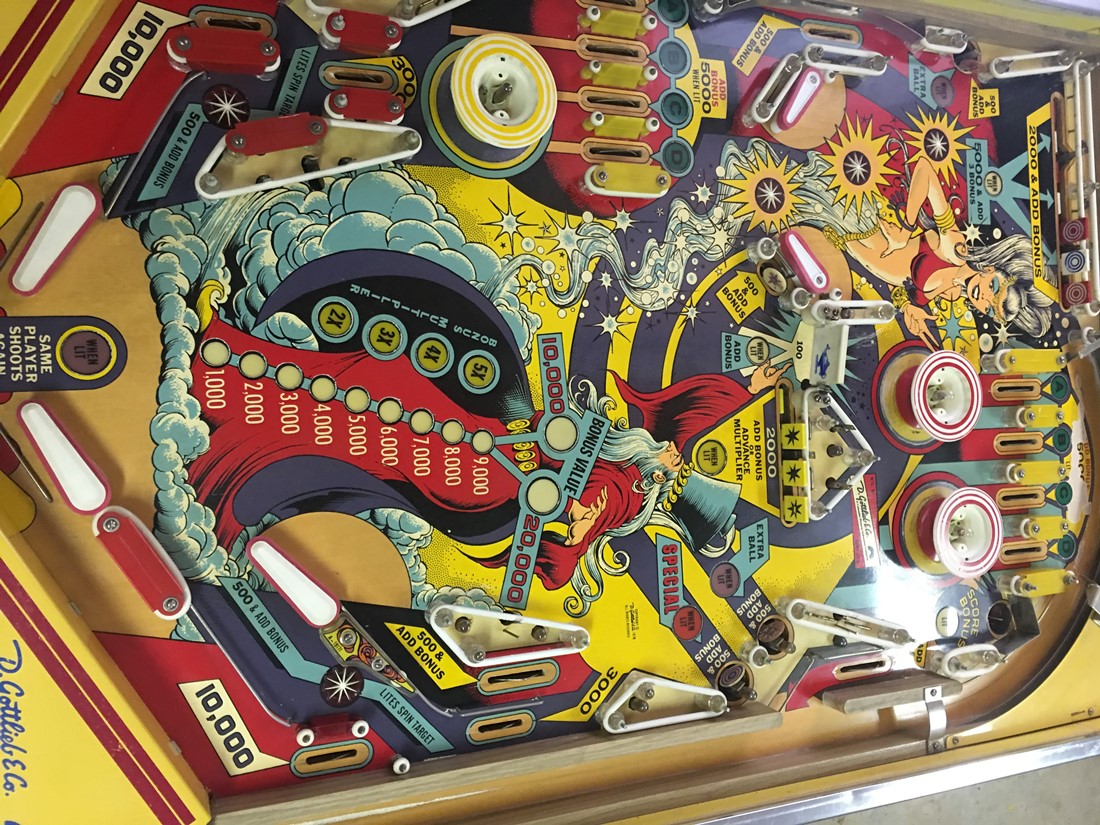
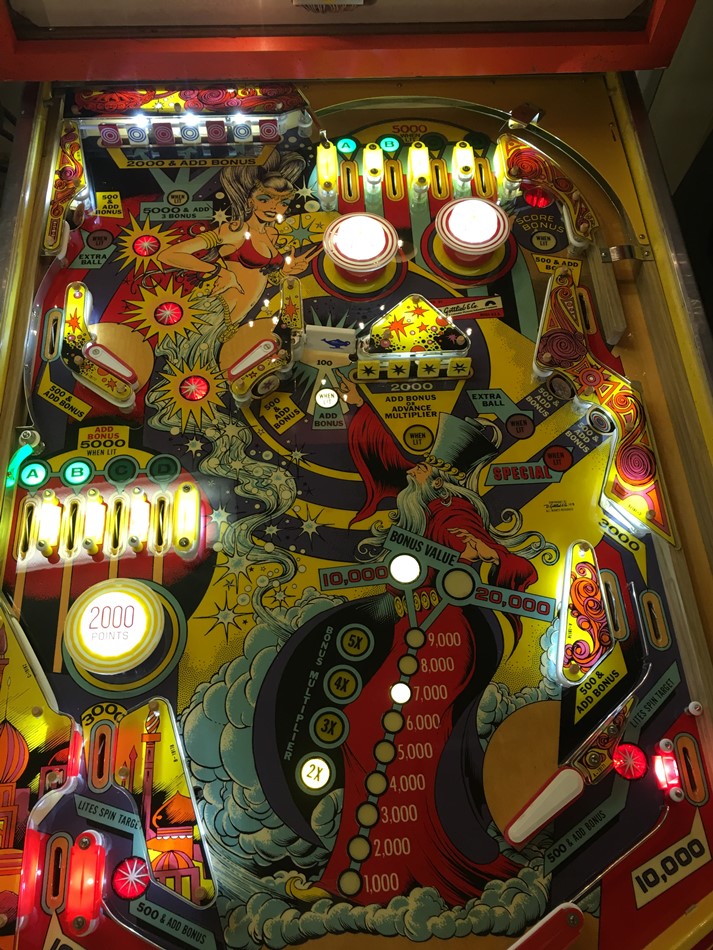
Overall...it looks pretty good....
The obligatory shooter lane shot.
OK.....let's get started!
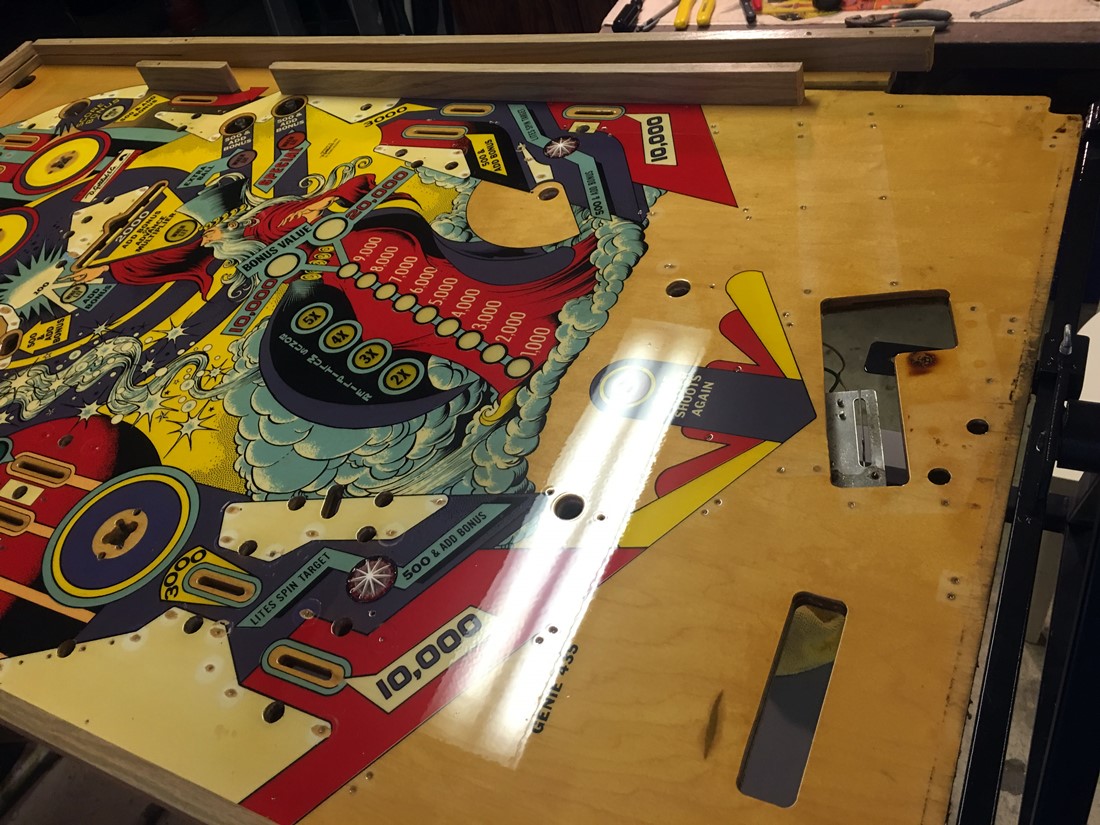
Taking off the plastics is step number one.
...removing the old rubbers.
...then unscrewing the posts.
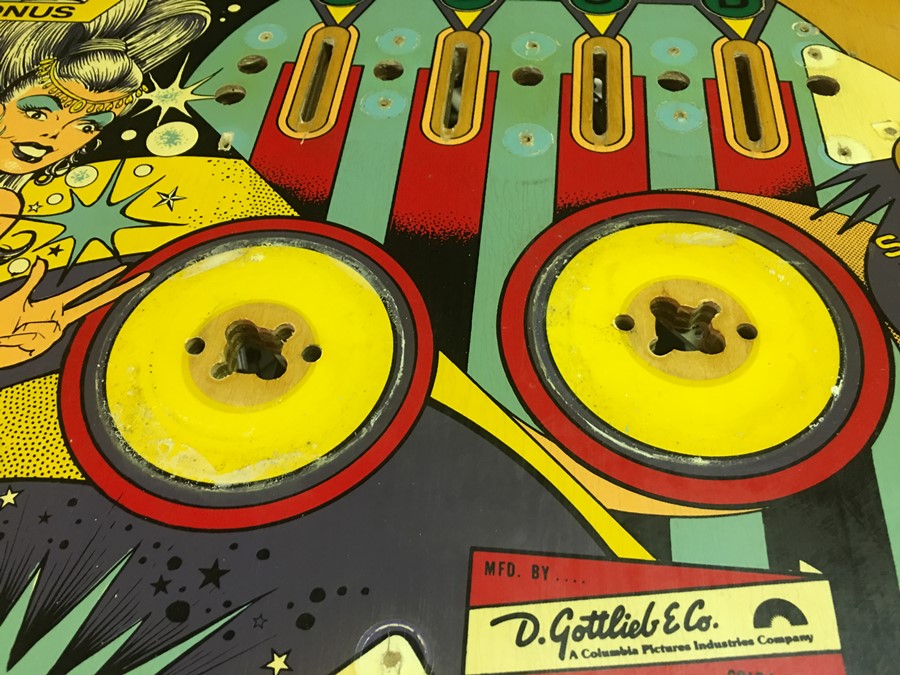
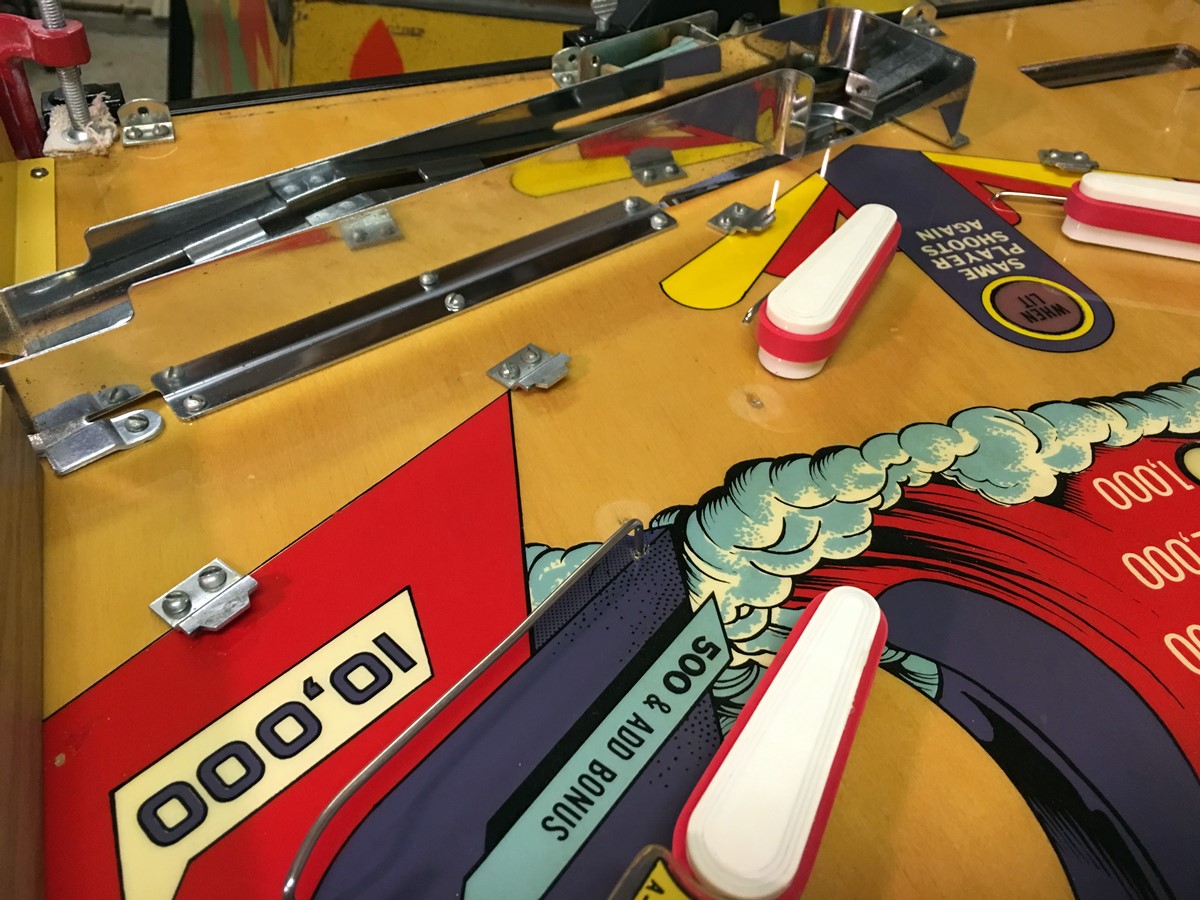
Now you can see more of the dirt and gunk on the playfield.
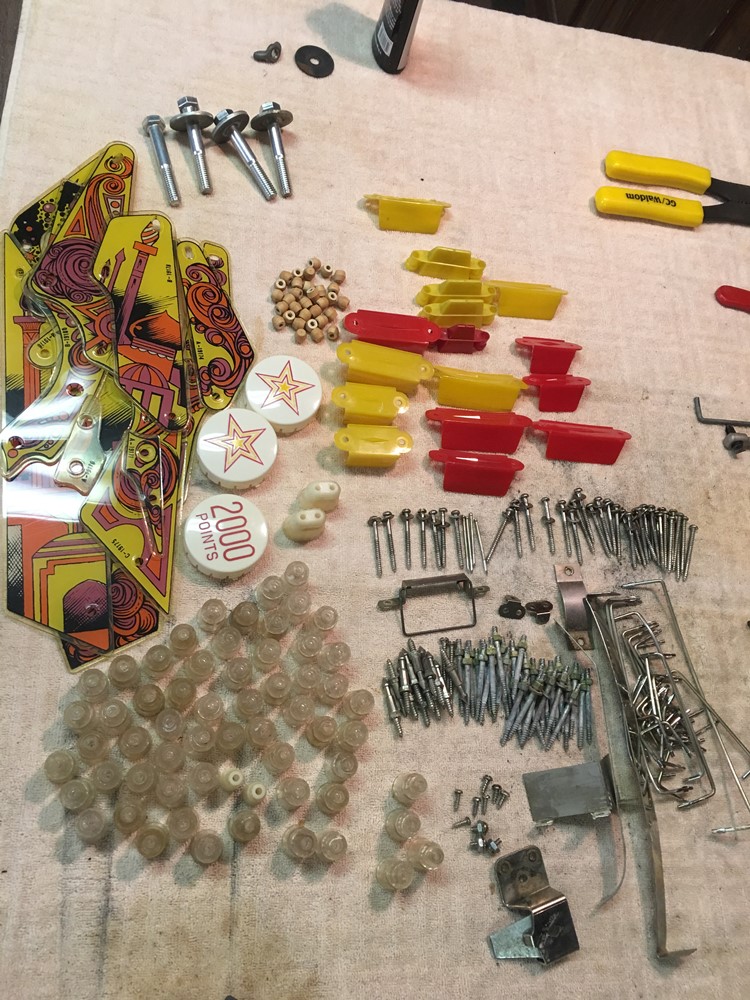
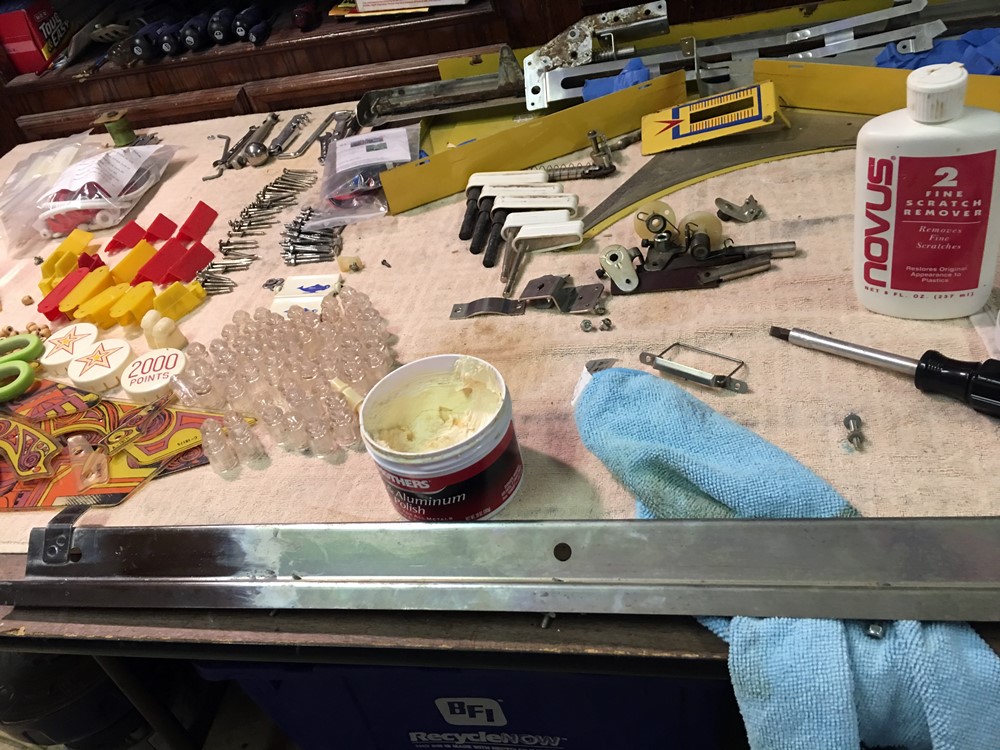
All of these playfield parts need to be cleaned.

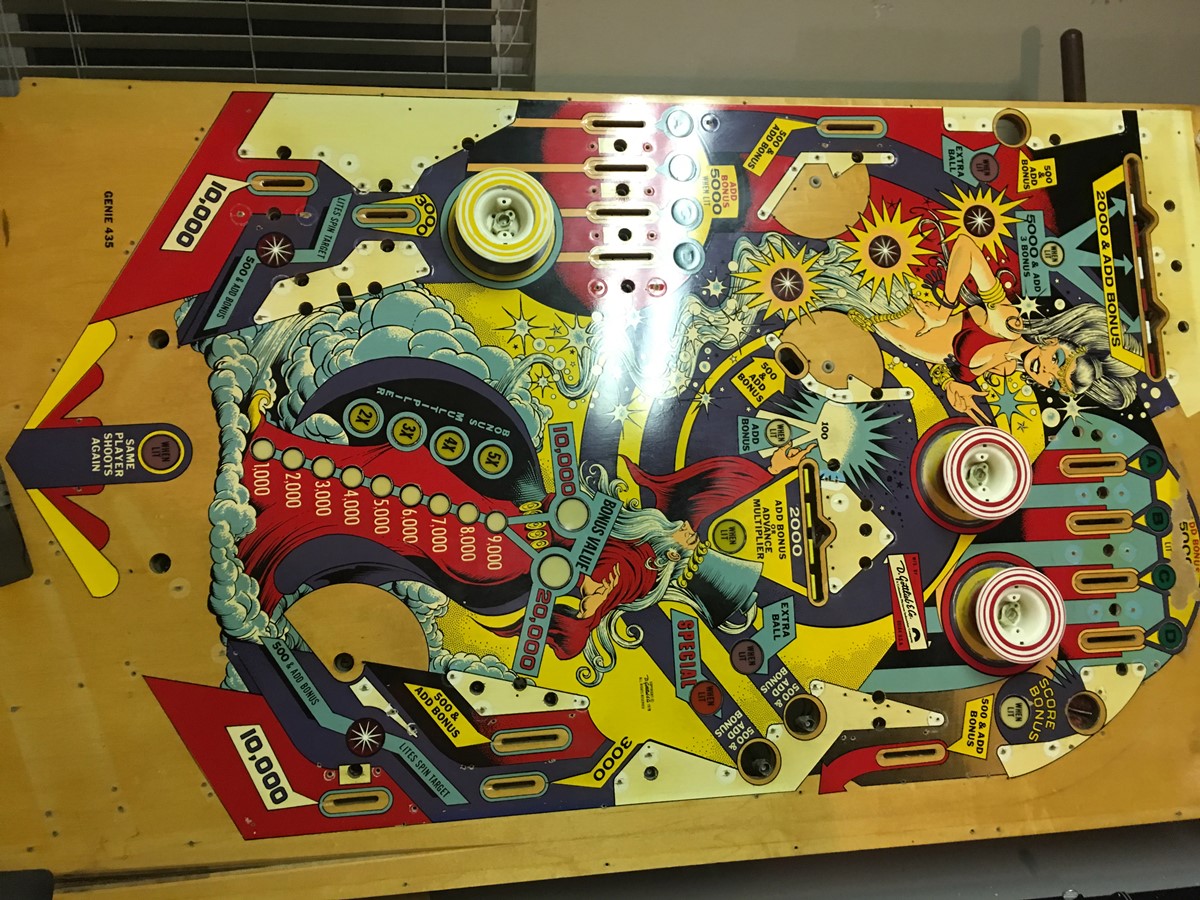
Much better!
The metal parts were cleaned in a tumbler, and the plastics I just ran through
the dishwasher.
Yuck, that's dirty.
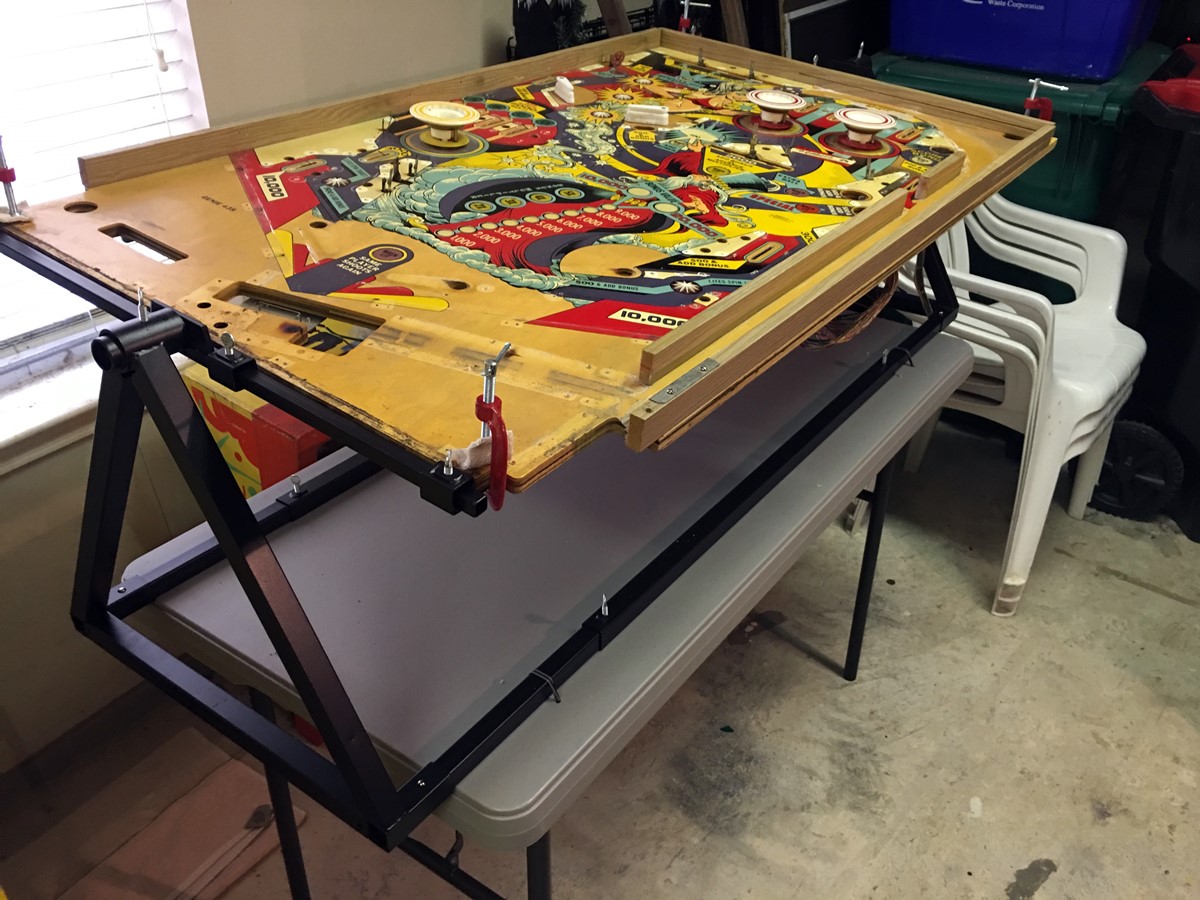
My new Playfield Rotisserie ~!~!
This was the best $200 I ever spent on a Pinball repair part - makes working
on the playfield SO much easier!
You can rotate the playfield to work on either side.
Time to clean the playfield with some Novus 2
Here it is after the first round of Novus.
A little bit cleaner indeed.
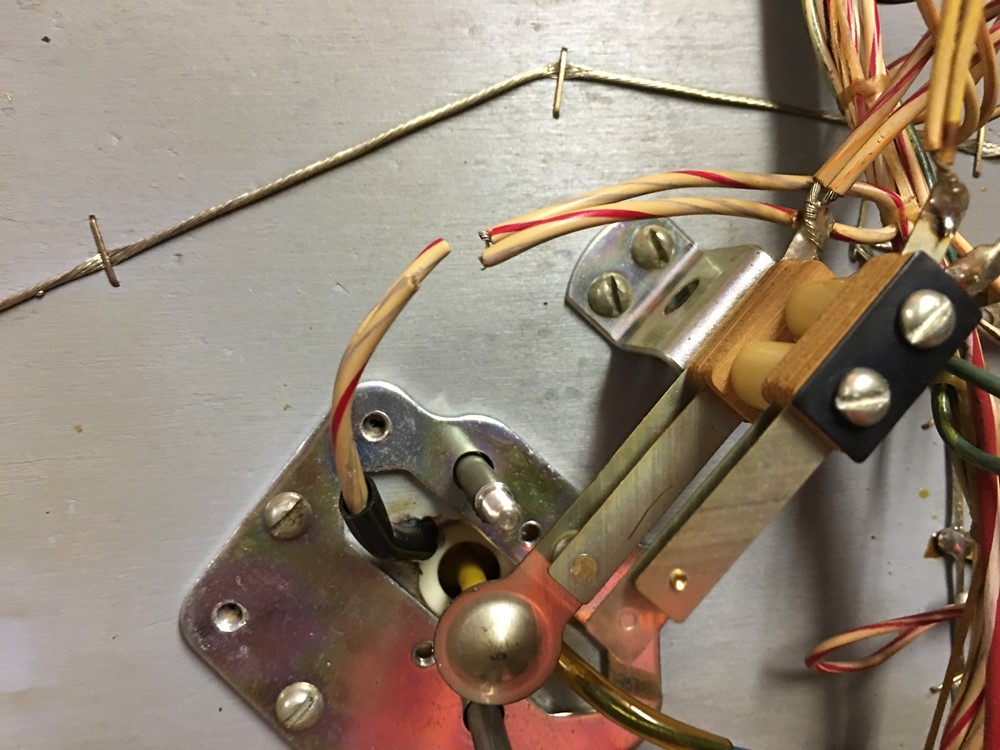
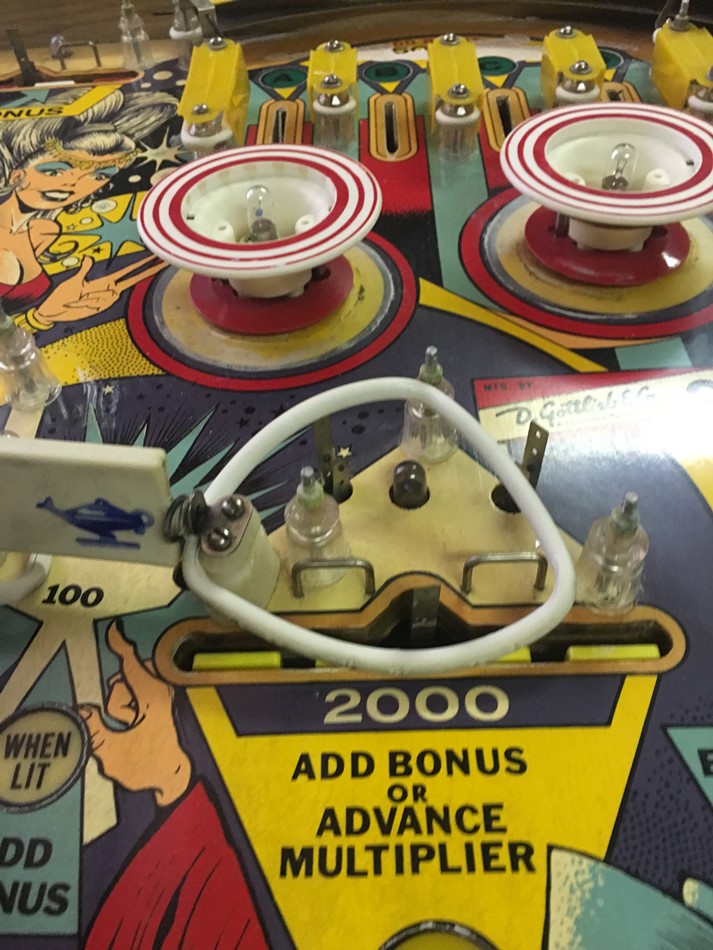
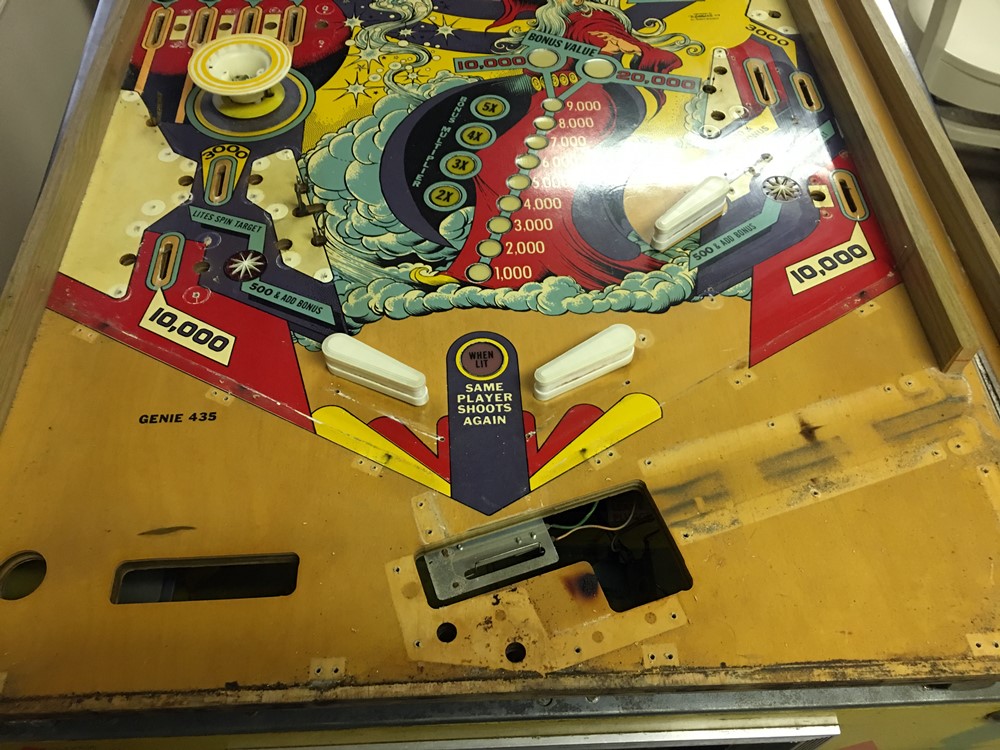
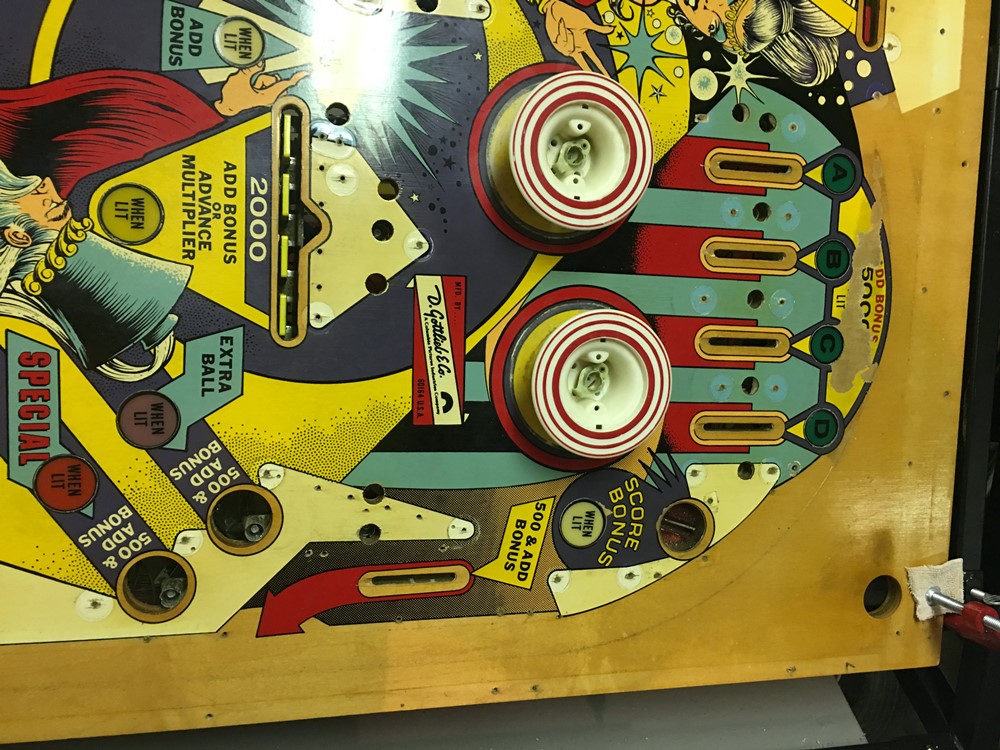
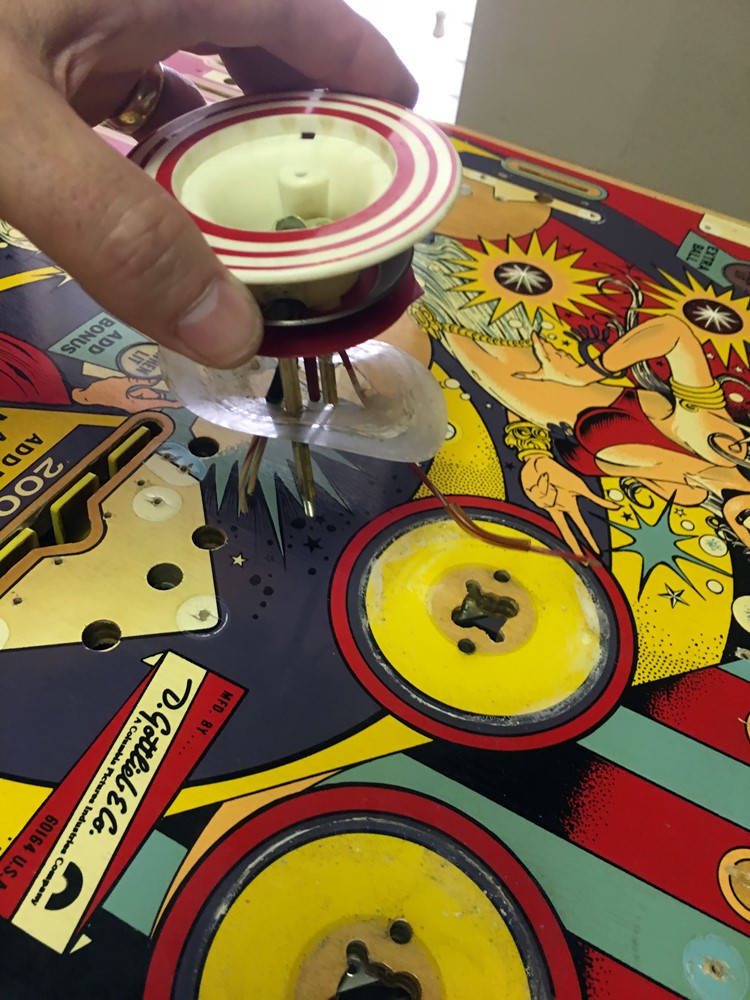
Needed to snip some wires in order to remove the pop bumpers.
The mylar rings around the pops just came right off.
Before ....
...clean!
The only thing left on the top of the playfield is the flippers - so time for
them to go.
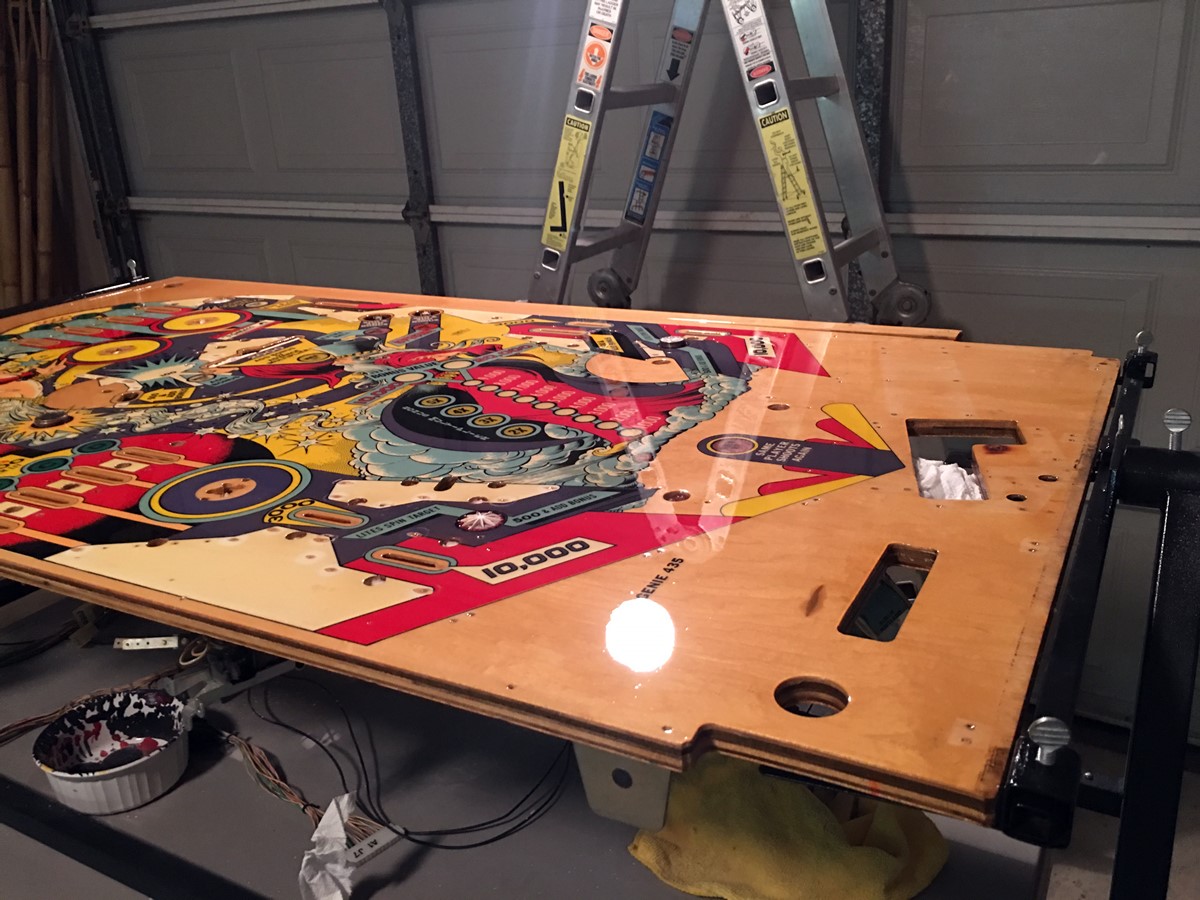
With the playfield completely stripped and cleaned, it's time for the first
coat of clear.
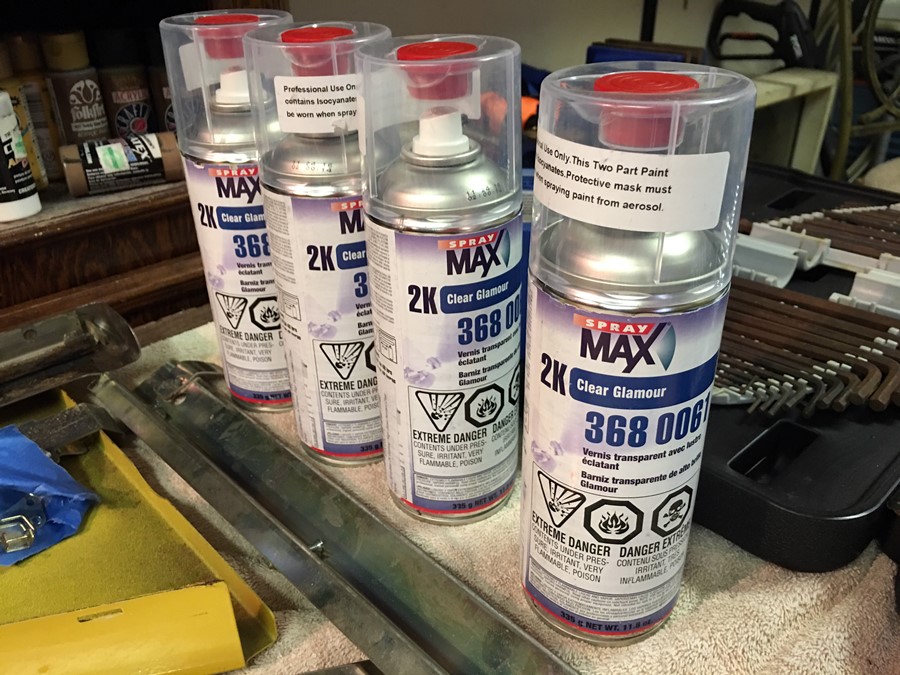
Here's what I used to use to clearcoat the playfield.
The very first coat of clear is used mainly to seal in what's there, and provide
a solid base for any touchup paint.
...another picture of the 1st coat of clear.
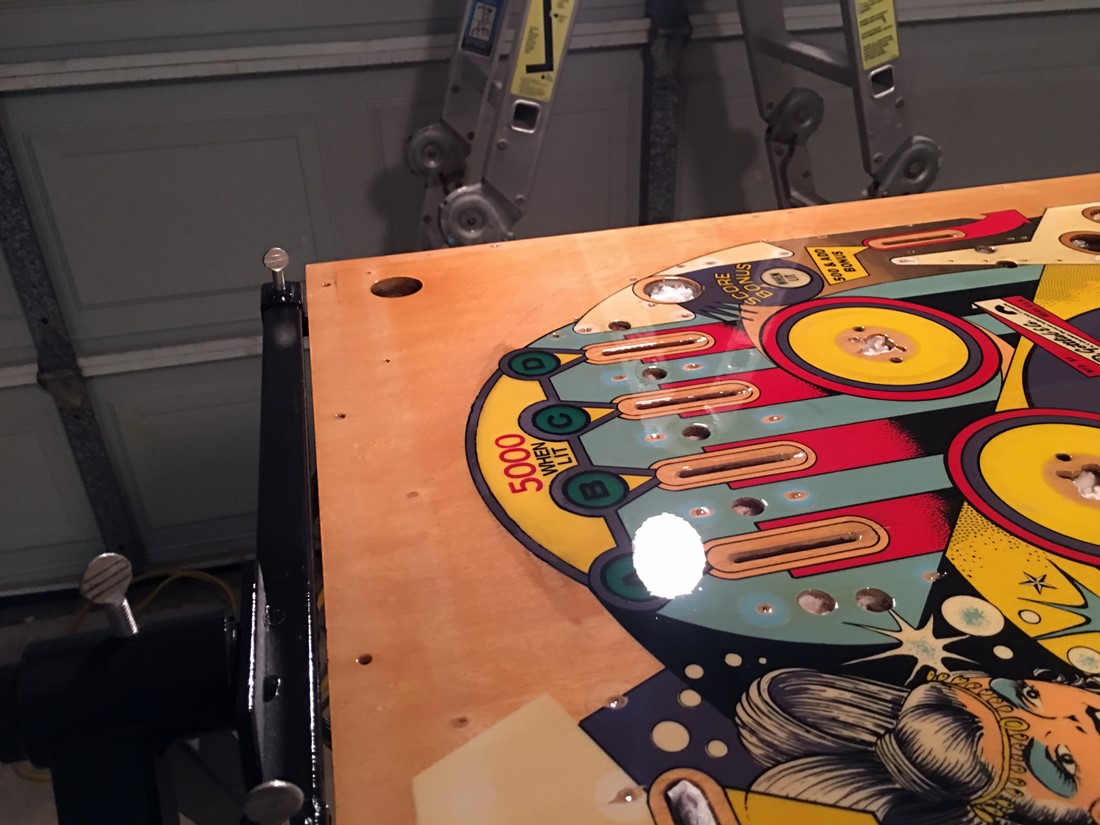
The first coat is sanded down, and this reveals all the imperfections.
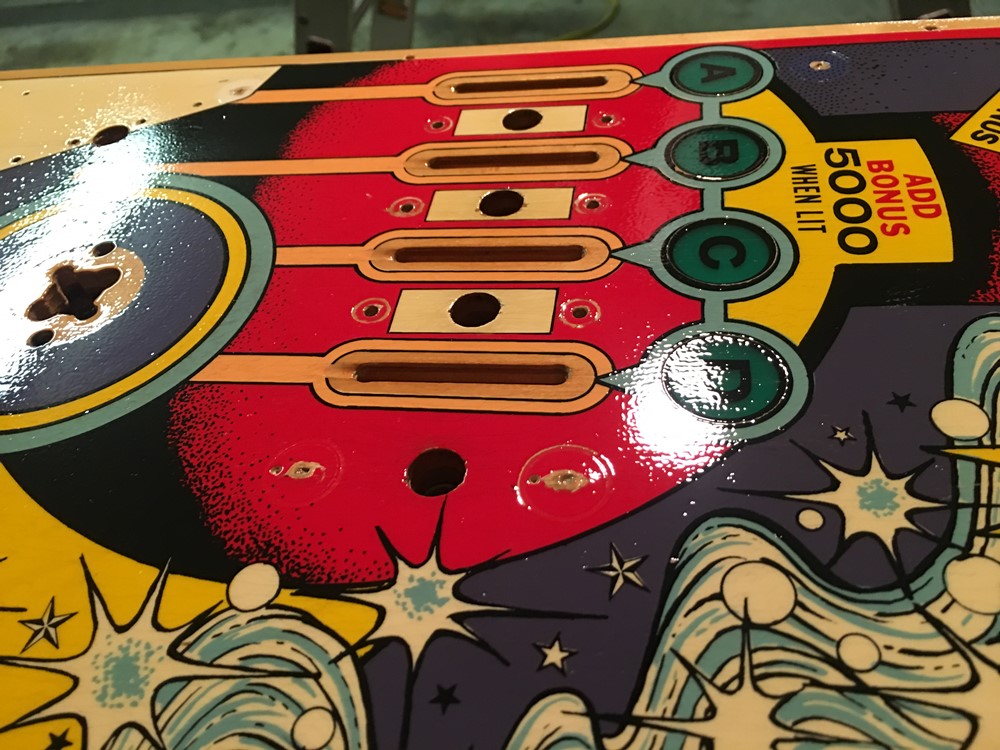
Also, notice how the paint is missing around parts of the inserts - this will
be touched up.
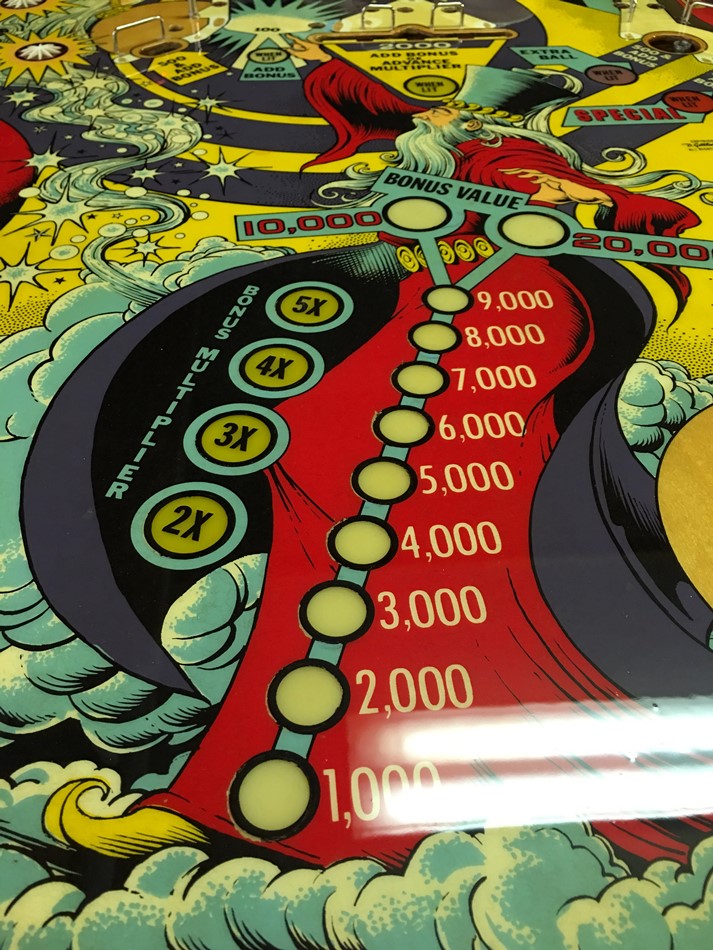
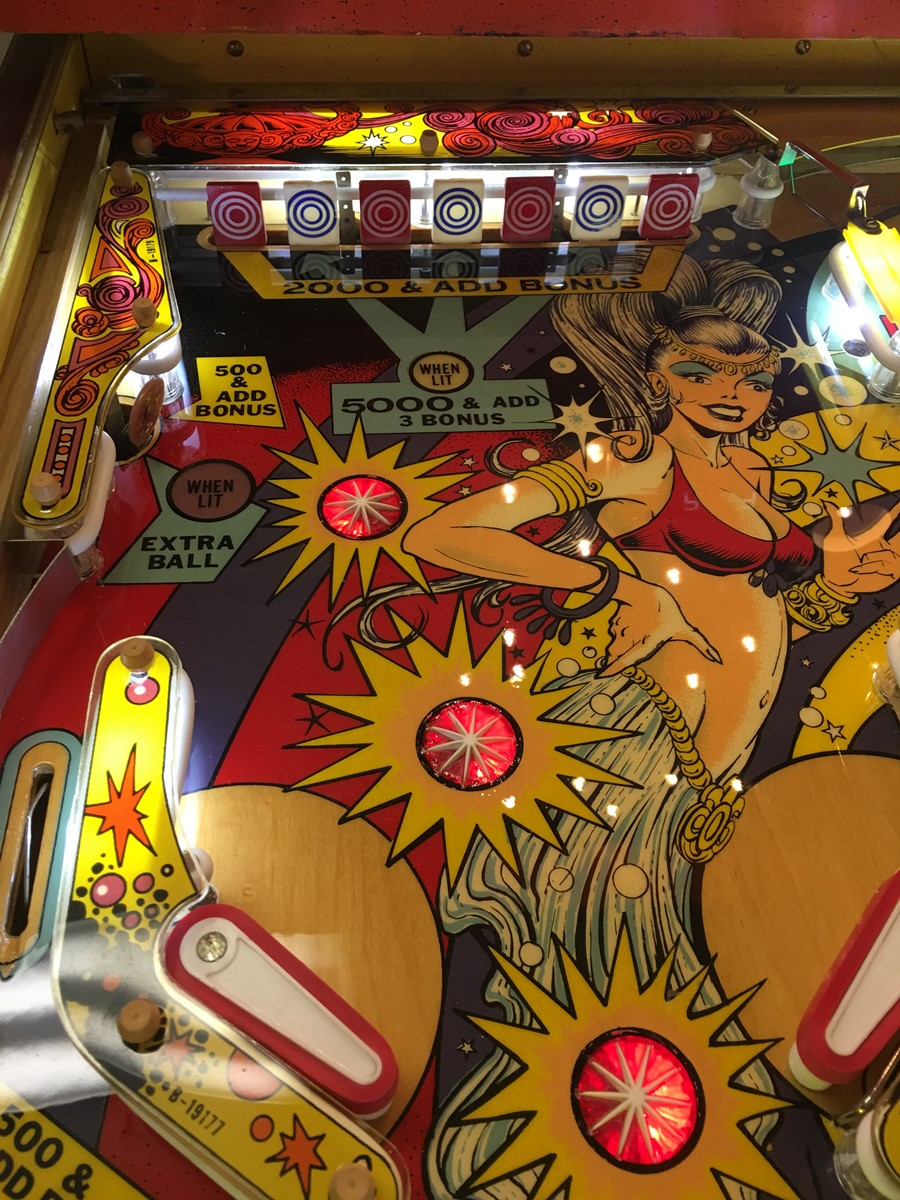
After paint touchups. You can see the keylines around inserts are repainted.
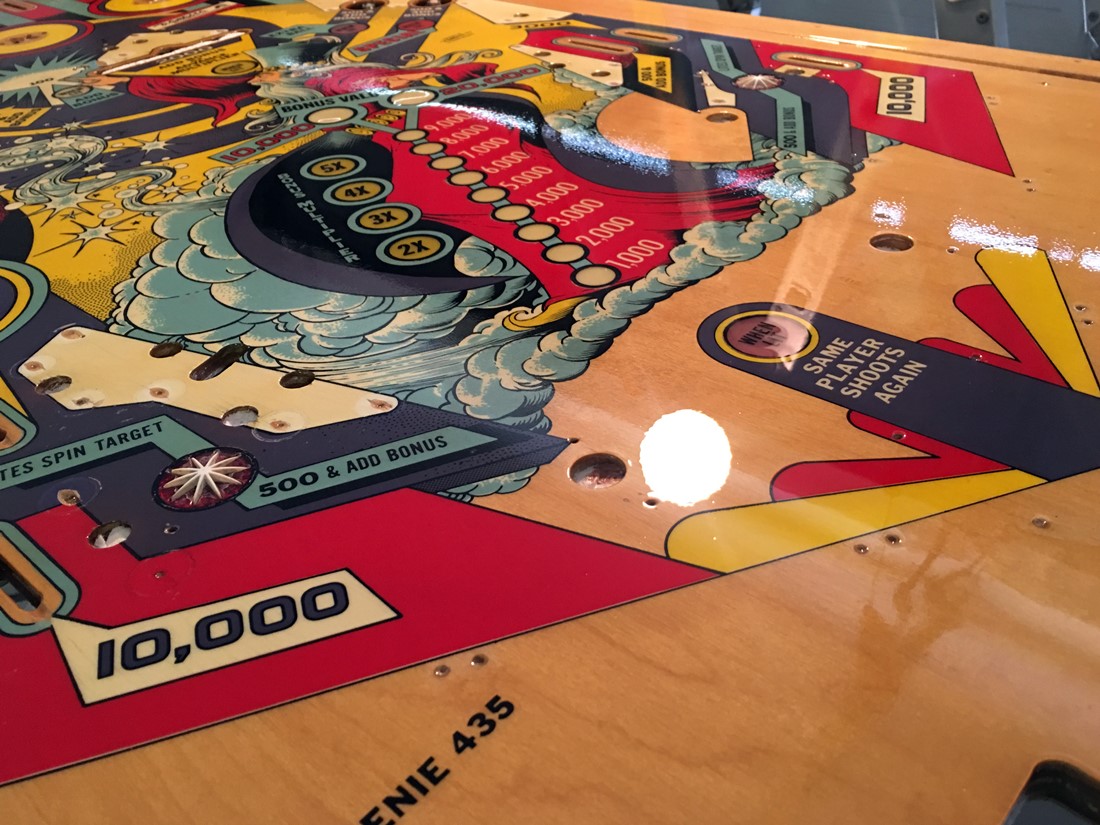
Here's a picture of the 'blown out' area I repaired after getting another coat
of clear.
I didn't do a perfect job, but it's certainly better than it was.
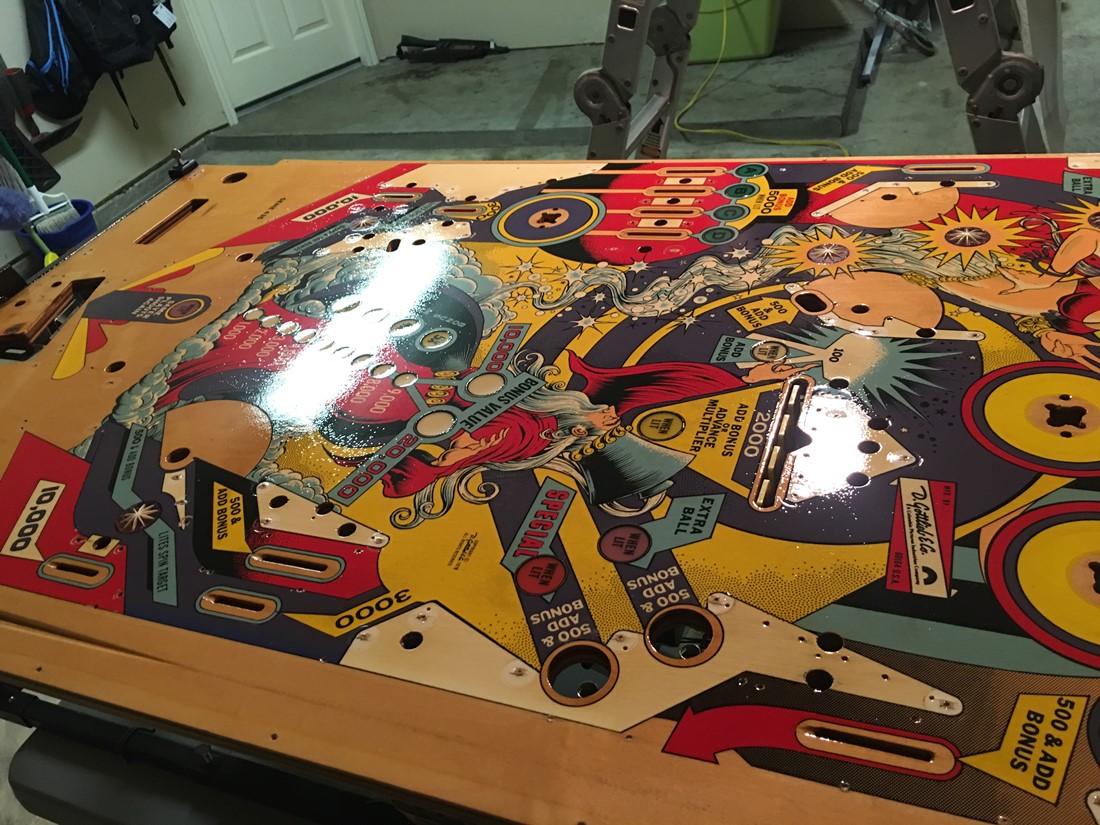
With another coat of clear on top of the touchups, the playfield is starting
to look really nice!
Oh yeah - looking good!
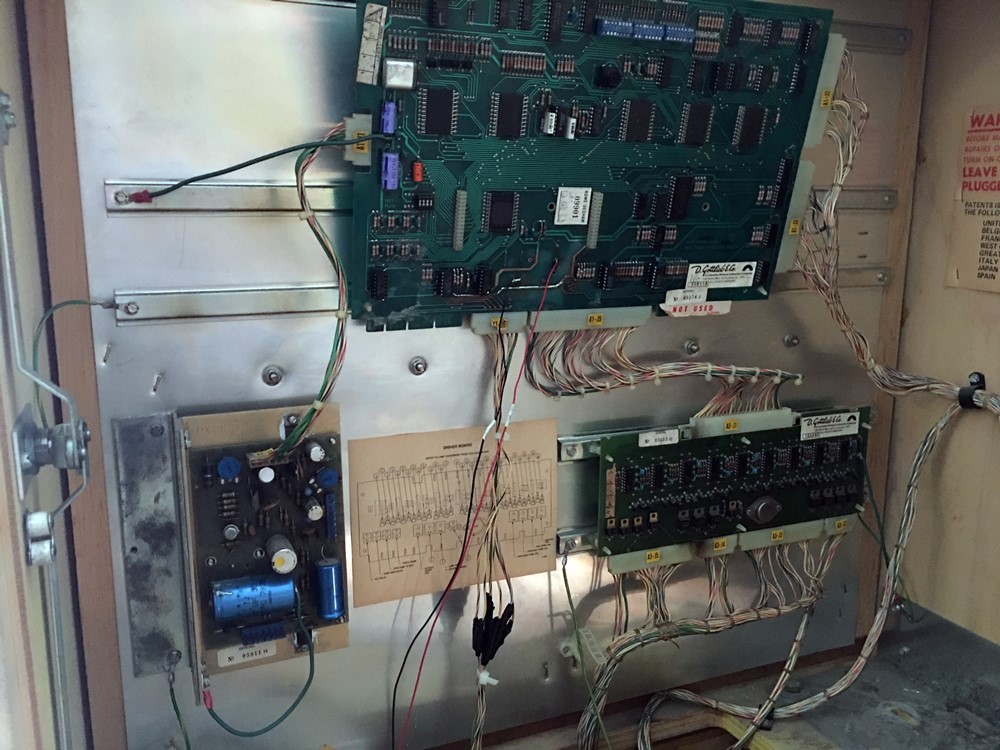
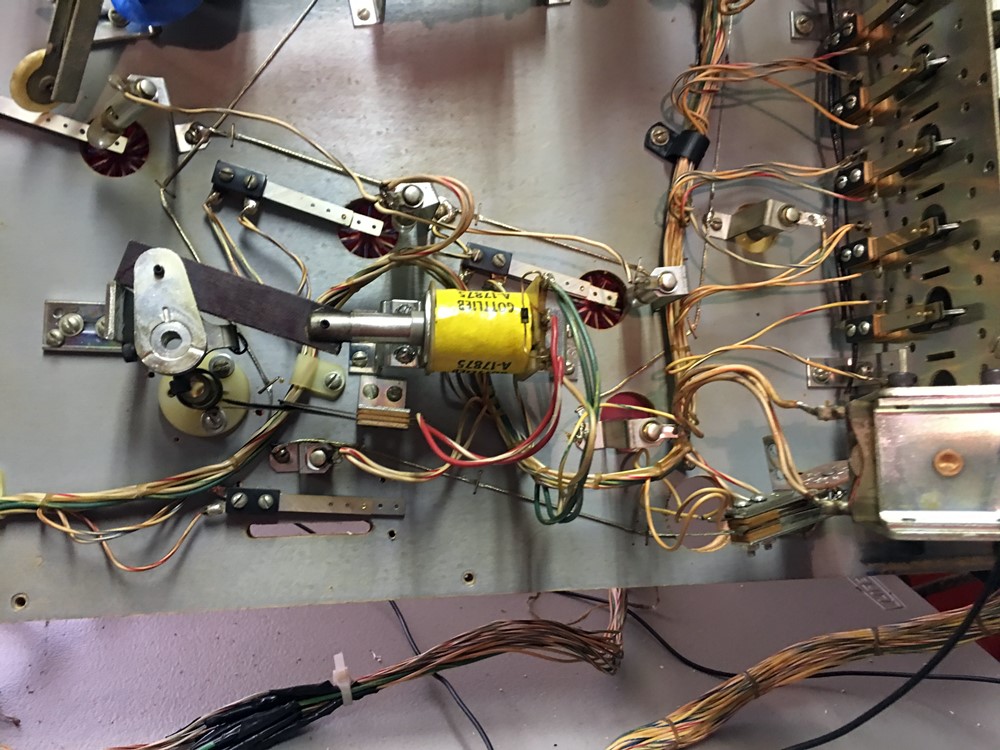
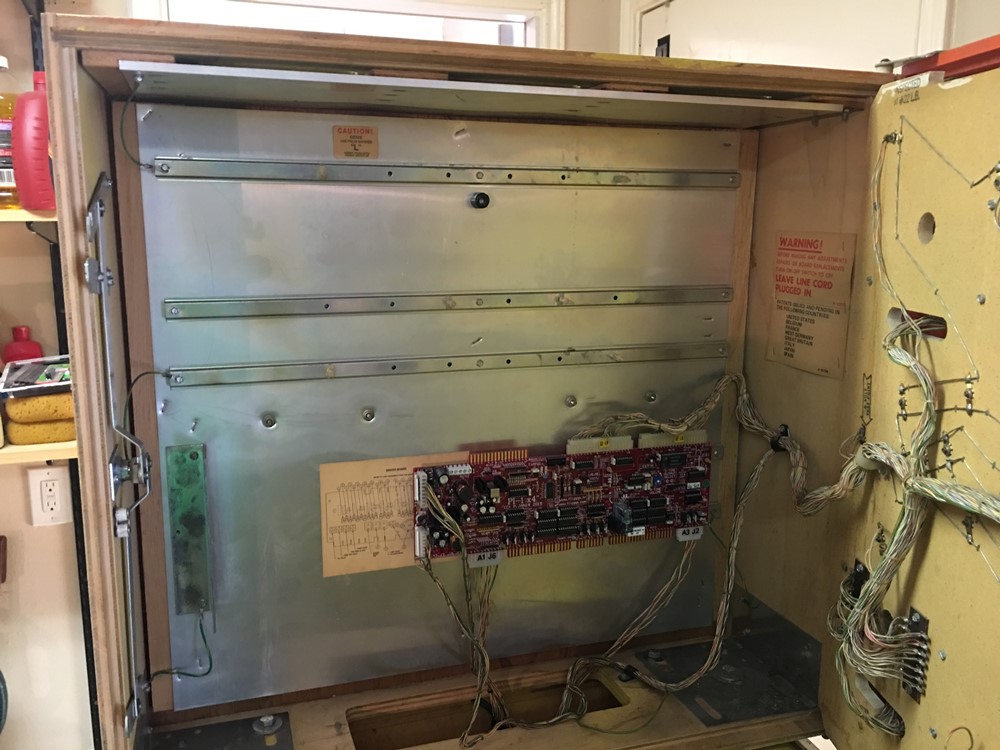
While the clearcoat sets, it's time to look at the electronics. This is the
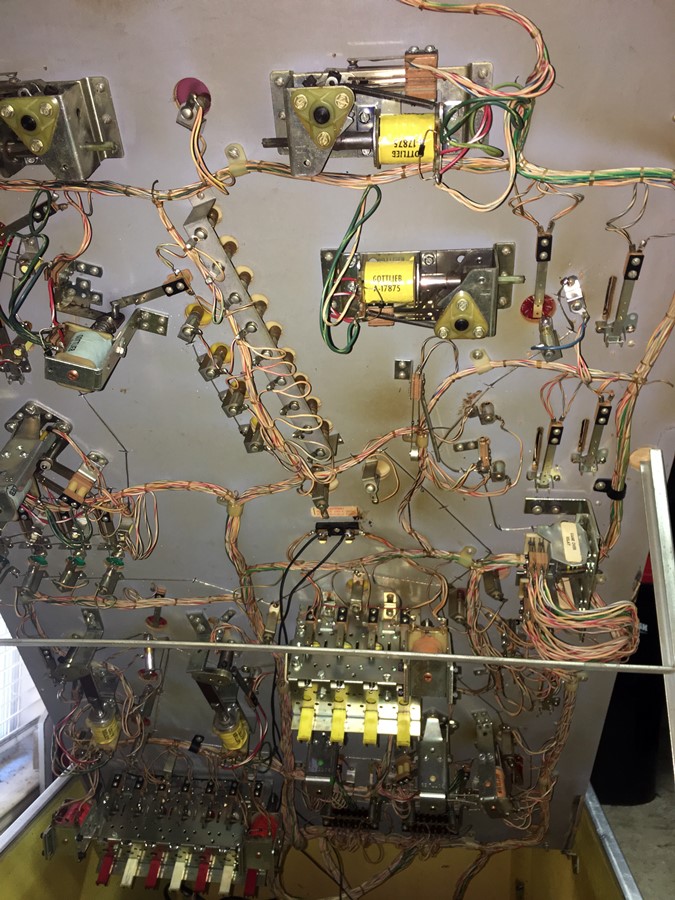
original board-set in the Genie head.
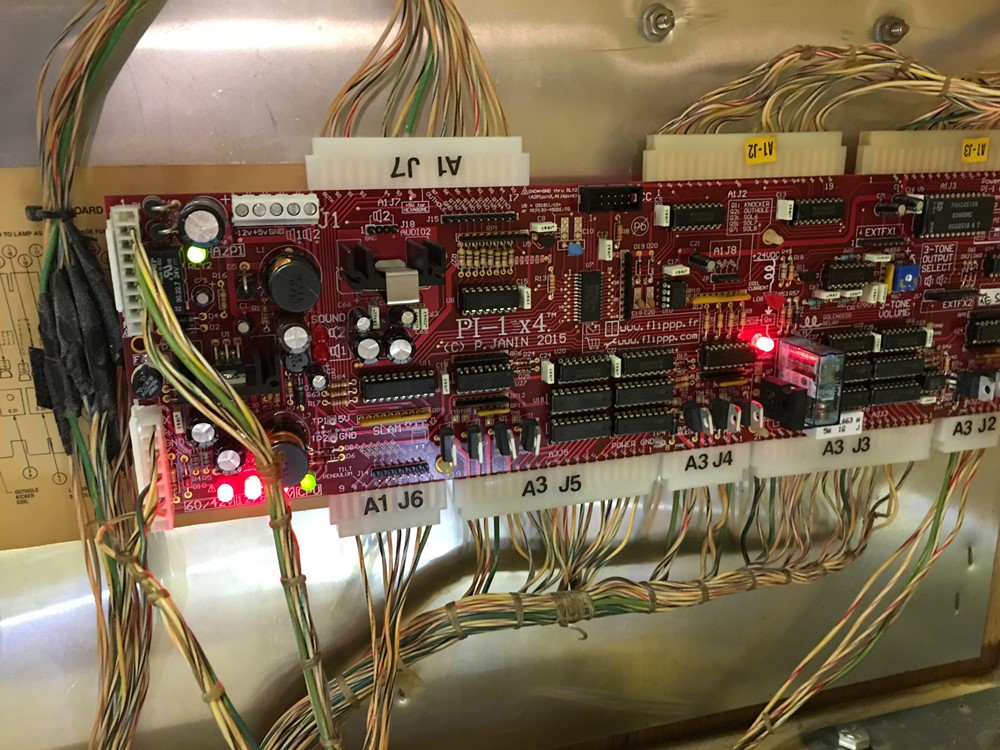
I will be replacing all of the boards above with the Pascal
PI 1x4 - it is awesome!
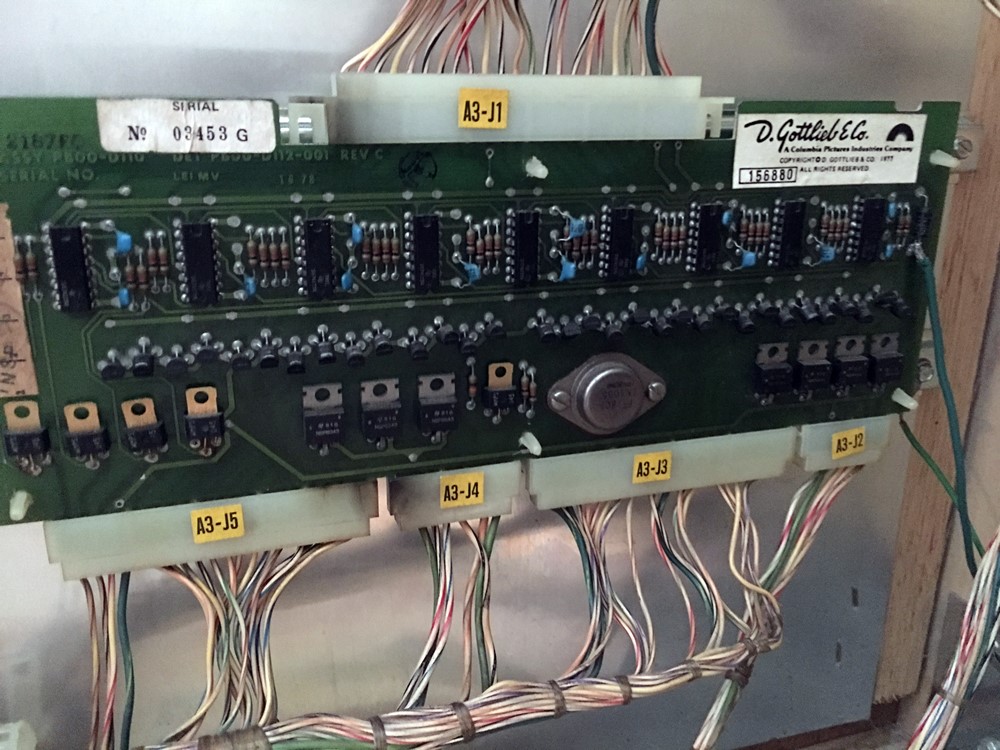
Yeah, this board looks like it got overheated a bit.
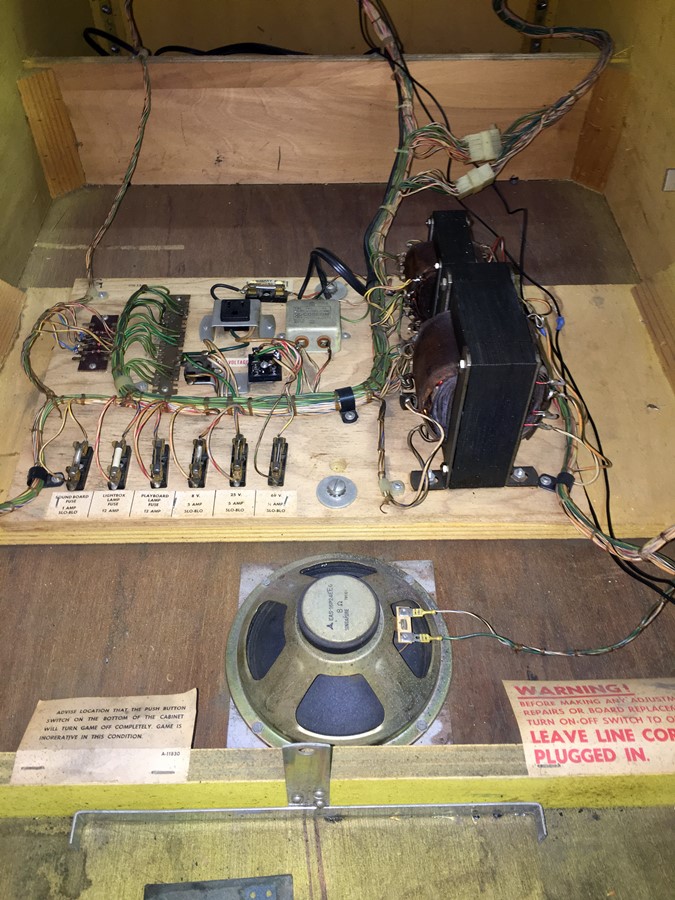
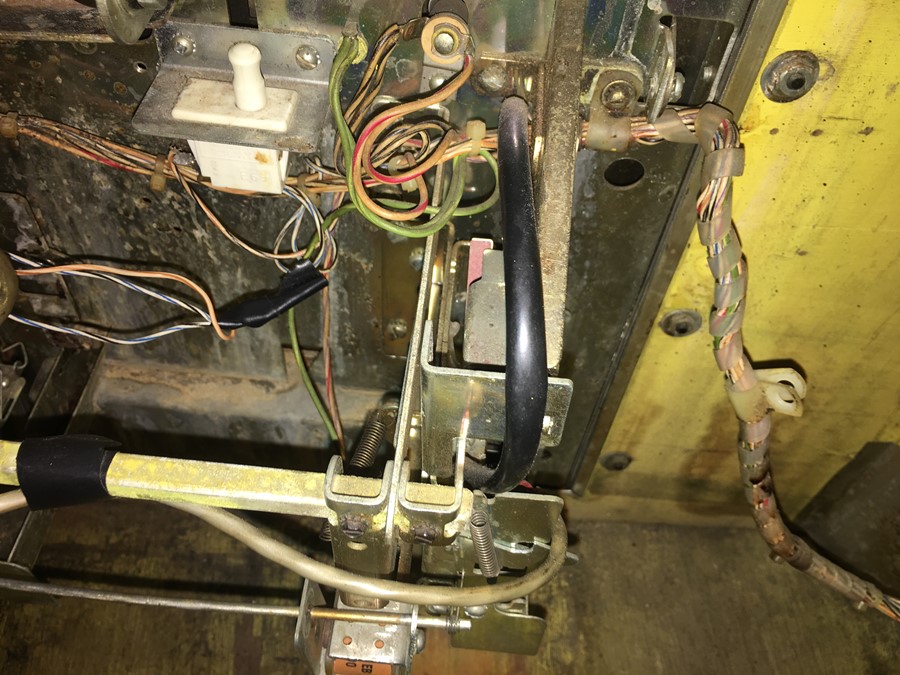
Thankfully, everything in the cabinet looked really clean.
..and this looked OK too.
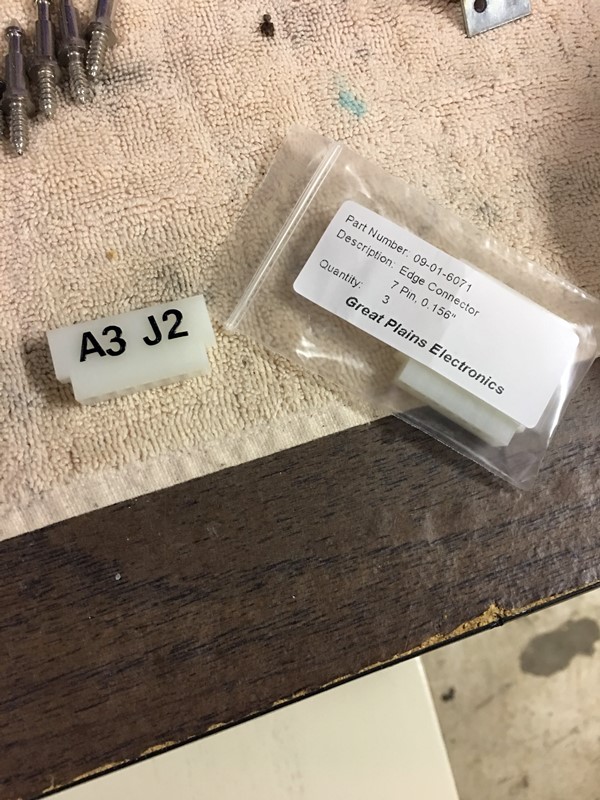
OH BOY - it's time to re-pin connectors!!
Ugg, it's actually a pretty tedious process....
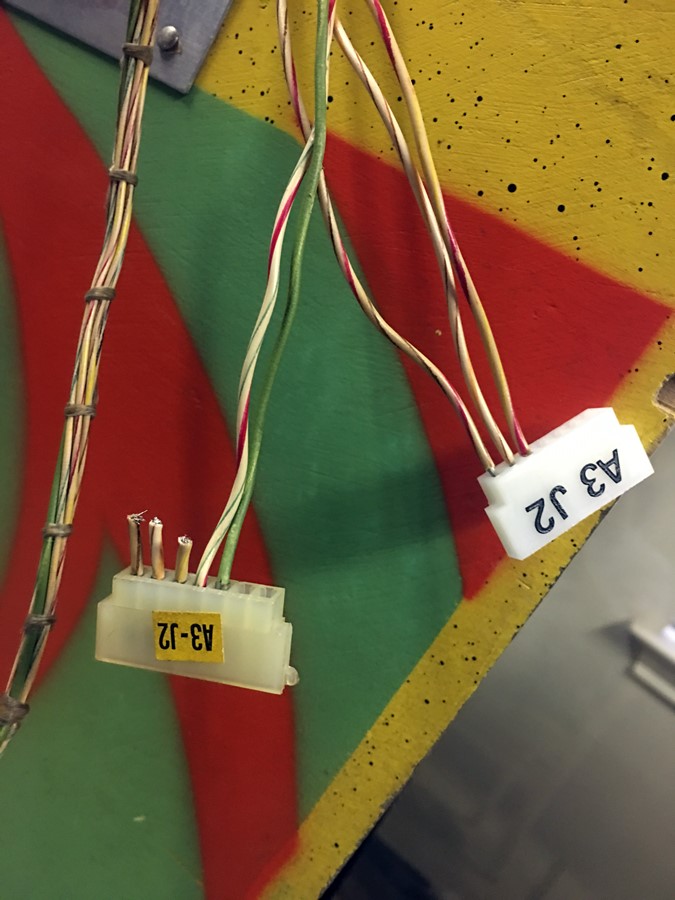
Each wire is clipped from the old edge connector.
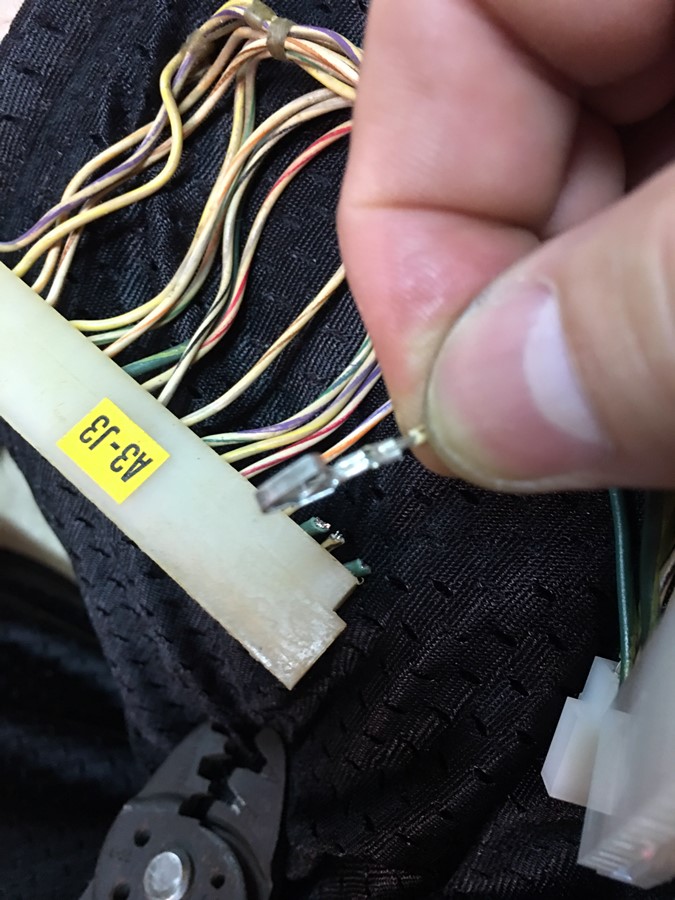
Then the end is stripped and a new connector is crimped to the wire....
...then that is pushed into the new edge connector.
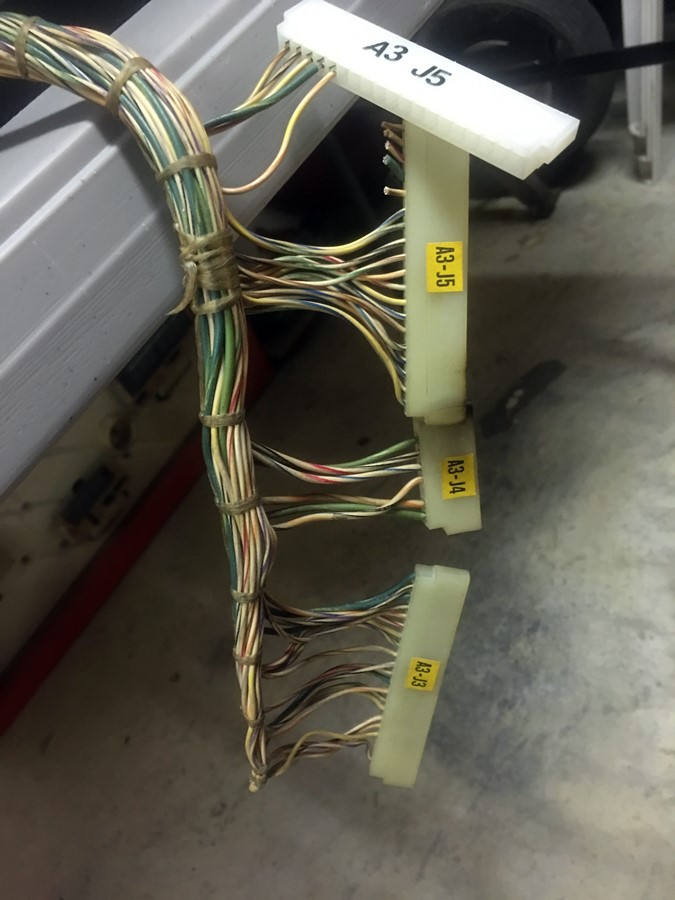
...it's a long tedious process, but it helps to make the game run rock solid.
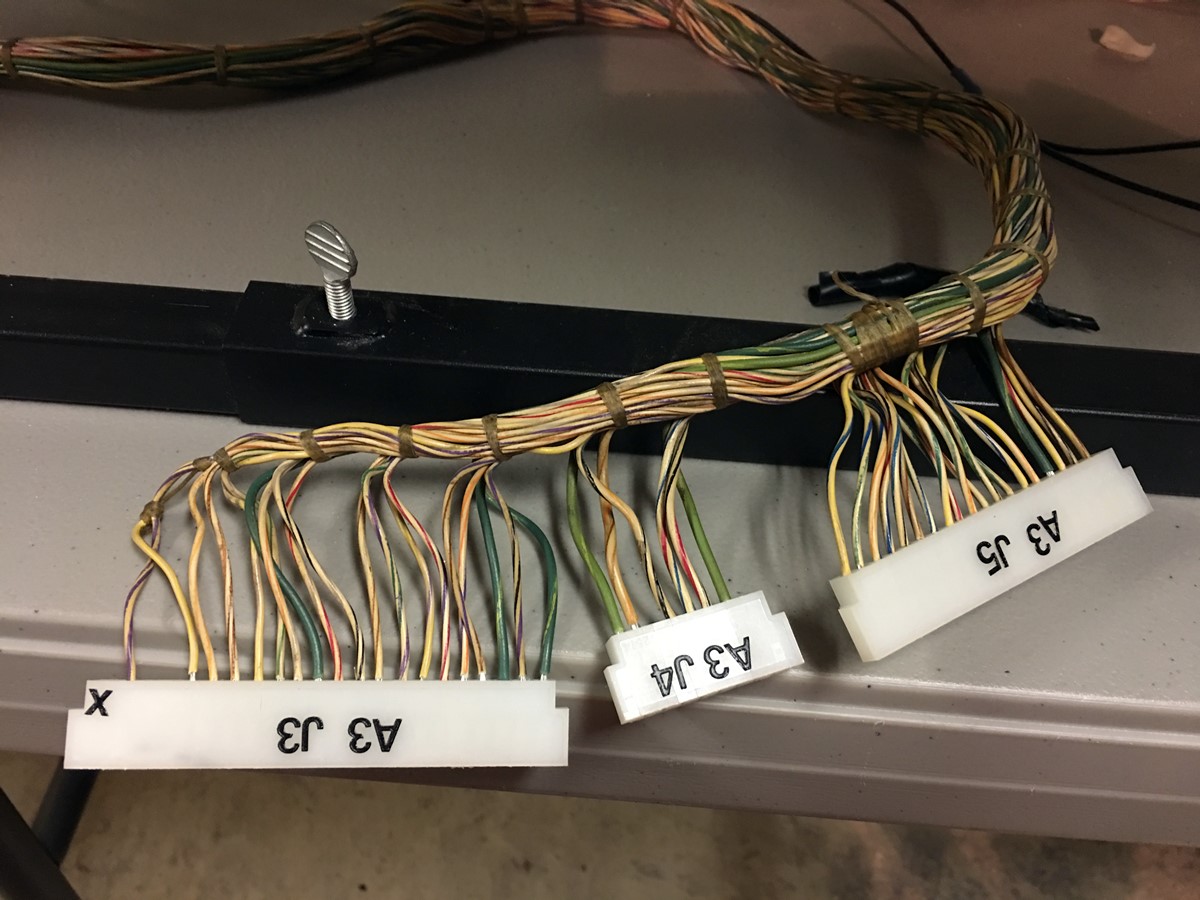
All done!!
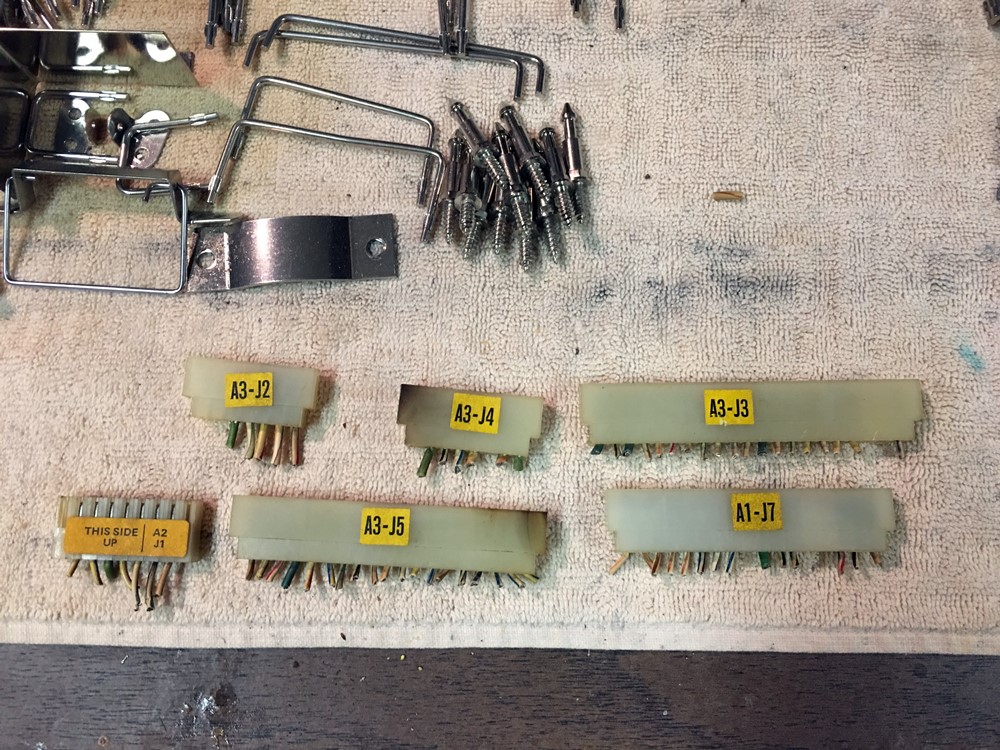
For some morbid reason, I always keep the old ones.
OK - the new Pascal board is in...we are getting close now.
The playfield is sanded one last time before the final coat of clear.
As you can see, I didn't get all of the inserts 100% flat - but again - they
are much better than before.
The final coat of clear is applied, but I was not happy with the results....
...I don't have any pictures, but I got some condensation from the spray can
that dripped onto the playfield.
I also wanted to work a bit more on getting the inserts as flat as possible
- so I decided to do one more 'final' coat. .
While waiting for the clear to cure, I turned my attention to the final electrical
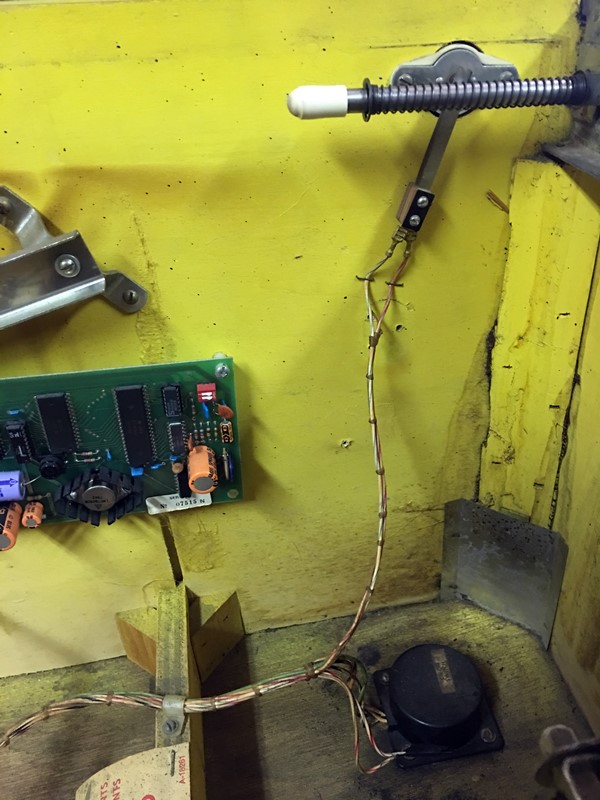
issues - like this missing knocker.
There was also some weird things going on in the coindoor that had to be repaired.
OK - this really was the final coat of clear.
I ordered a few more cans, and used a few just on the inserts - filling and
sanding.
I finally got it sanded as close to prefect as I could, cleaned it up - then
applied the FINAL coat of clear seen above
I like it!!
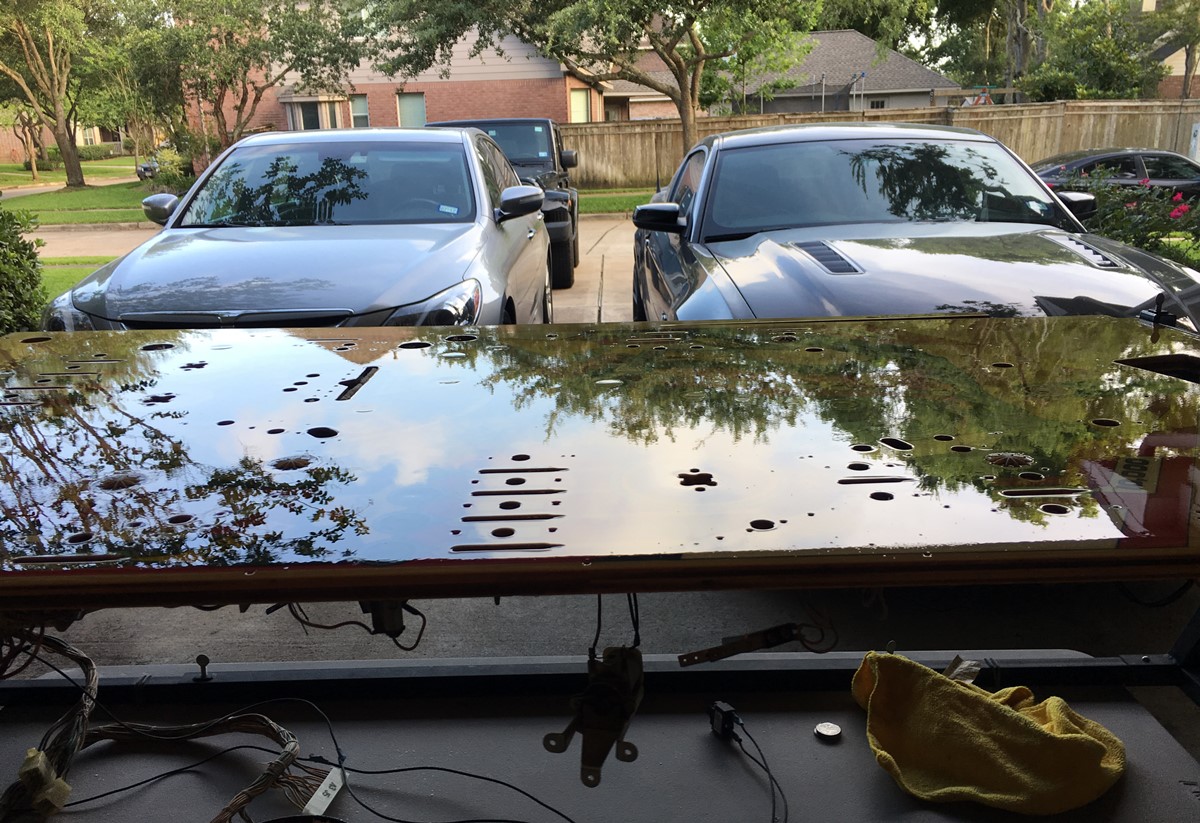
Awwww yeah - nice and smooooooth - almost like glass.
No more cupped inserts!
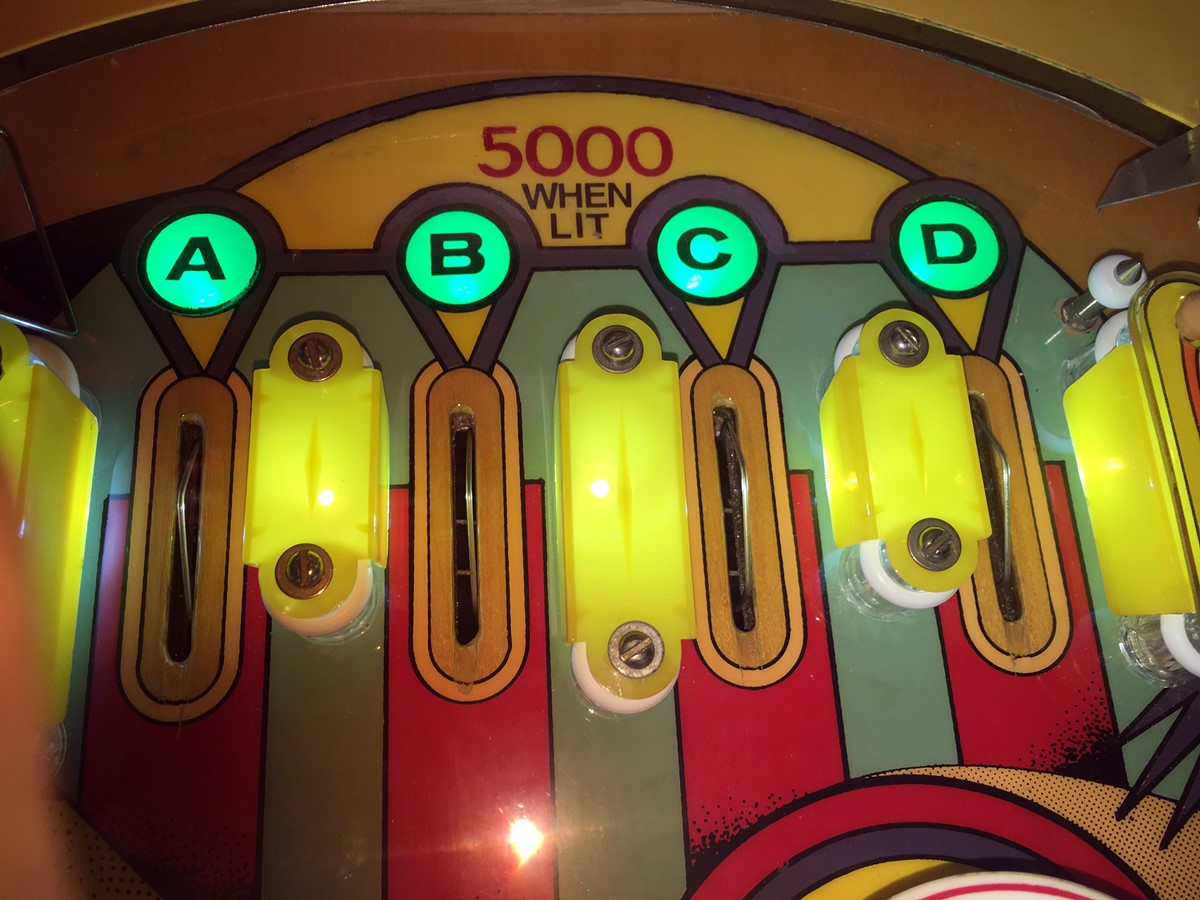
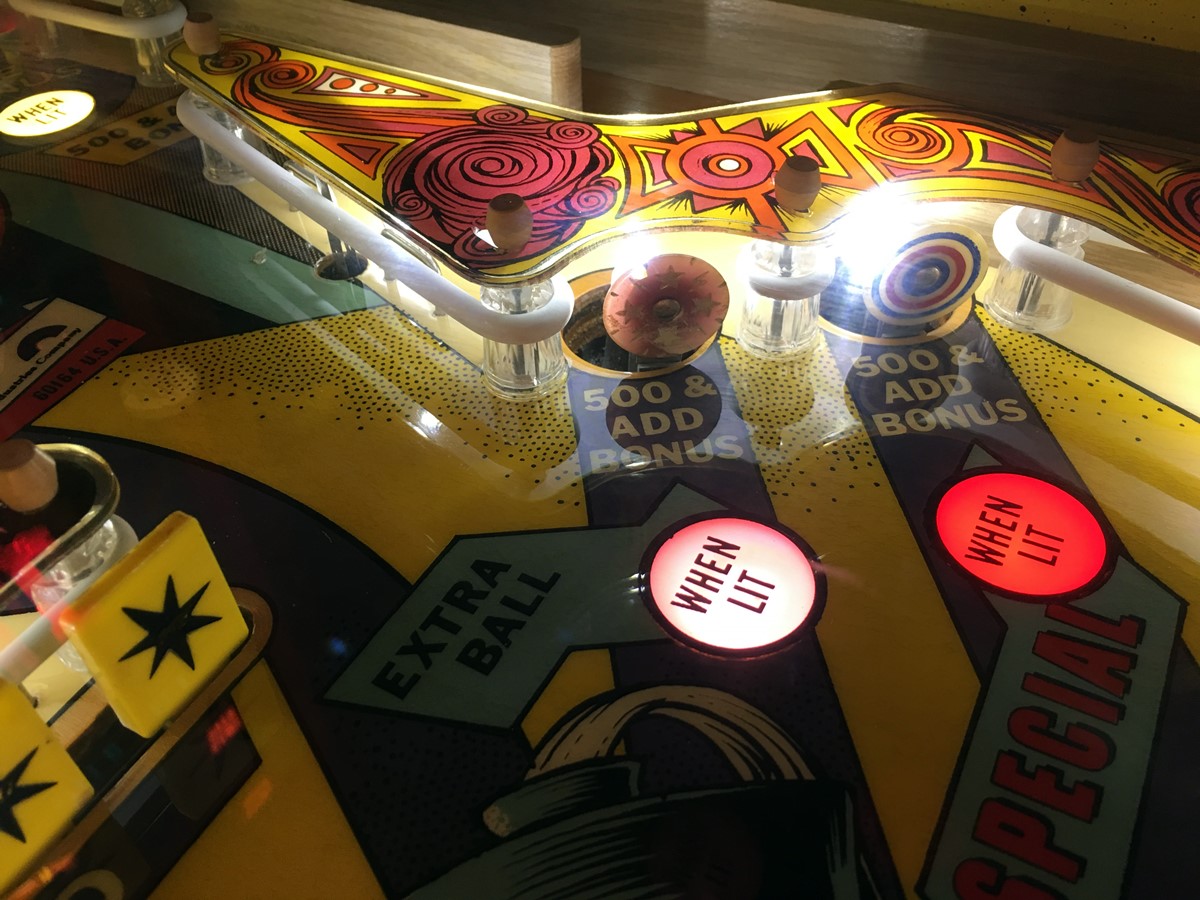
Time to start putting it all back together.
I said I wasn't going to polish parts you'd hardly see, but this one was too
big - and it polished up real nice.
Mmmmm, shiny parts reflecting off a clear coated playfield - WooHoo!
Yeah, nobody will probably ever see it - but I just couldn't let myself put
dirty parts back on this nice shiny playfield.
Booting up for the 1st time.
I had one problem starting a game - and it turned out to be a fuse - that's
it.
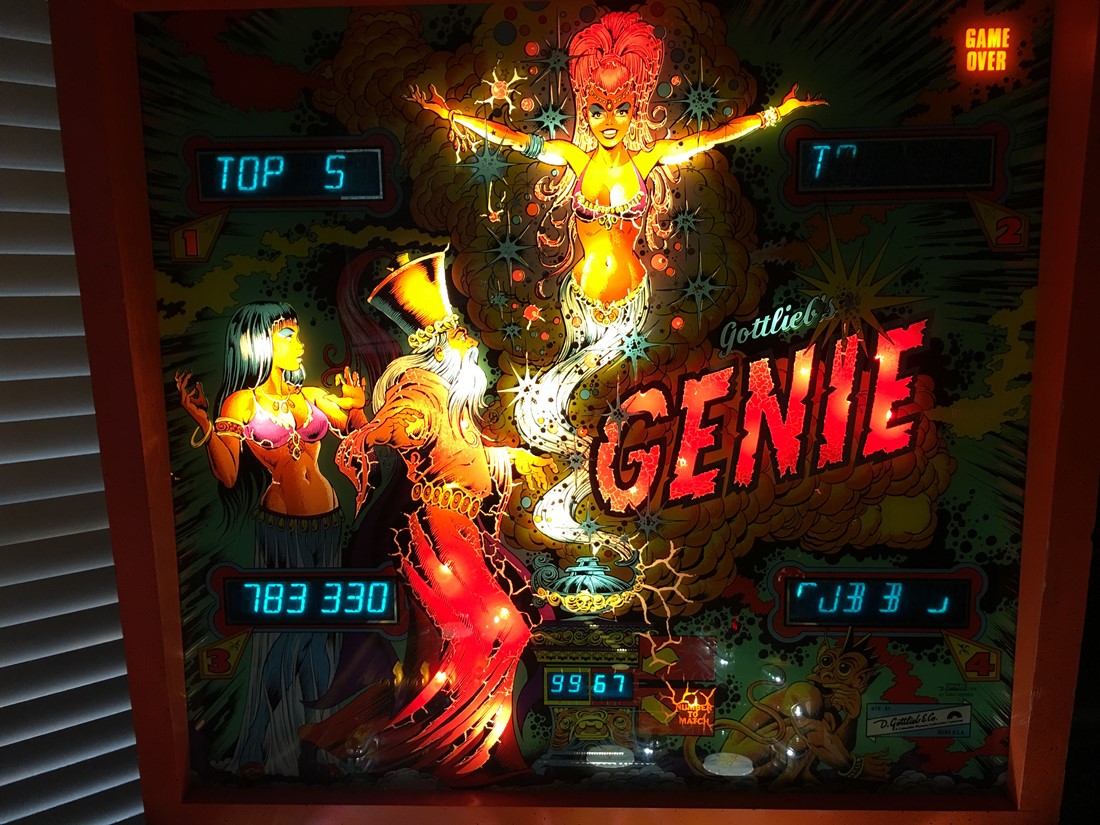
IT WORKS!!!
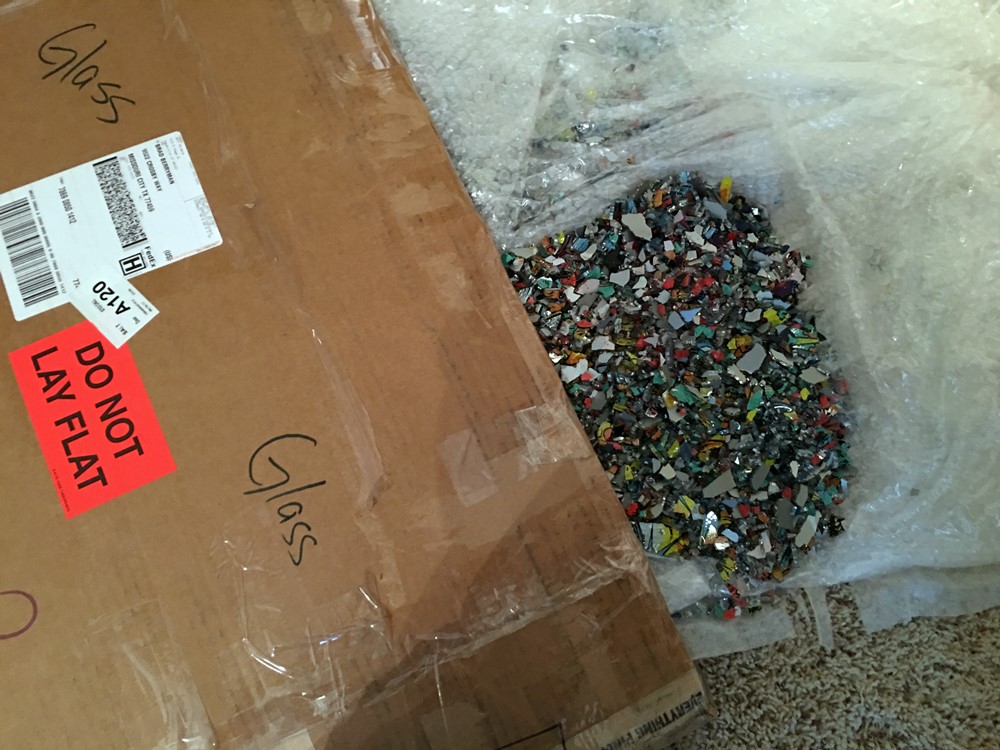
I tried to buy a better backglass off Pinside...but I was sad to see it arrive
like this.
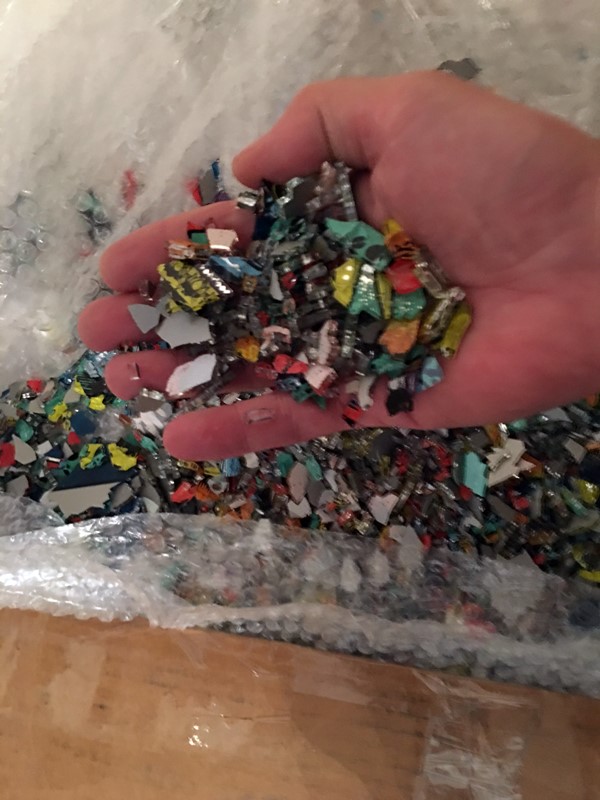
Awwwwww....
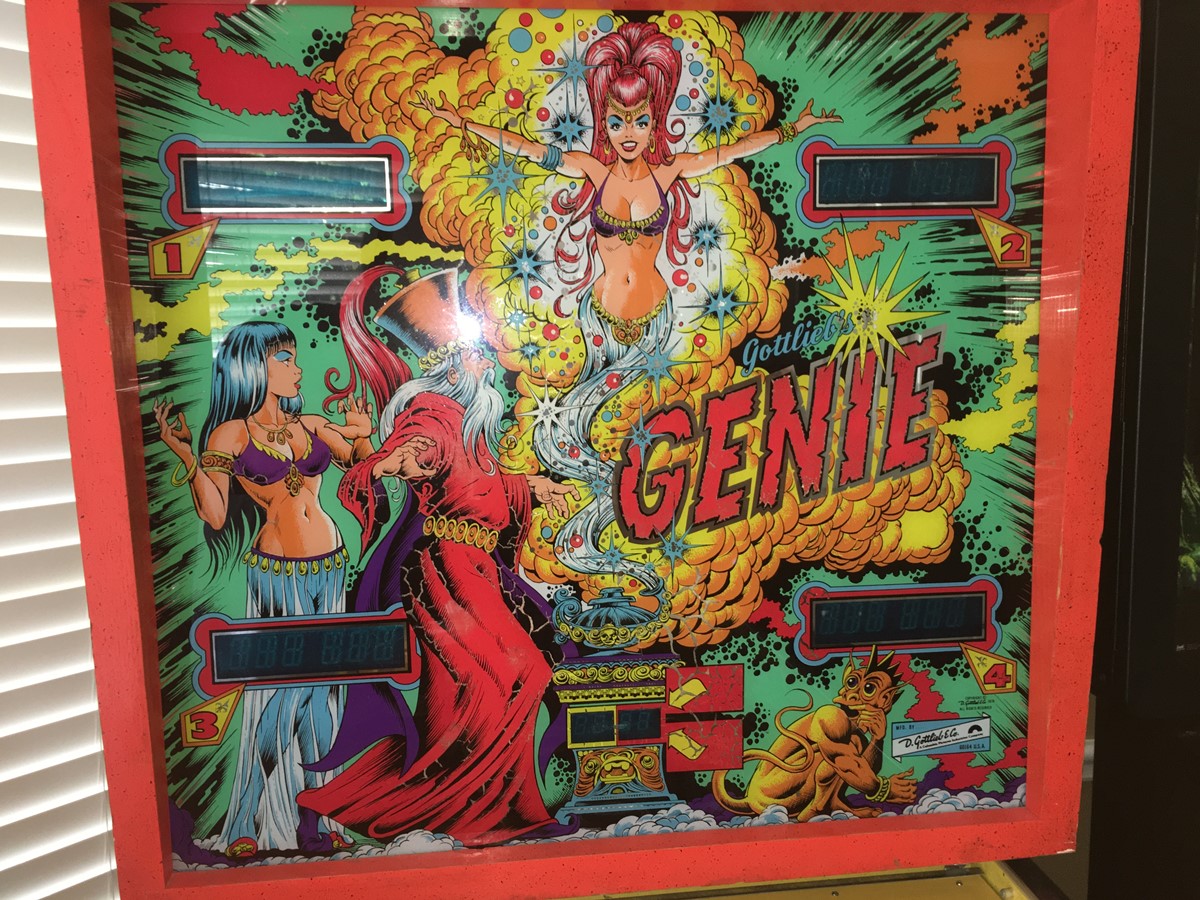
Well, the original I had wasn't too bad - so I just decided to go with it.
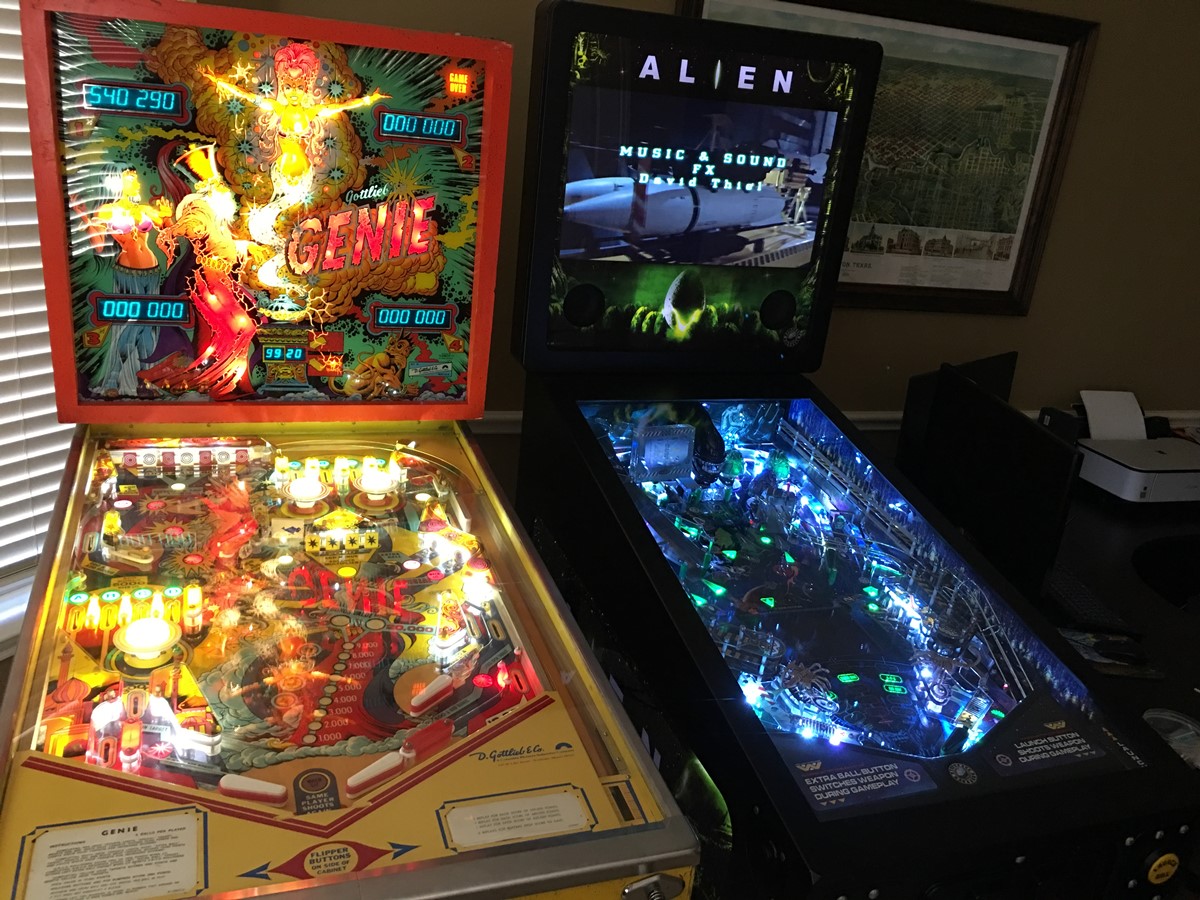
So it's DONE!!
After selling my Metallica, I moved it into my office.

That's it - hope you enjoyed my little pinball adventure.
![]()