Firepower Playfield Swap
Back in the 'arcade days', I played Firepower more than any other pinball machine. Last year, I finally found one for sale that was in pretty good shape. Here's the web page I put together for that.. Well, the biggest problem I had with the machine was that the playfield wasn't in very good shape - the inserts were cupped and raised. You would have to look closely to see it - but it did impact the game play. So, when I saw that Classic Playfield Reproductions was going to rerun the Firepower playfield - I put my name down for a pre-order.
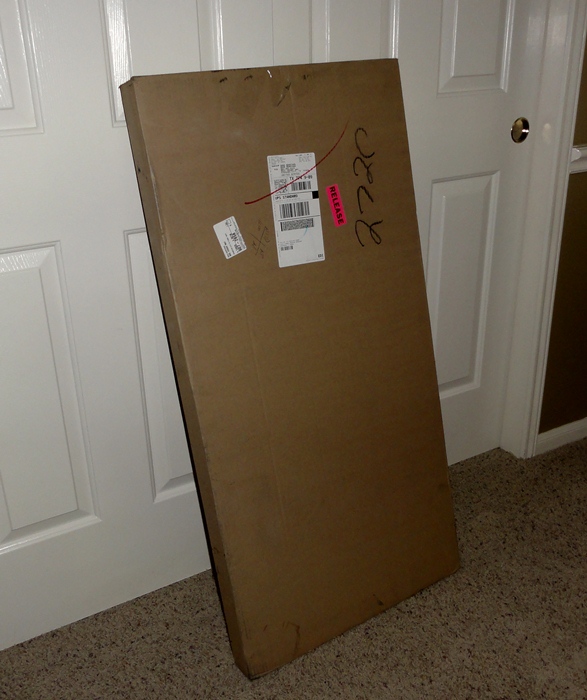
On February 2nd, I received a big package in the mail.....
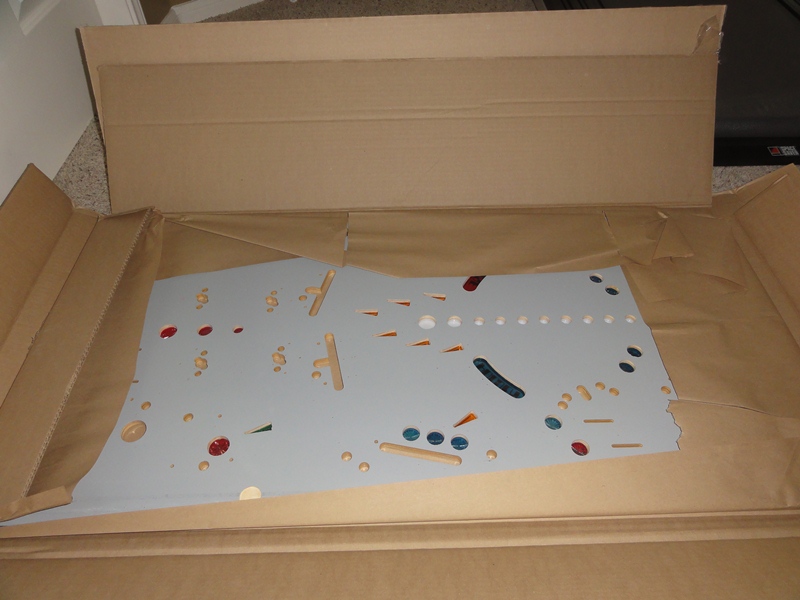
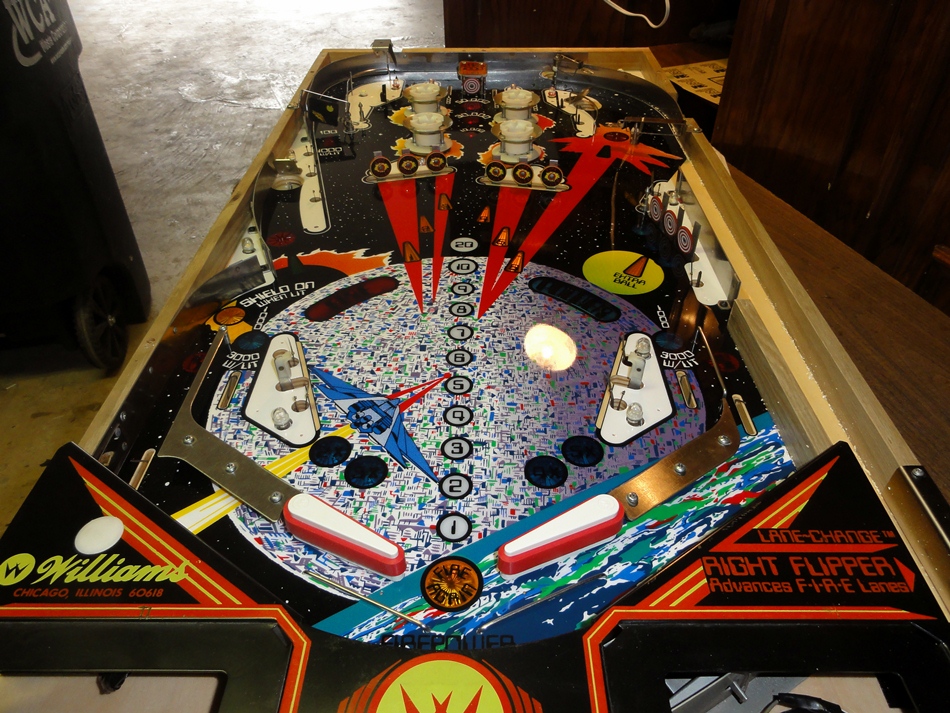
The new playfield
came carefully packed - a box within a box.
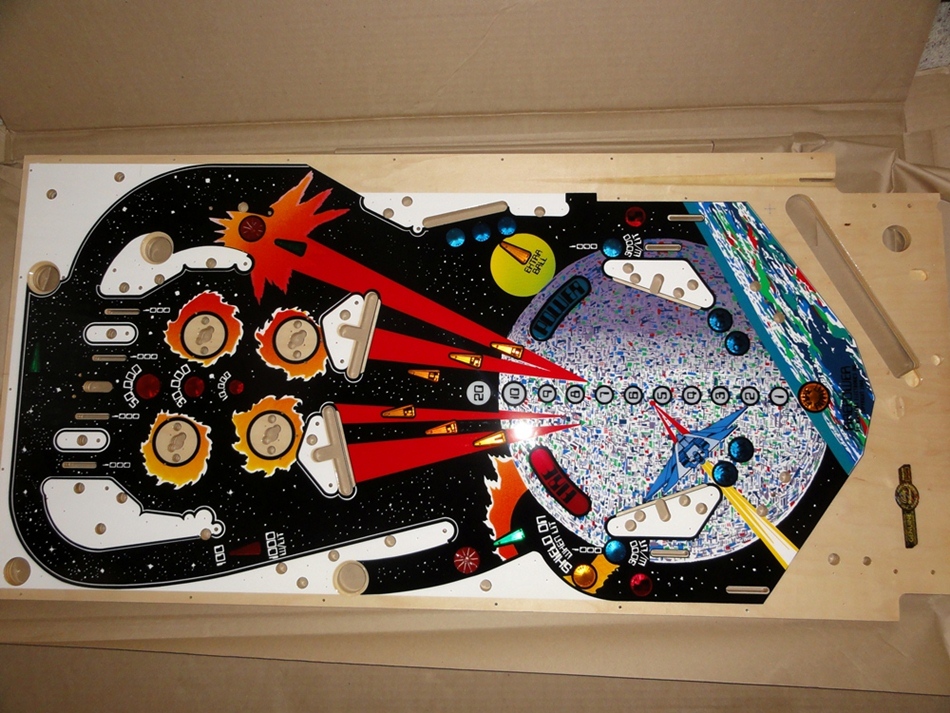
And there she is - Ta-Da~!
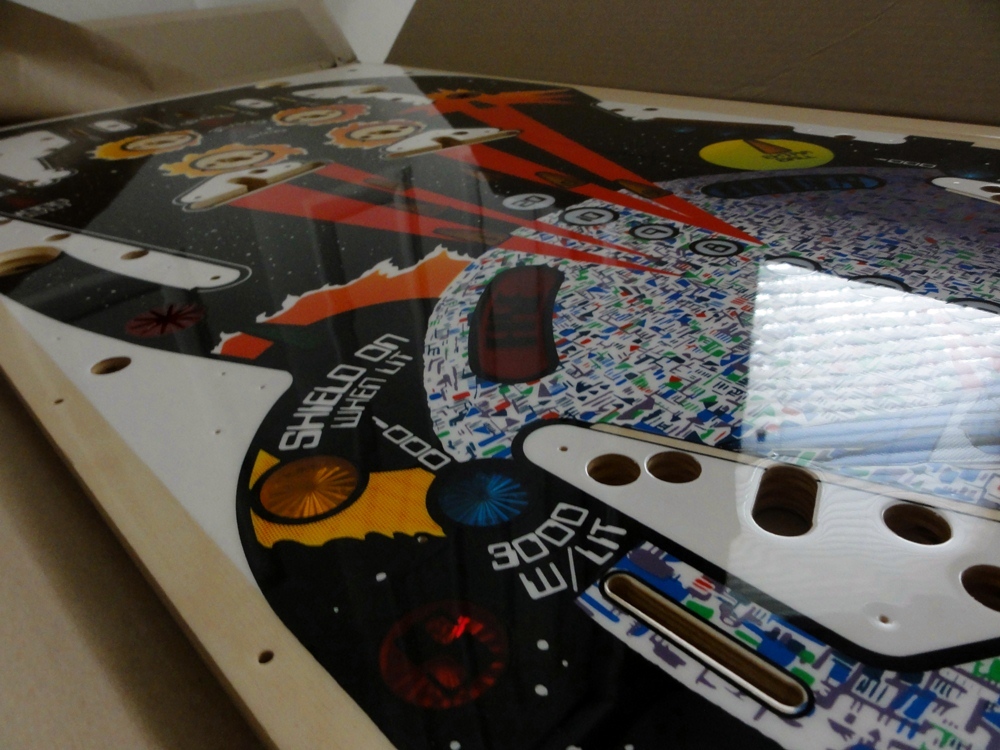
The surface is like glass.
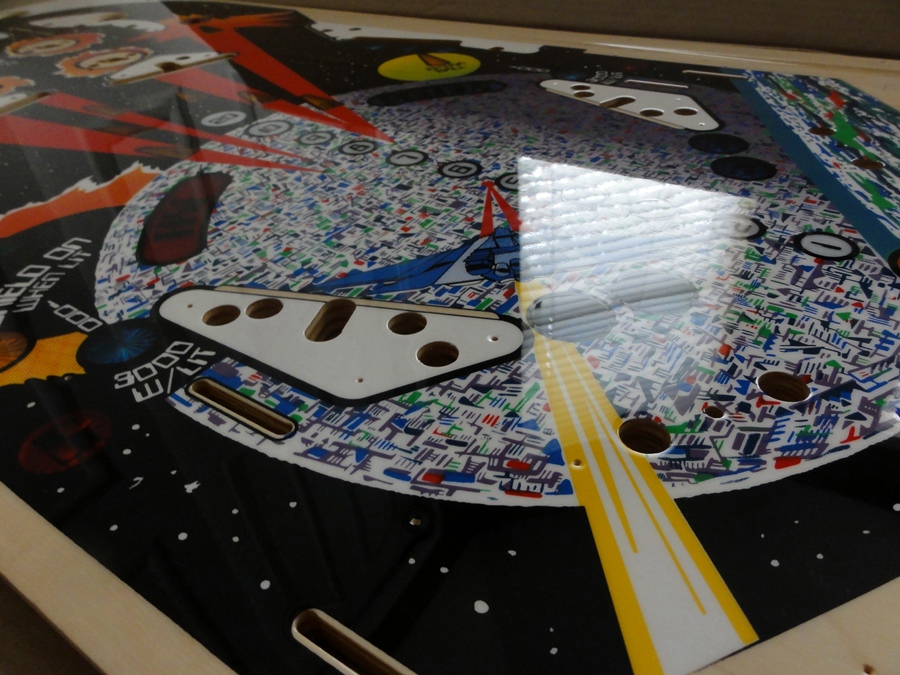
SO SMOOOOOOOOTH
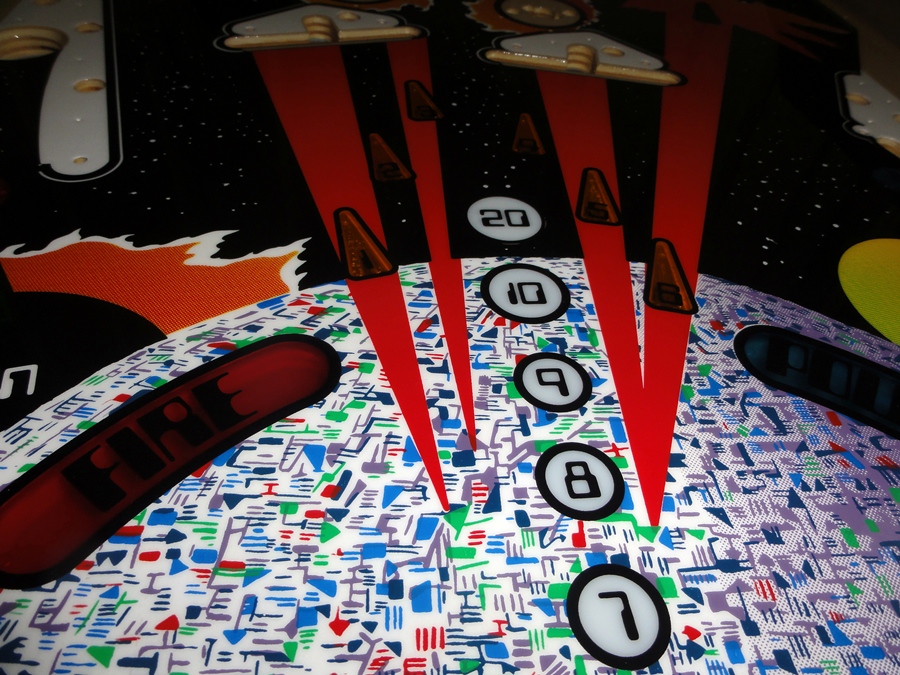
It's beautiful.
Now, the project begins.
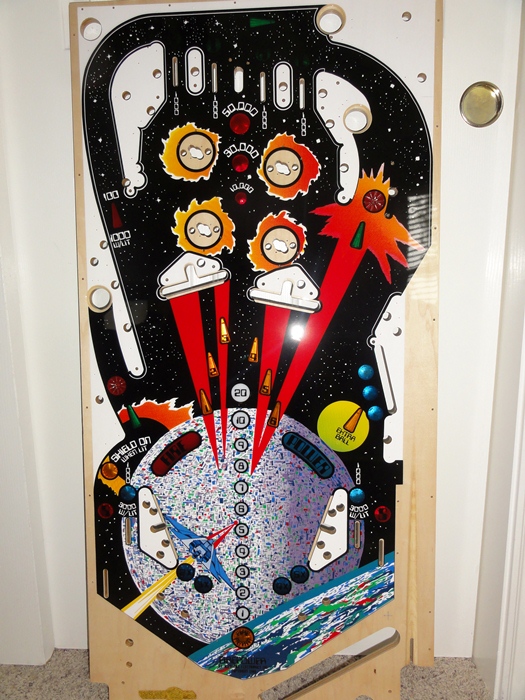
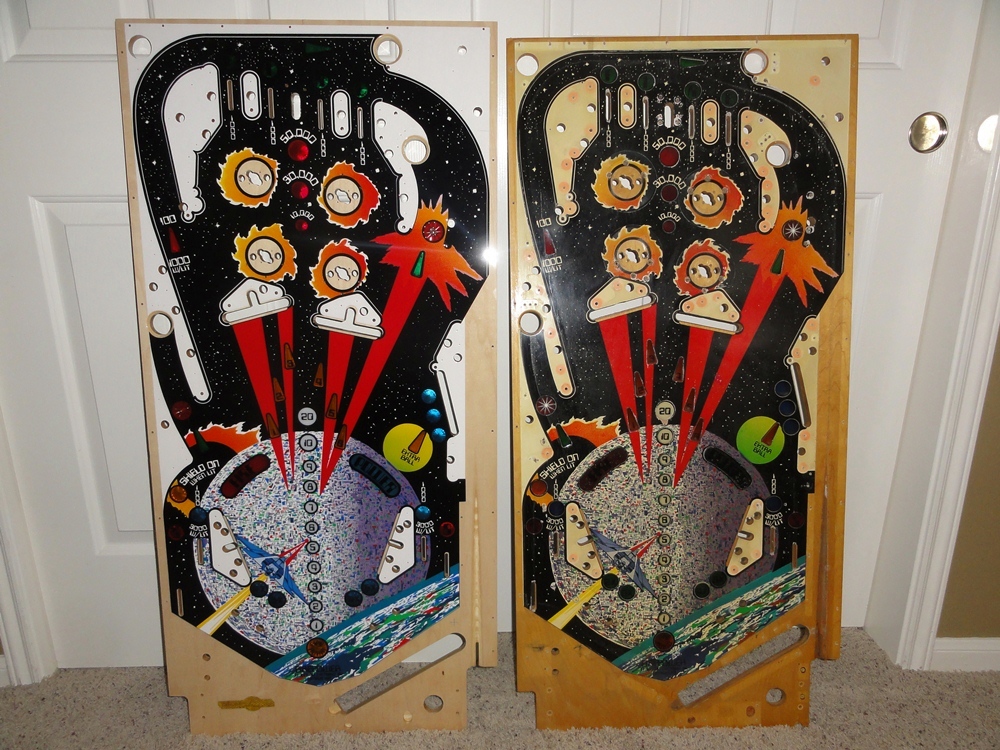
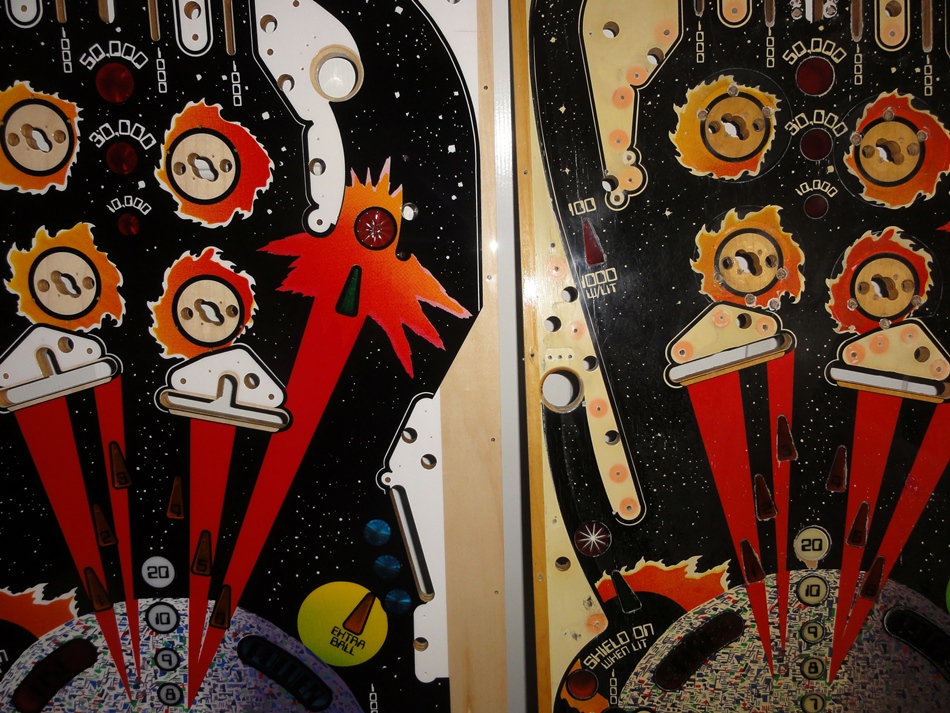
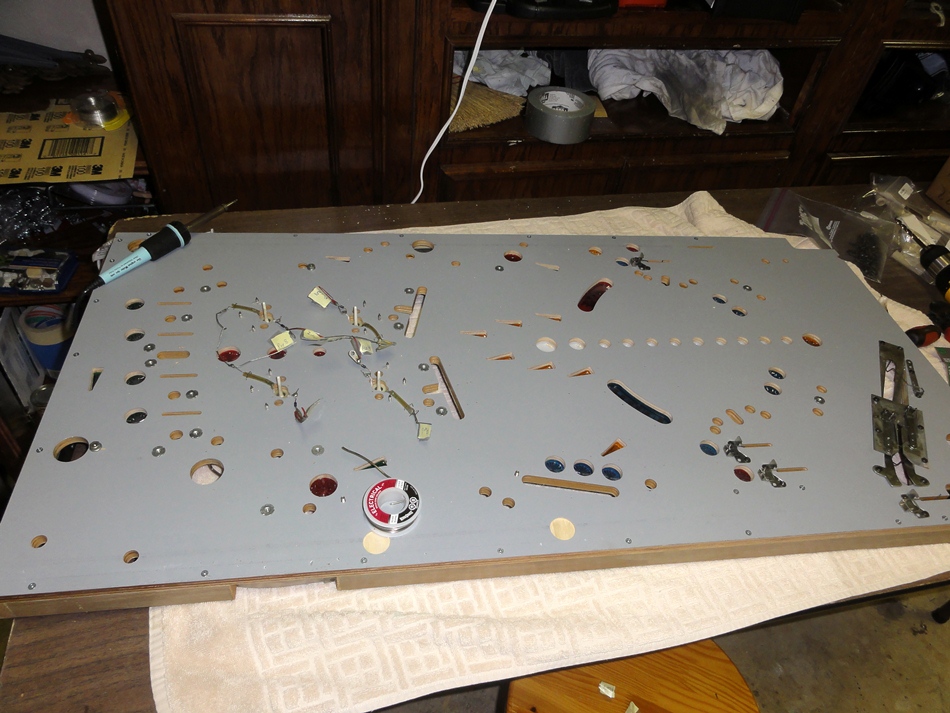
Here's a picture of the old playfield.
Before starting the swap, I played one last game on the old playfield.
I got multi-ball, and a free game - so I figured that was good Karma, and started
the tear-down
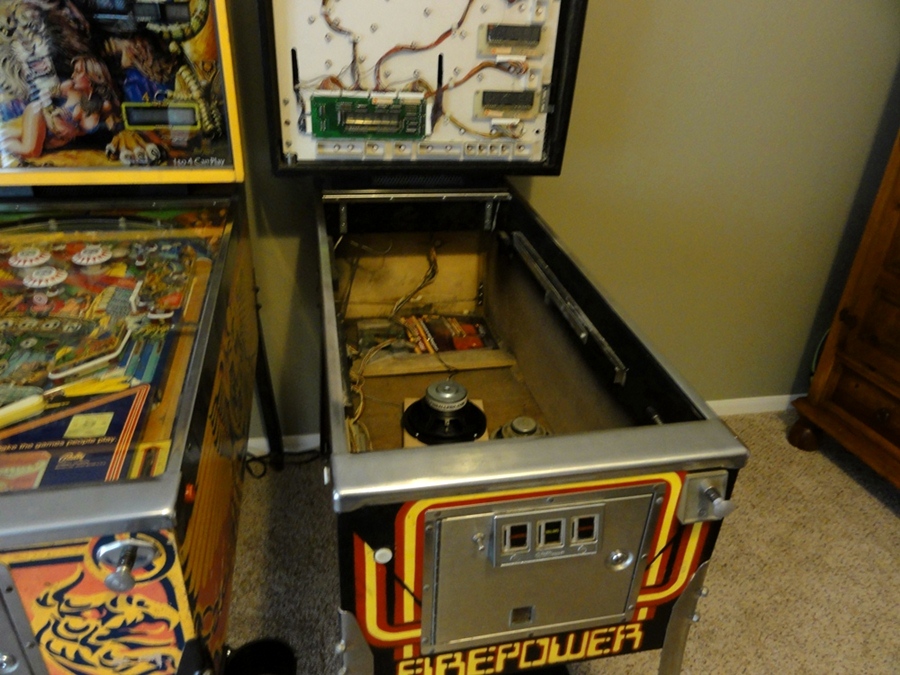
I disconnected the old playfield, and removed it from the cabinet.
Yikes - that's going to be a lot of work....
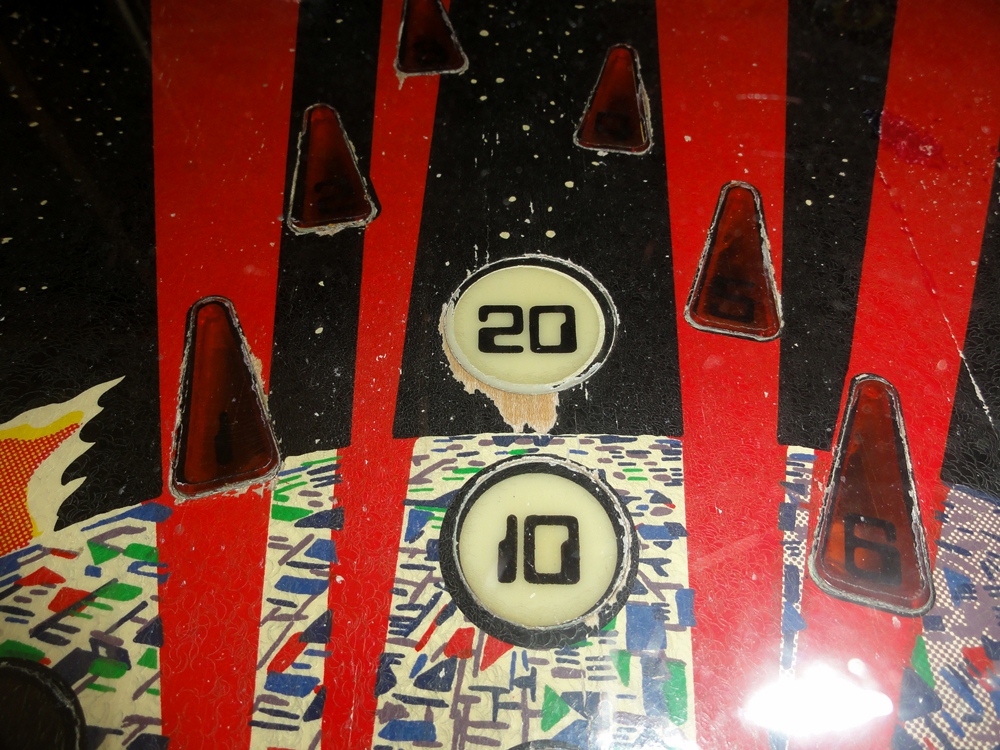
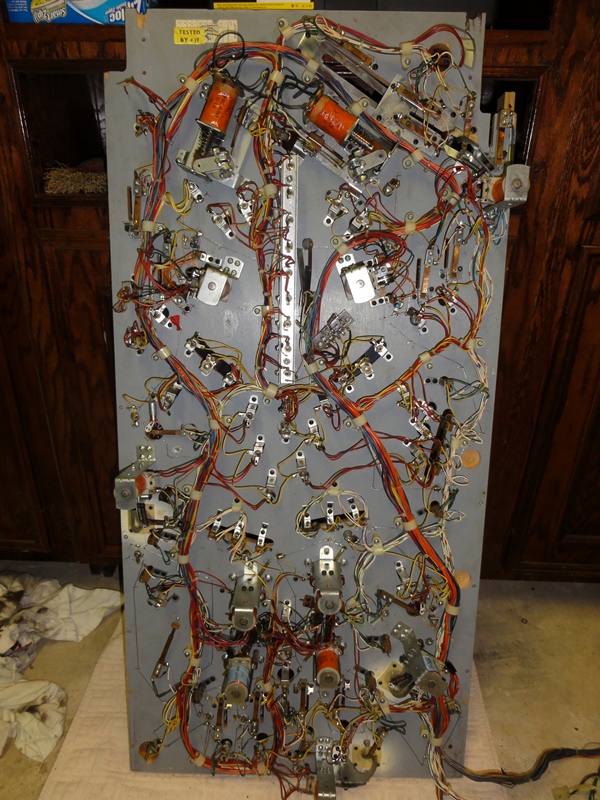
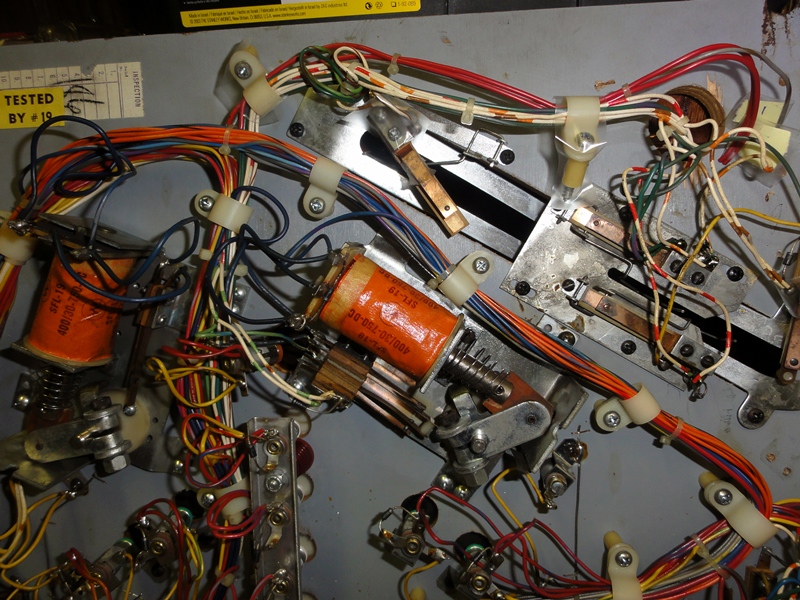
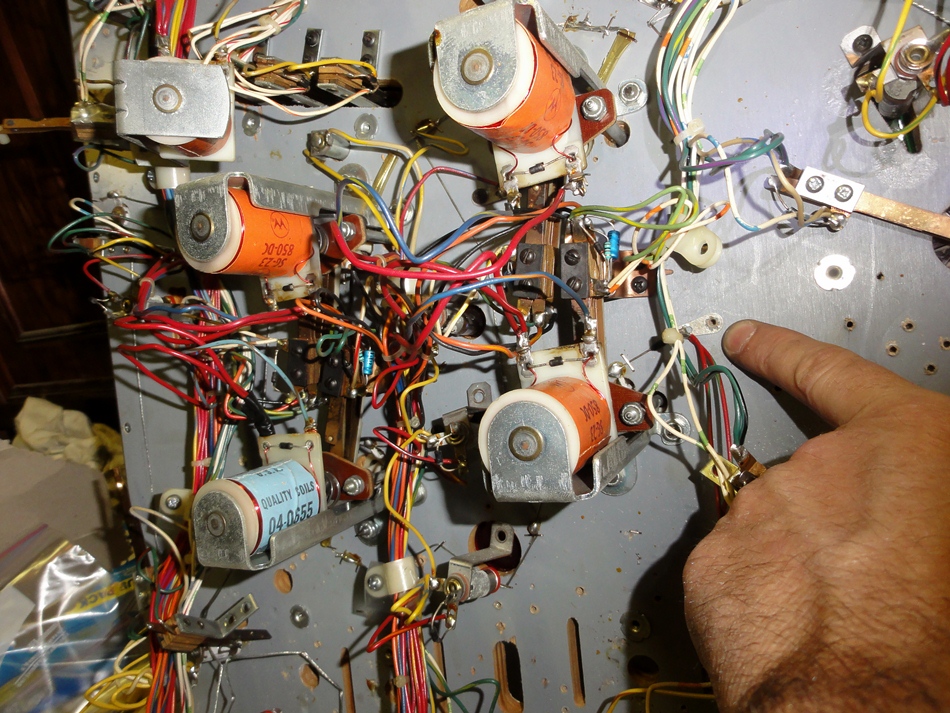
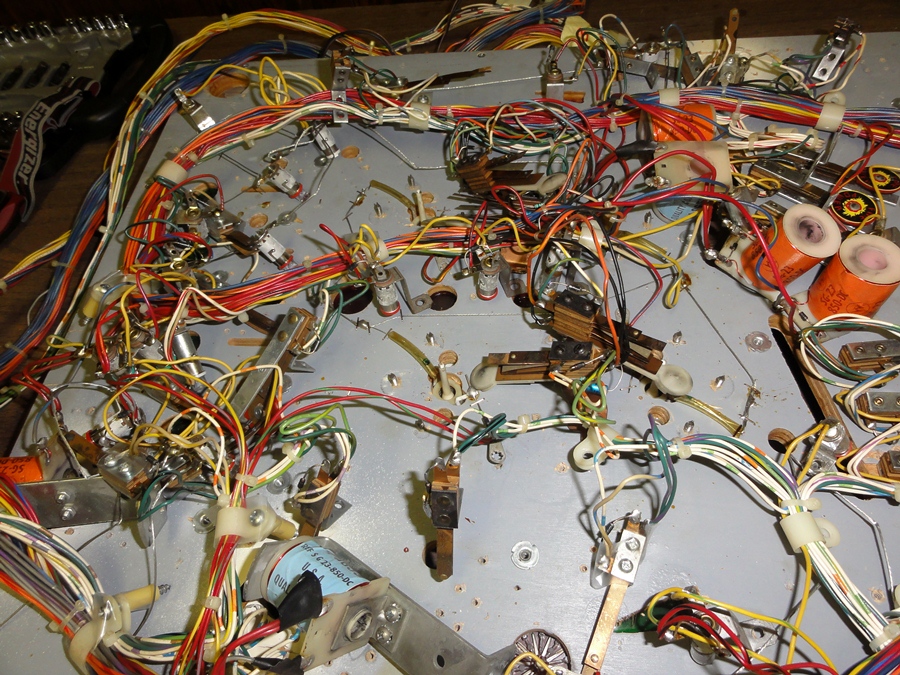
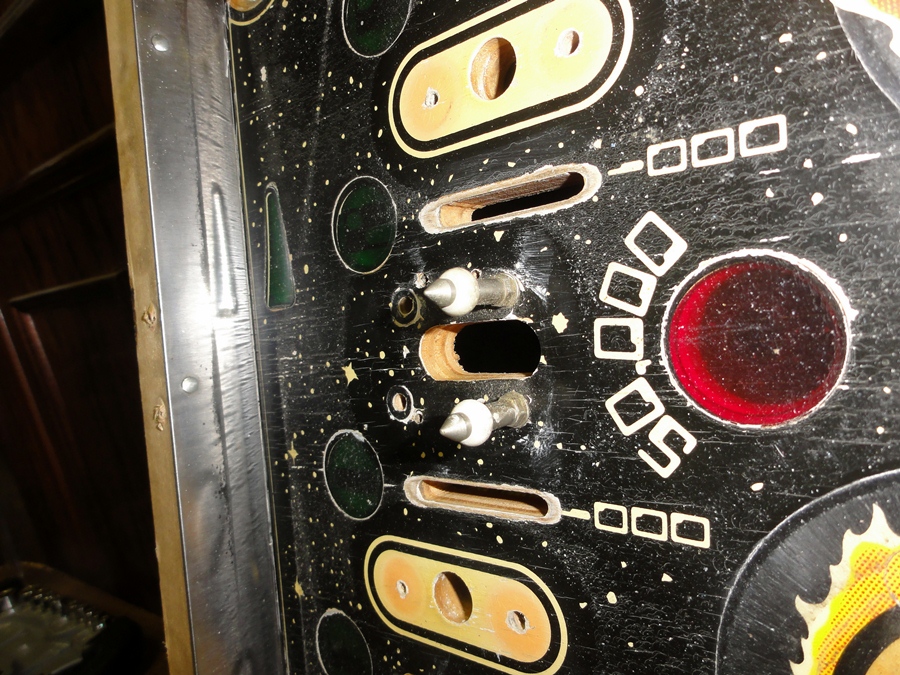
Here's a few pics of the old playfield during the tear-down
You can see now why I wanted a new replacement.
Everything was removed from the front - now it's time to tackle the wiring harness.
I took a TON of pics along the way - what you see here is just a small sample.
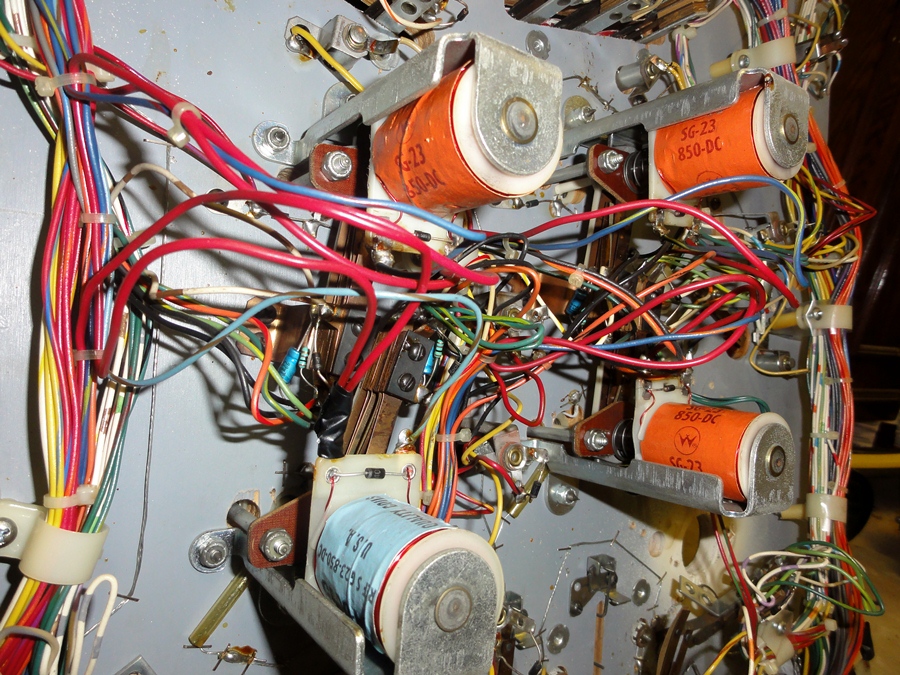
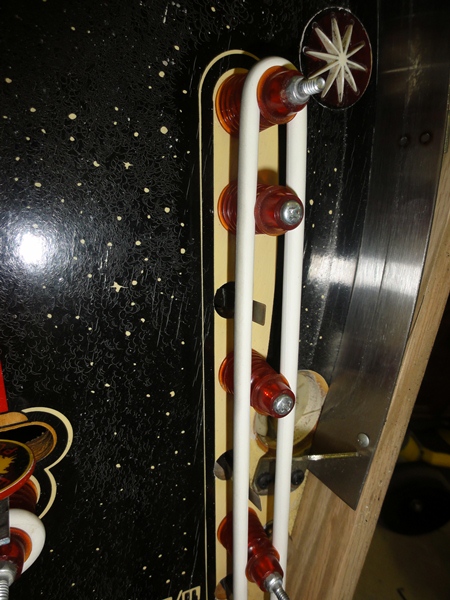
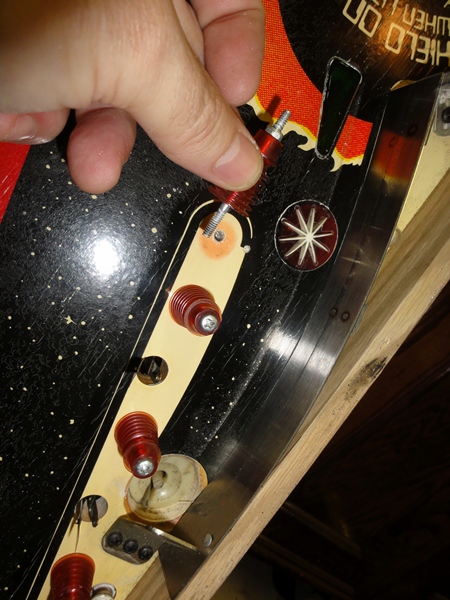
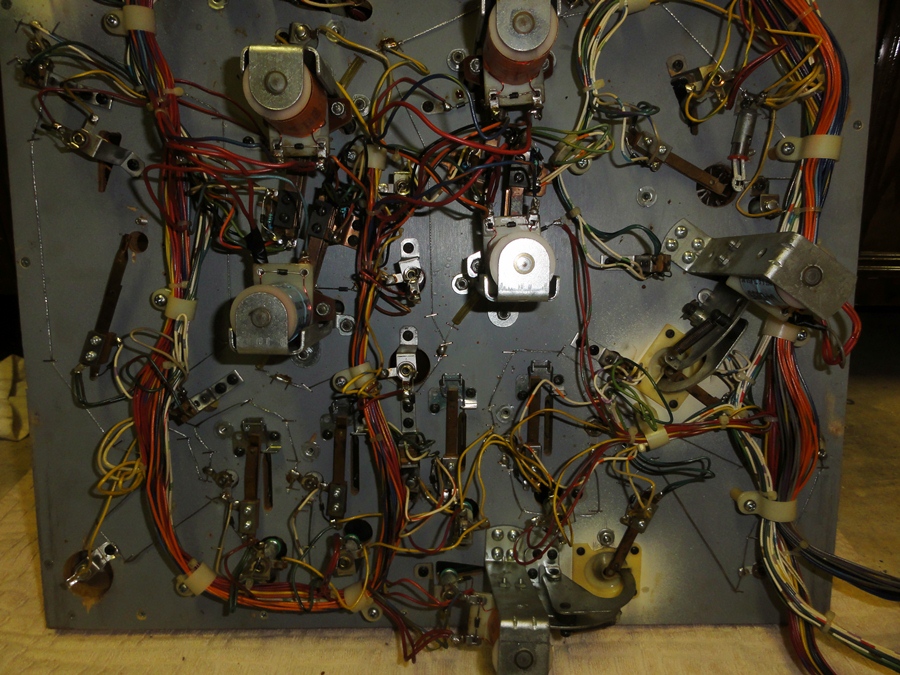
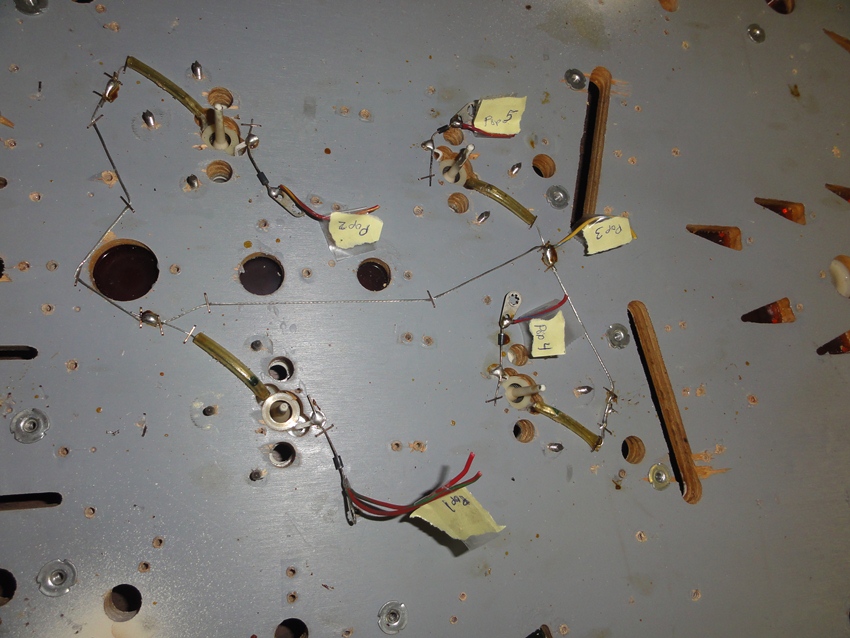
The pop bumper section was by far the most complicated.
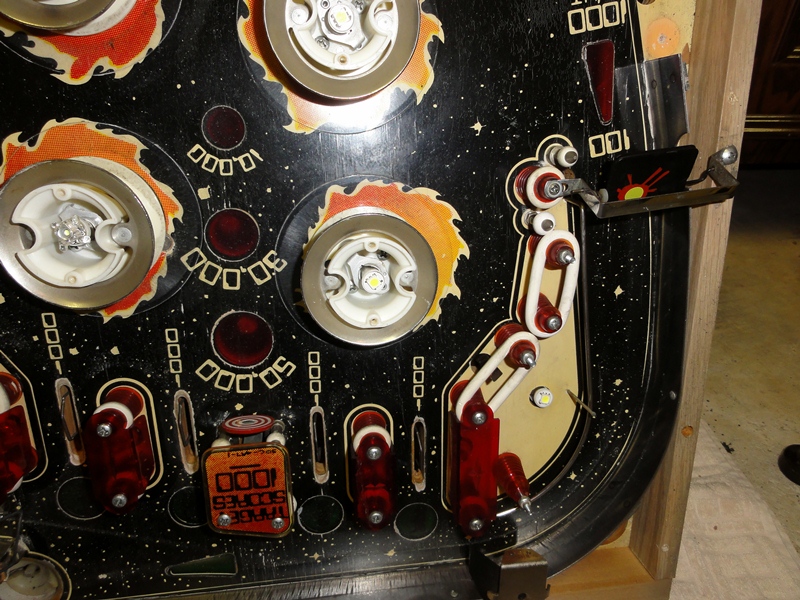
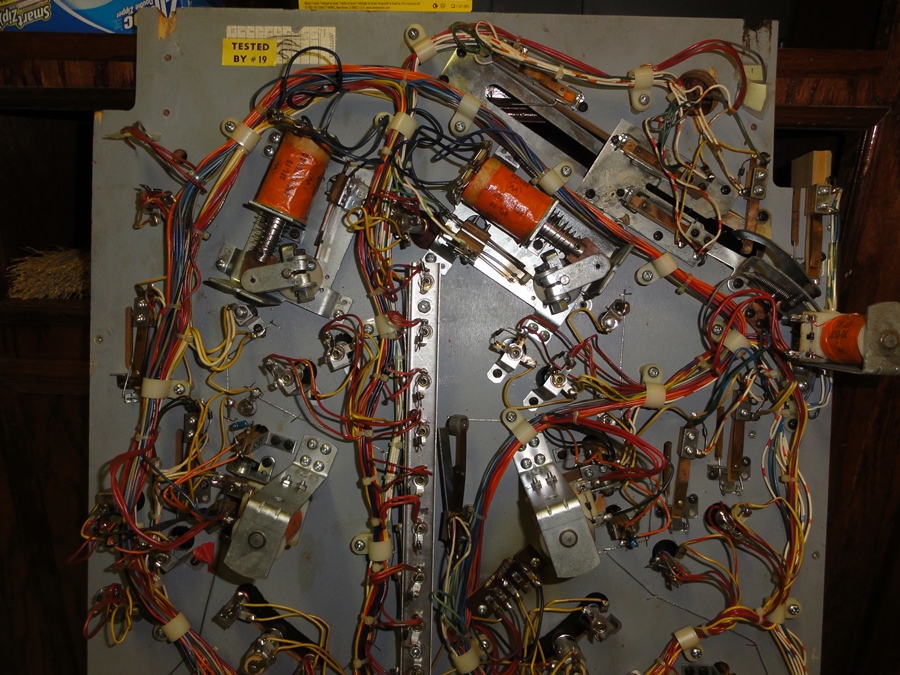
The flipper and ball launch.
Close-up of the pop bumper switch assembly.
In total, I had about 20 various bags of parts.
The wiring harness is almost loose.
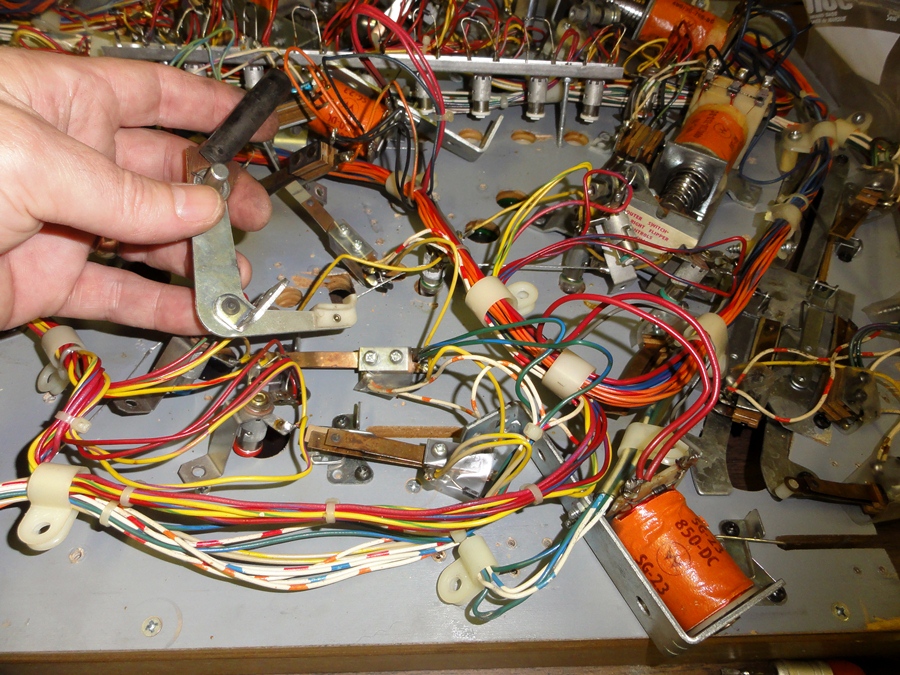
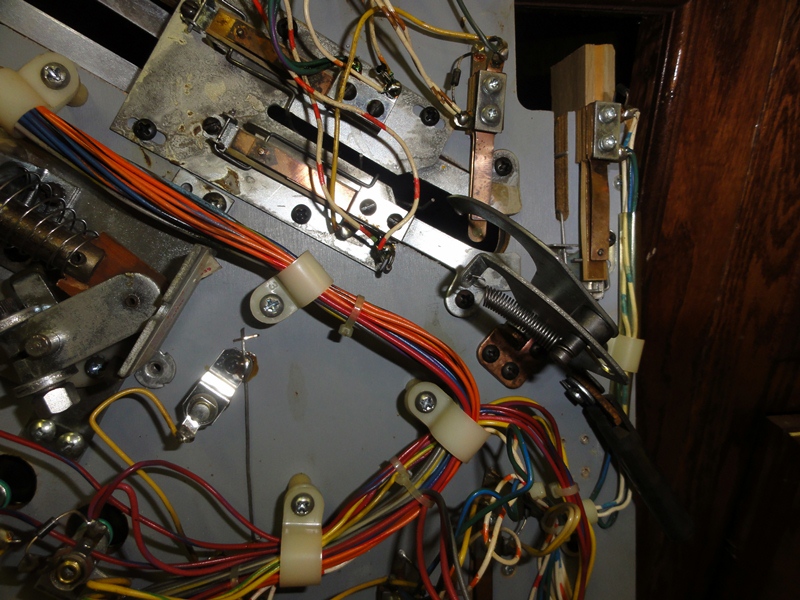
Slingshot arm.
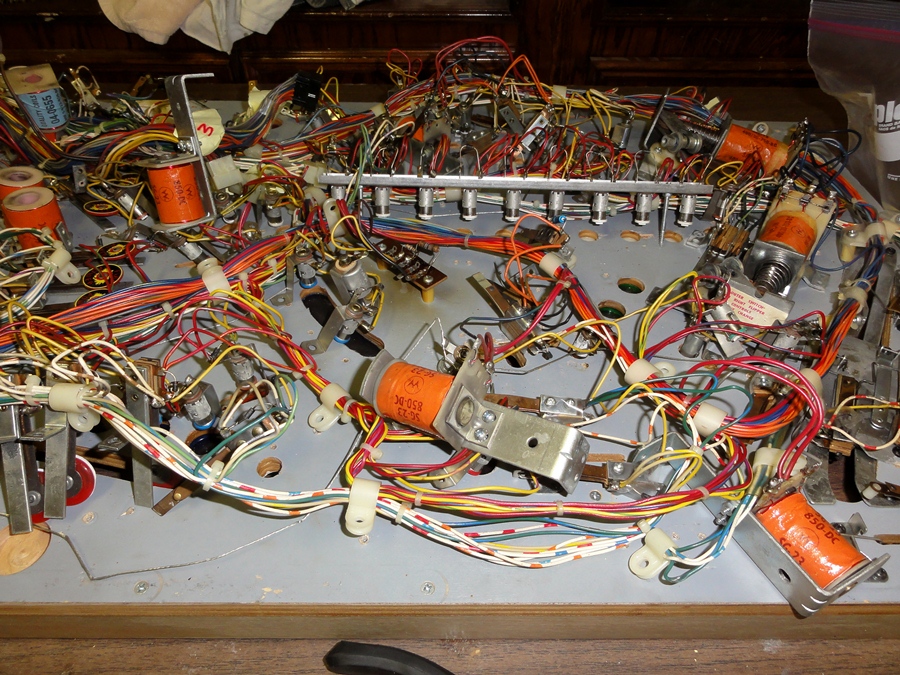
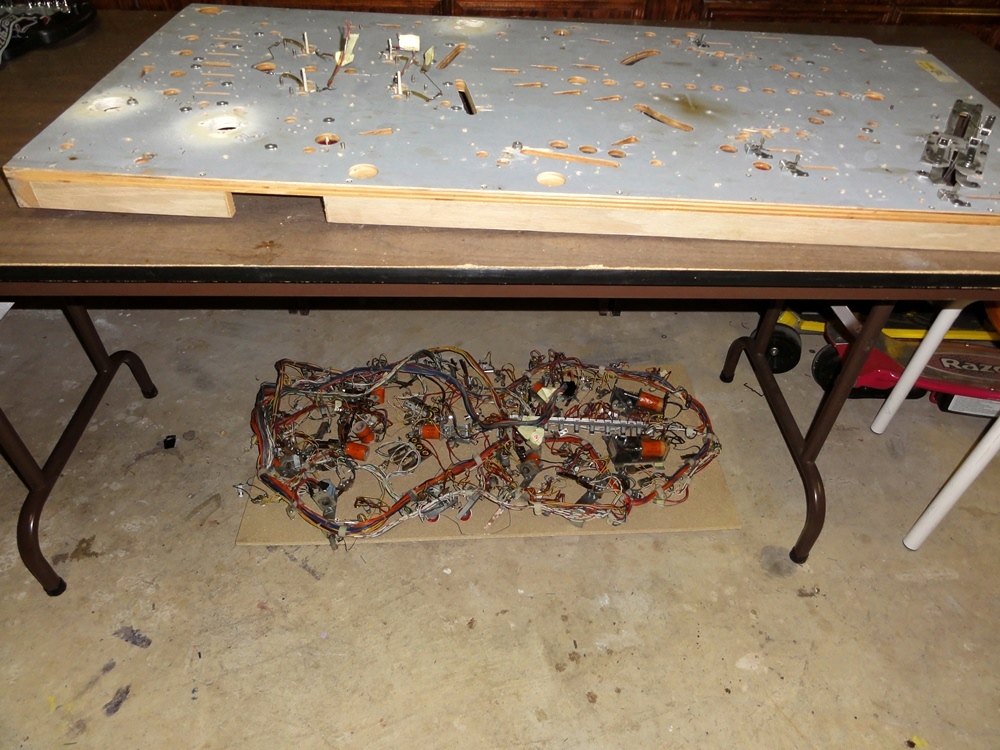
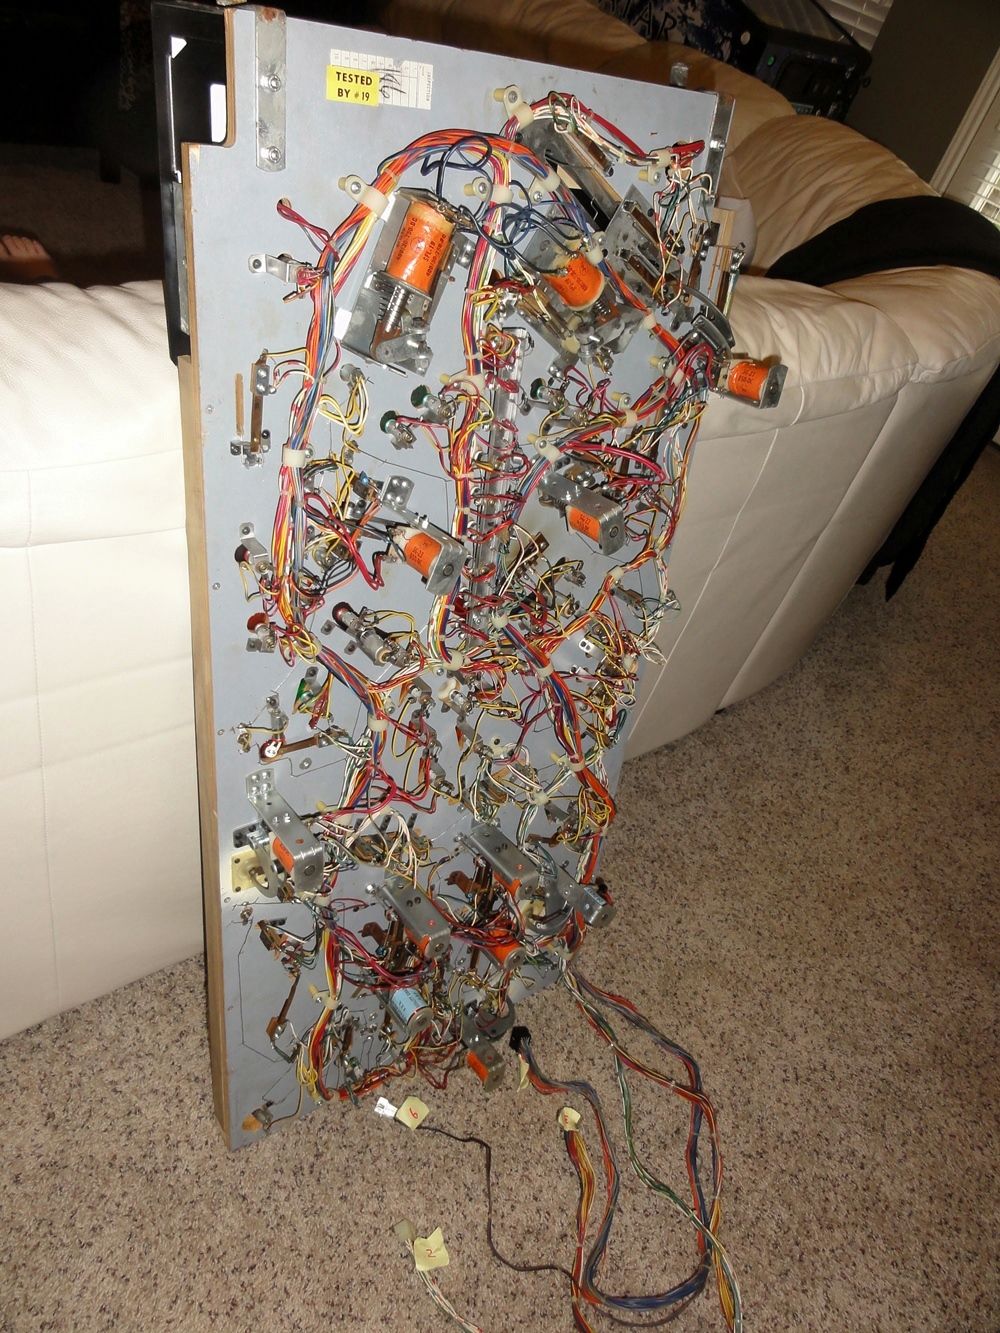
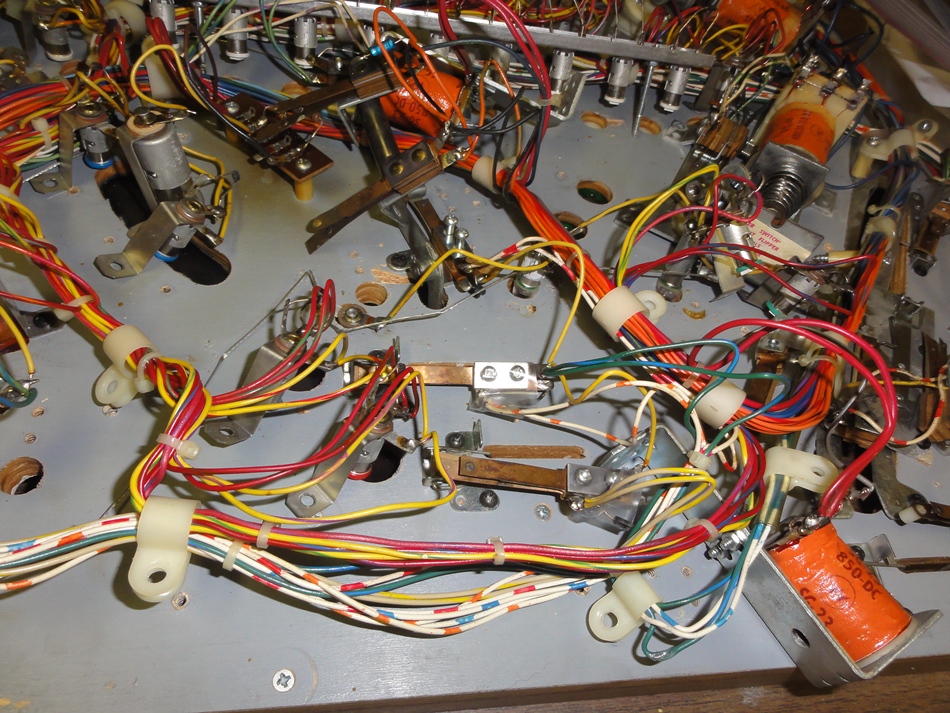
The complete wiring harness, switches, lamps and targets are removed in one
piece.
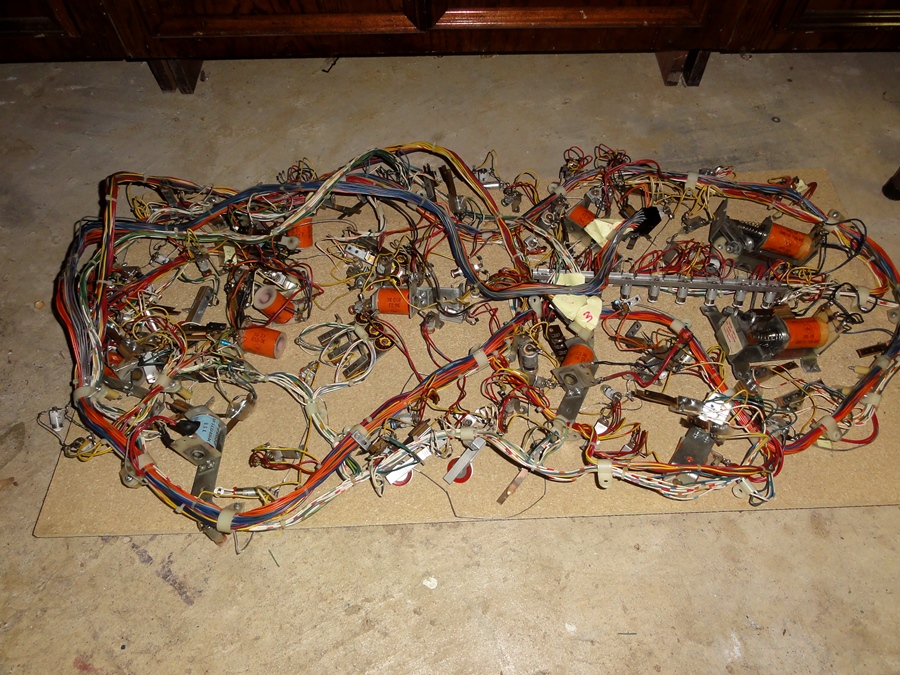
Had to cut wires here...those pesky pop bumpers.
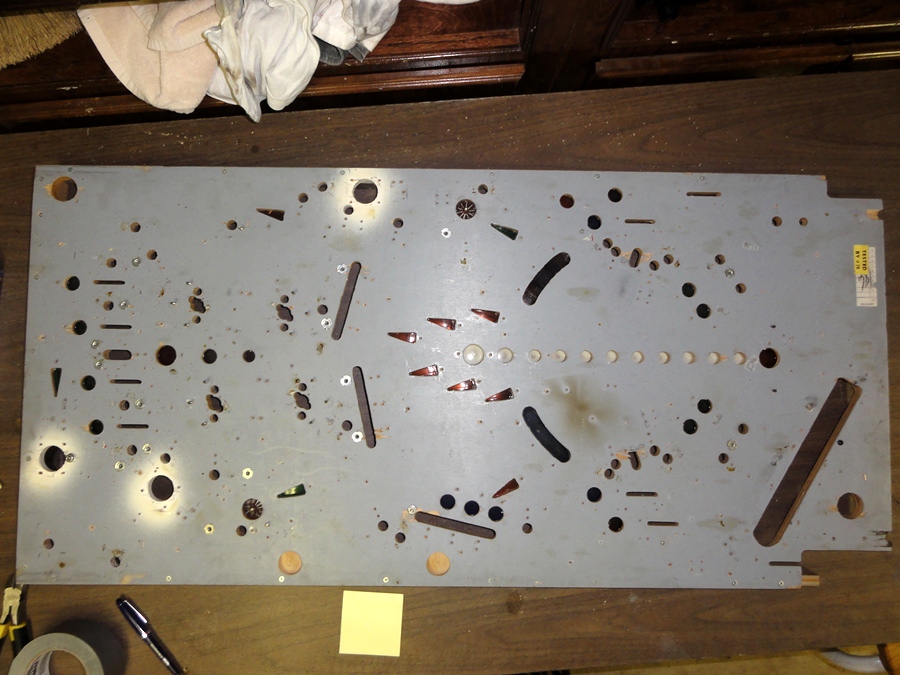
The back is clean.
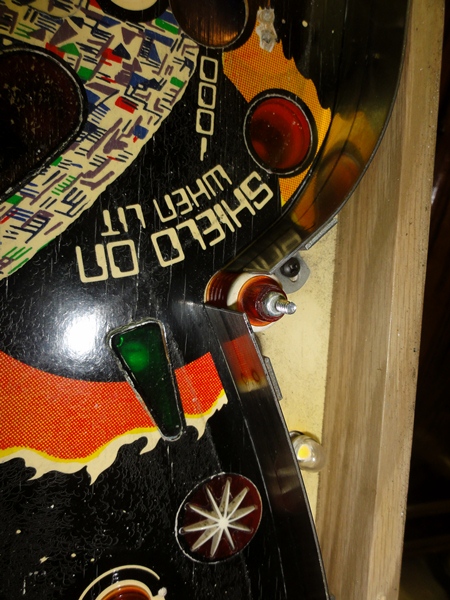
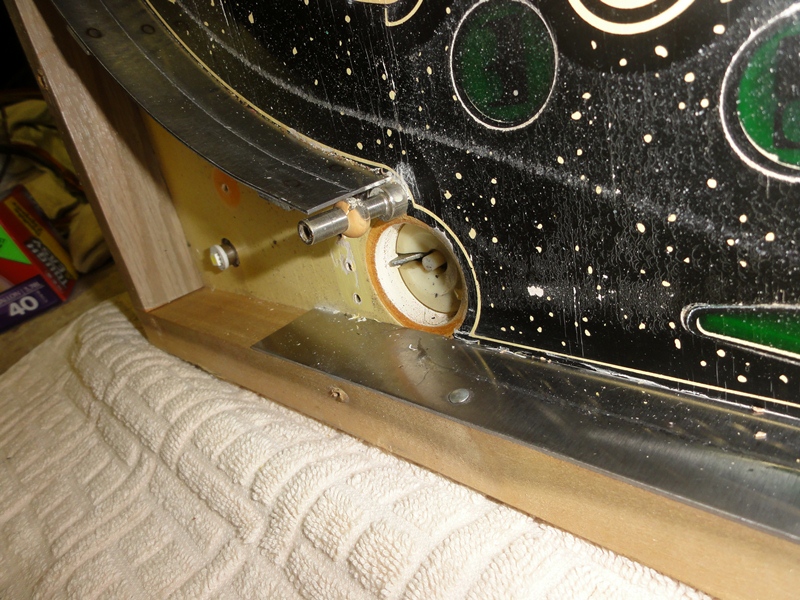
Now, just a few more posts and rails to remove from the front...

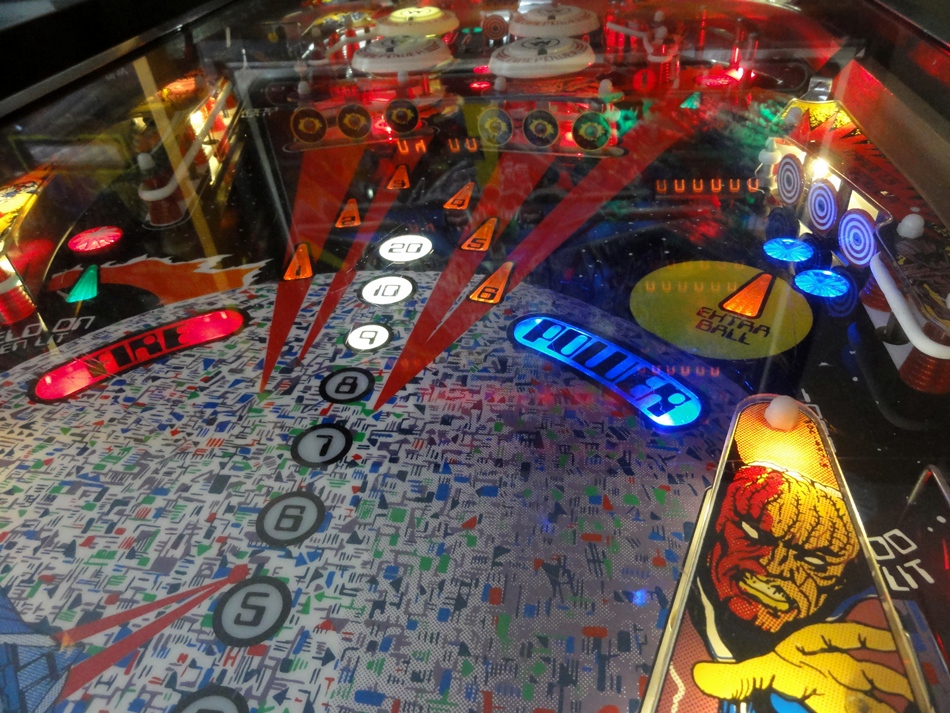
Wow, look at all those ball marks.
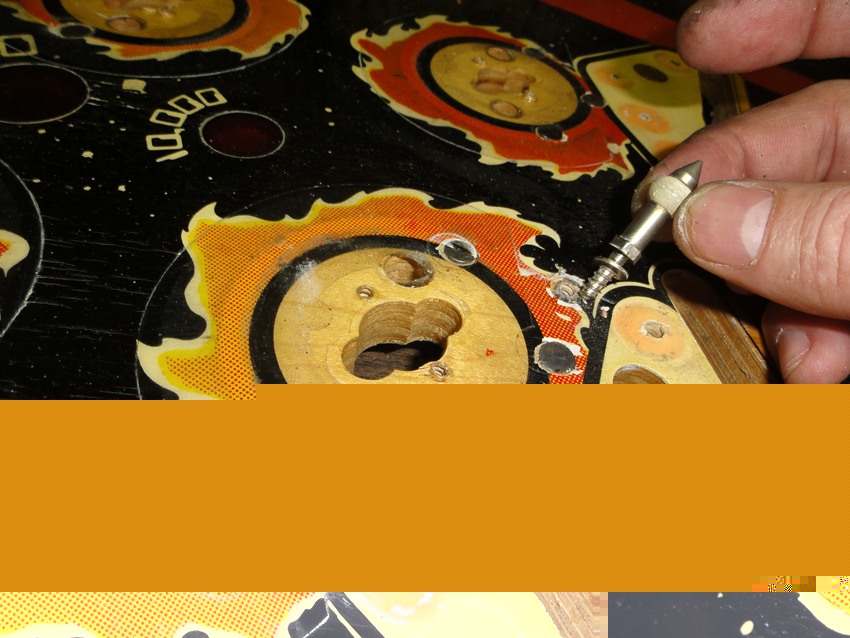
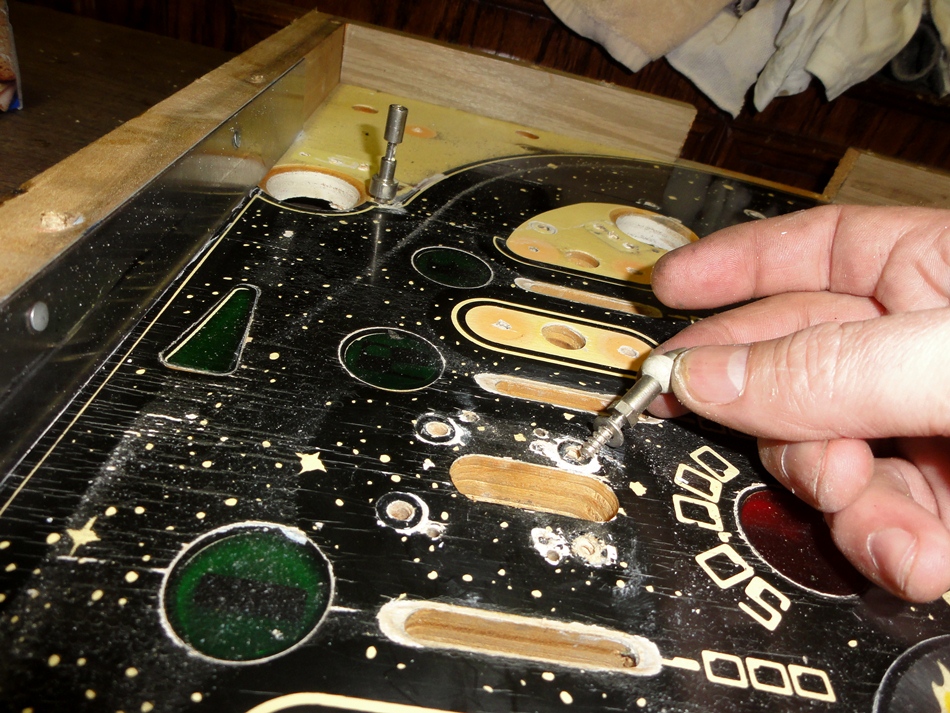

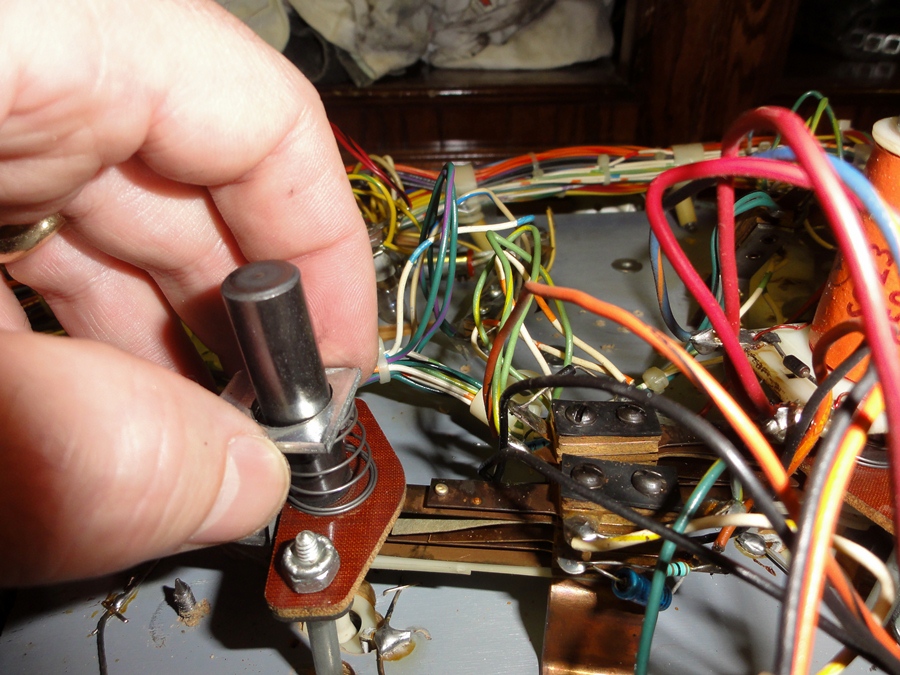
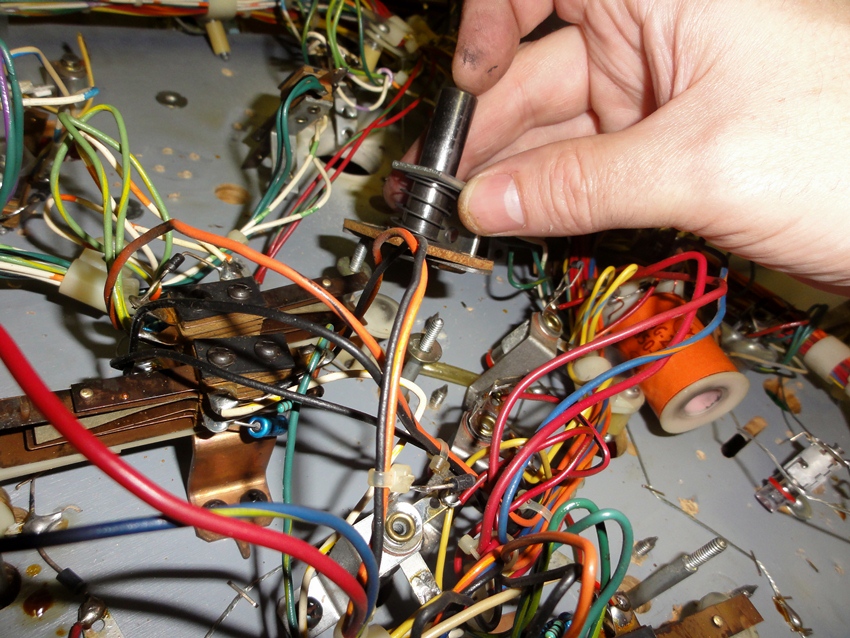
Every part had to be carefully removed and documented, before it was cleaned
for reassembly.
It's amazing what 30 something years will do to your appearance.
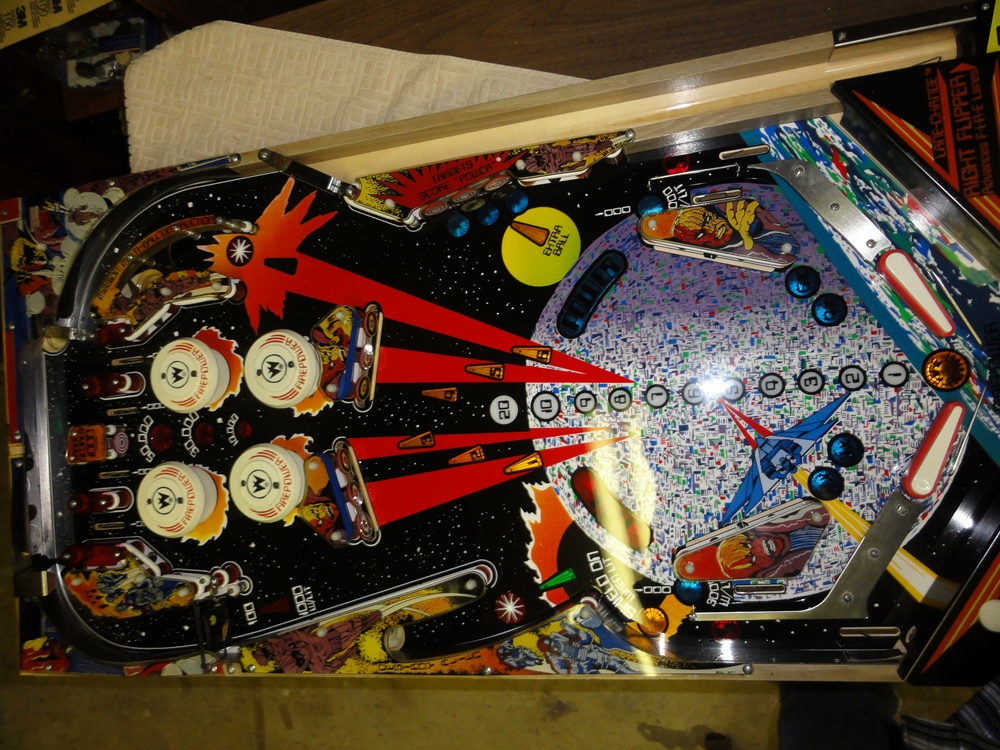
The rebuild begins.
I didn't take as many pictures of the rebuild.....just wanted to get it done.
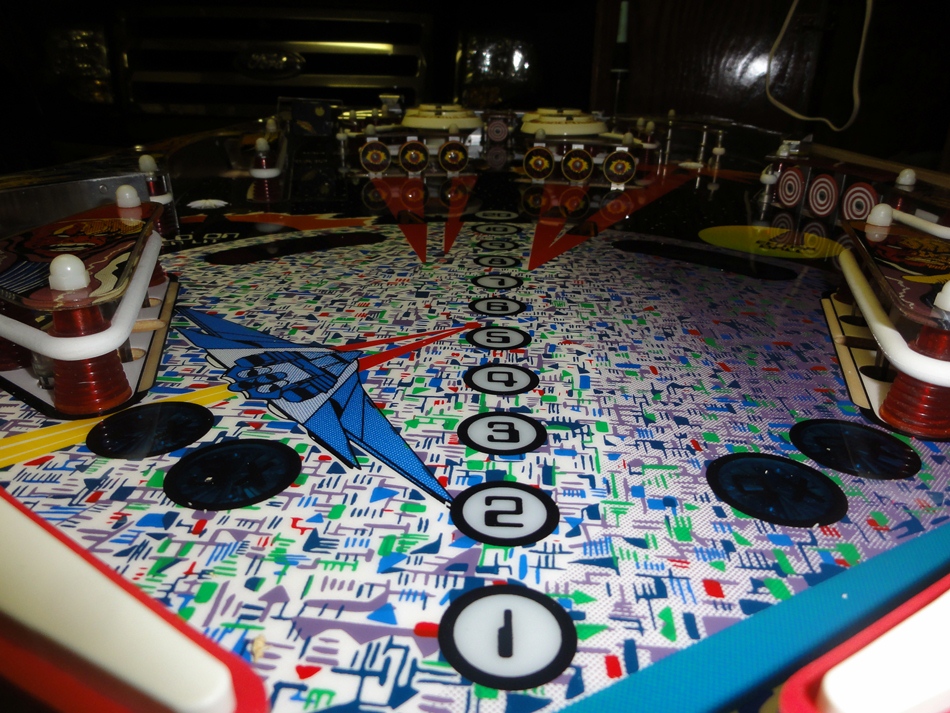
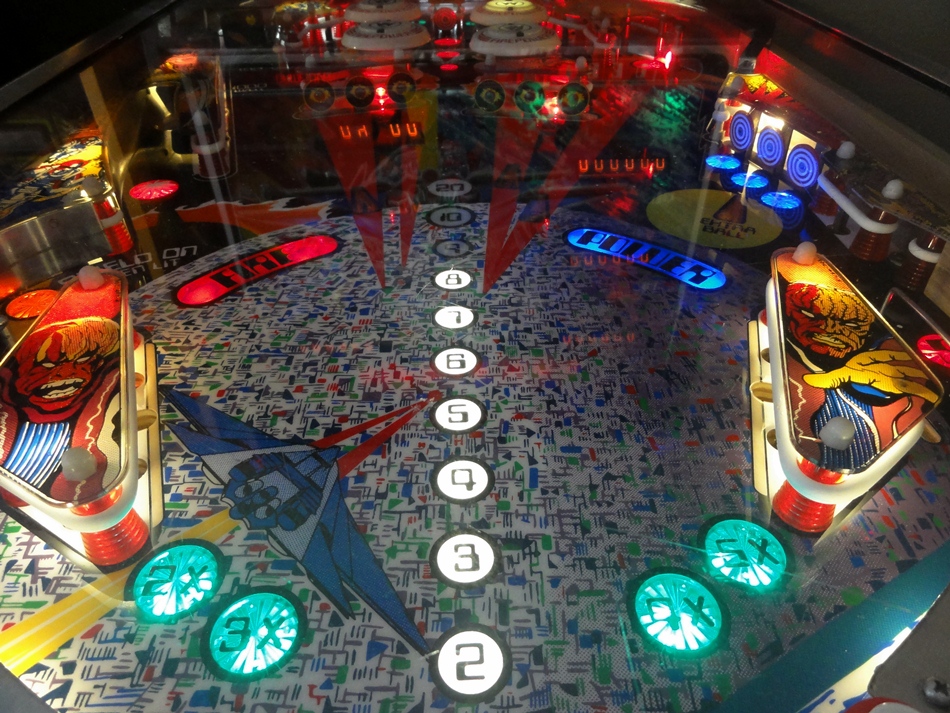
TADA! ...almost finished.

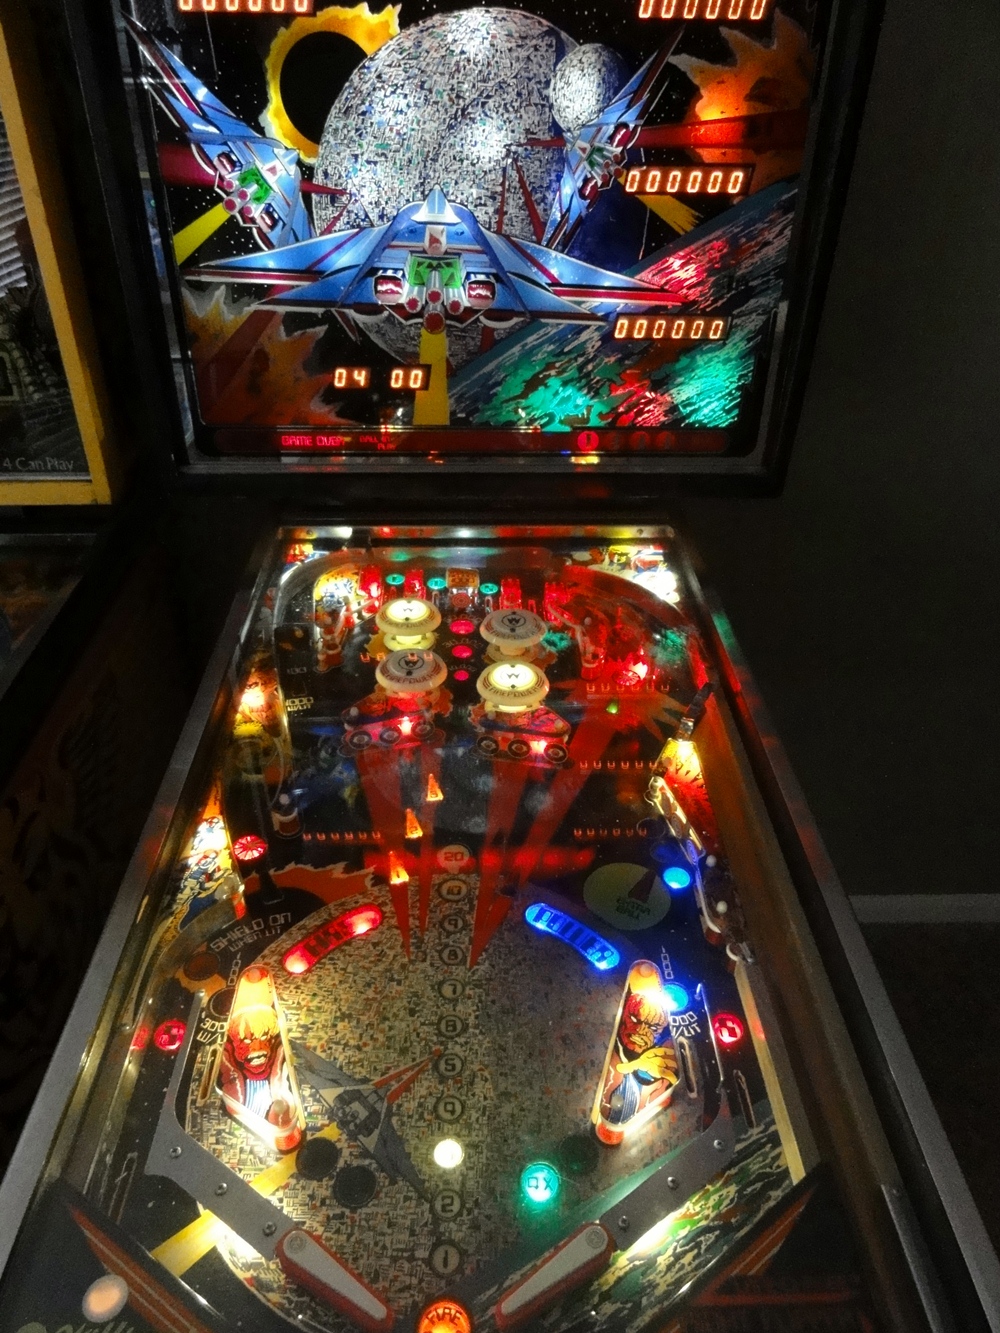
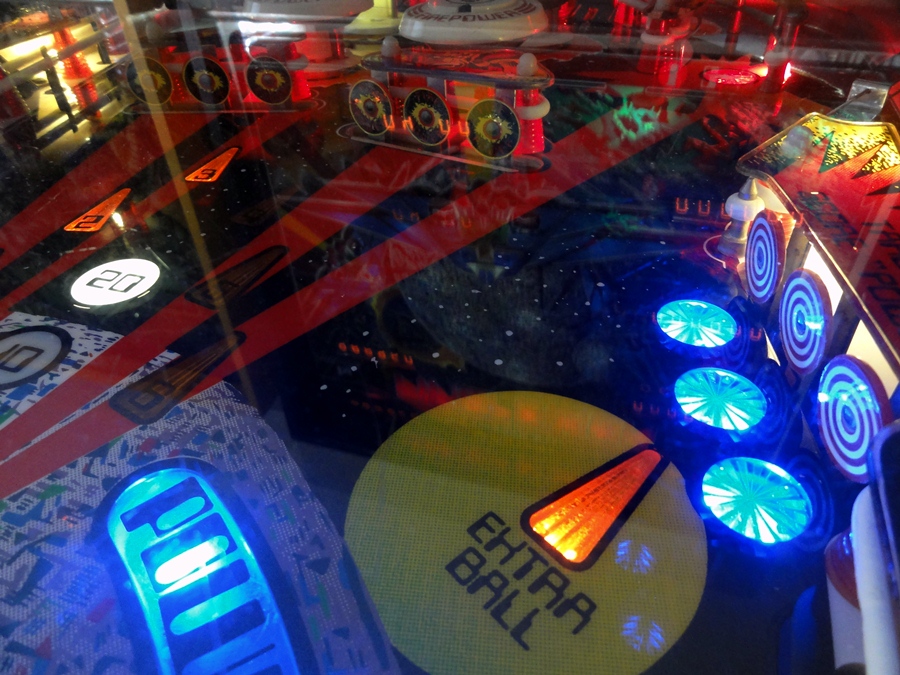
Nice and shiny - but most importantly, it's smooth as glass and will play super fast.
Since this was my first playfield swap, I was very happy to see that most everything worked when I turned it on. It was late at night, and I didn't have time to test everything - but one thing I noticed were a few lights that weren't behaving as they should - seems they would stay on more than they should - like they were getting some extra current.
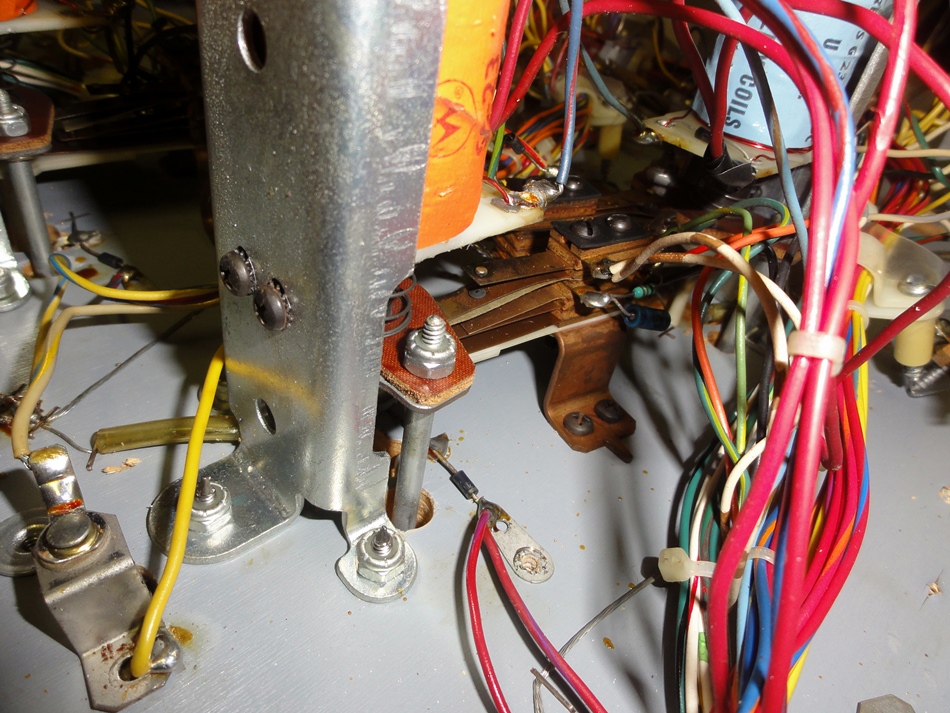
Now here's the VERY STRANGE part. When I switched the machine off, one pop bumper was still lit. It wasn't very bright - but it was lit for sure. ....hmmm, the machine is switched off - how is it getting power? So I shut down the surge protector/power strip that my pins are plugged into - yet that crazy pop bumper STILL stayed lit!!! At this point, the only thing I could think was that it's somehow pulling power from the battery. I also noticed a couple LED's on the MPU (replacement boards) were still lit. Unplugging the machine does nothing - I had to disconnect the playfield from the MPU to get the pop bumper light and the LED's from the MPU to go out.
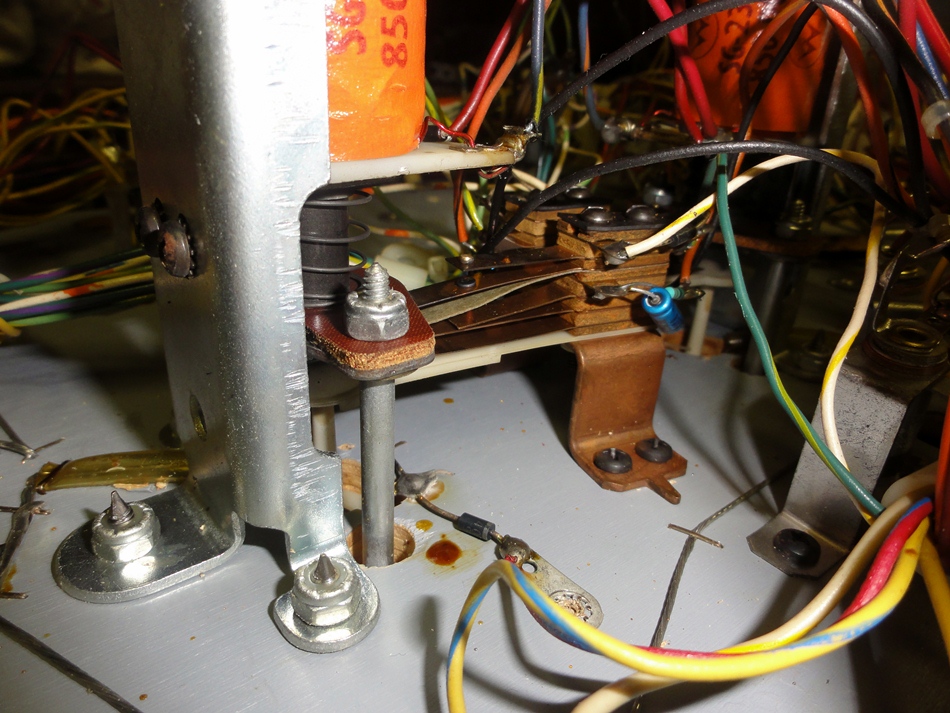
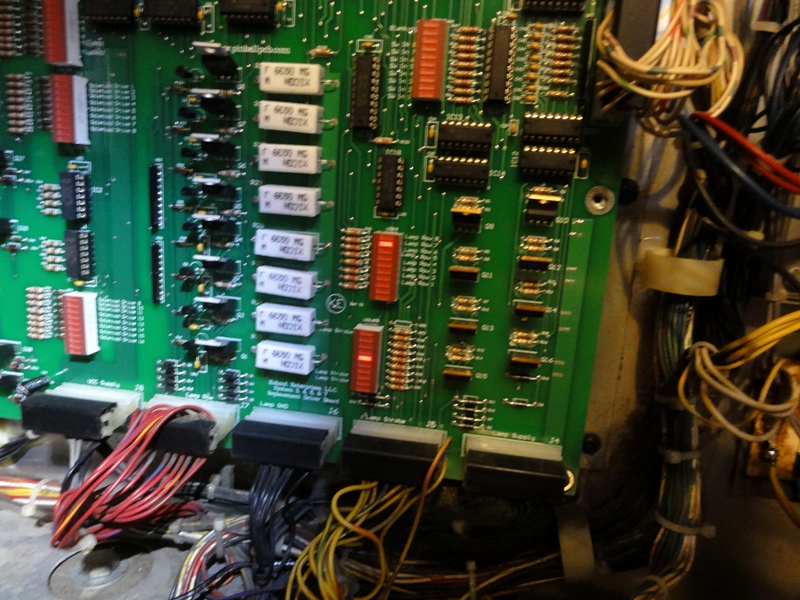
Well, after doing a bit of research, it turned out to be a small short across one of the diodes. All of the lights that were acting funny were on the same lamp row - and that lamp row was one of the LEDs on the driver board that stayed lit when the machine was turned off. Below is a pic of the driver board showing the LED's still lit even when the machine was unplugged. The second pic down shows the diode that was shorted. All I did to fix it was push away the excess wire that was causing the short - and BAM - everything worked perfectly.
What a great feeling~!~!
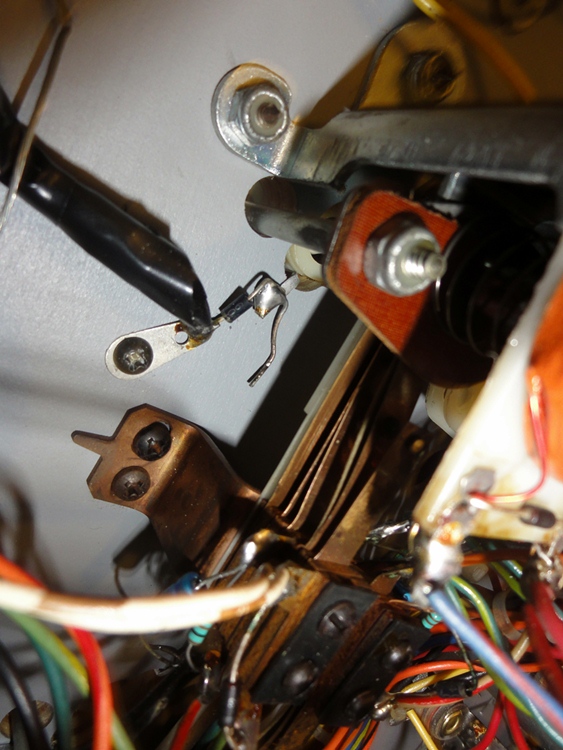
That's the shorted diode that caused
me some stress.
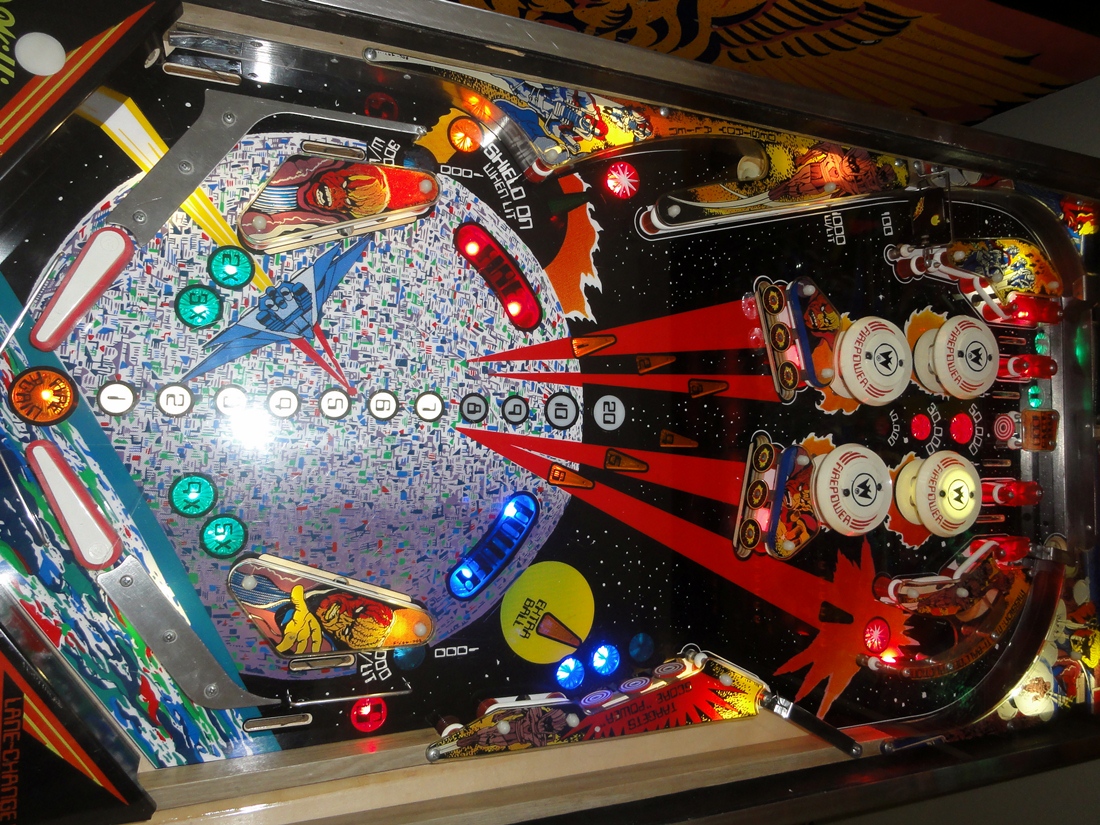
Everything works perfect now~!
I've tested everything, and it's 100%. However, per CPR, I have to wait a couple
more weeks for the playfield to completely cure before I can play.
...counting the days...
![]()