
Not long after getting my Flash pinball machine, I found myself thinking about machine #2. For me, part of the fun of owning a pinball machine is tinkering around with it - learning how to fix anything that might break. I found several really good pinball repair websites - this is one that I used to work on Flash. Well, I was looking on Craig's list when I saw an old Bally Black Jack for sale. They were only asking $200, so Jacqui, the kids and I drove down to take a look. The backglass was in excellent condition, and the playfield and plastics were in pretty good shape too - though very dirty. Unfortunately, the guy selling it did not have the key, so I could not look inside. We plugged it in, and the GI lights would come on, but it would not boot into a new game. But hey, if nothing else, I figured it would be fun to work on - so we talked the guy down to $140.
I brought it home and put it in the garage. Over the next few months I worked to get it cleaned and repaired. I learned a lot in the process, and despite spending several times more in parts than I did for the machine itself, I'm still happy with my purchase.
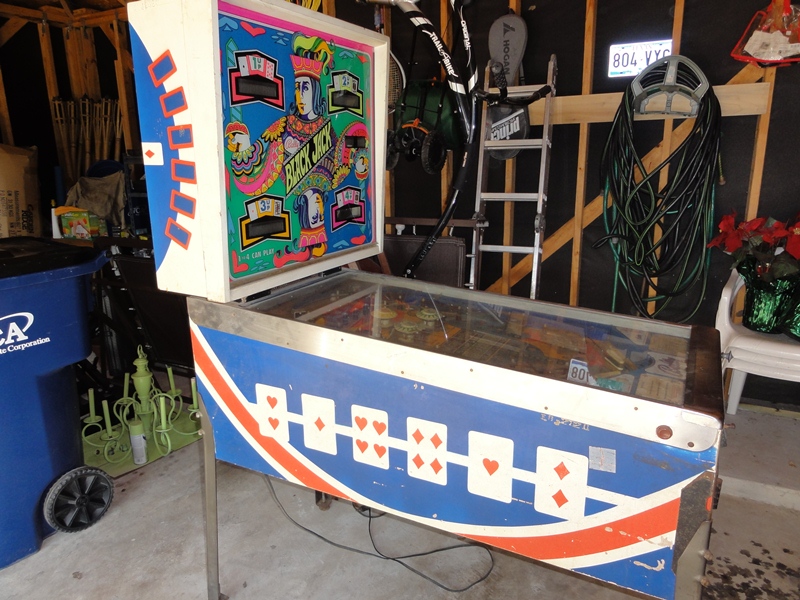
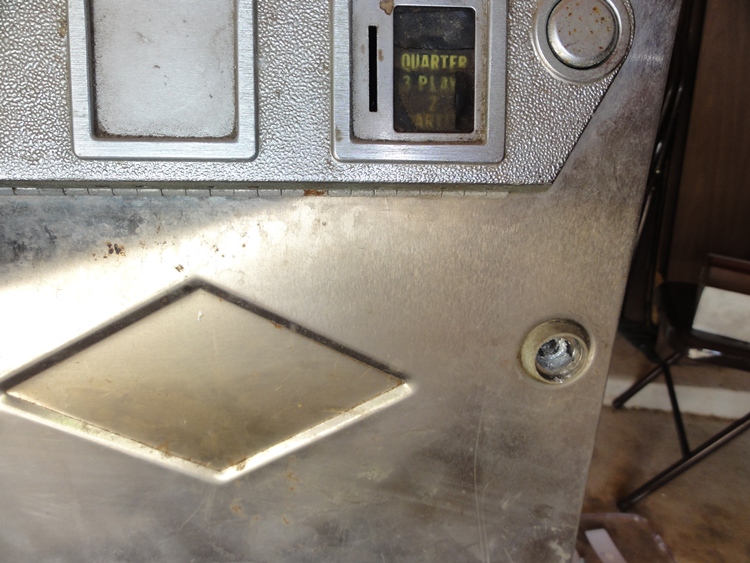
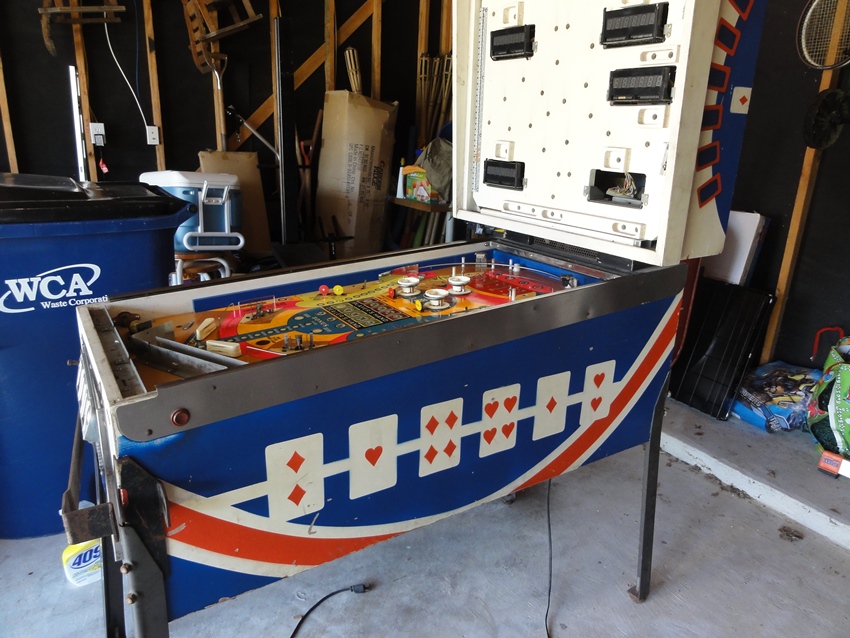
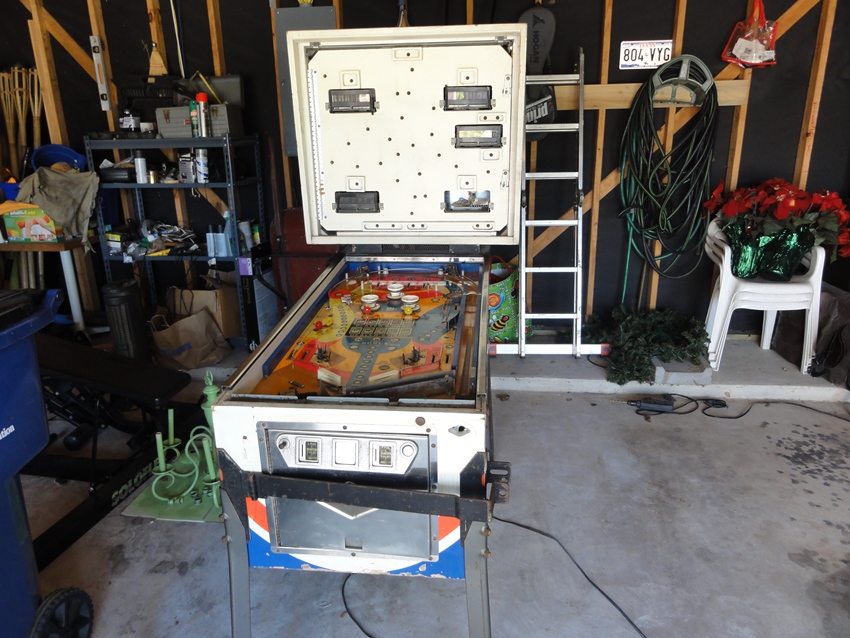
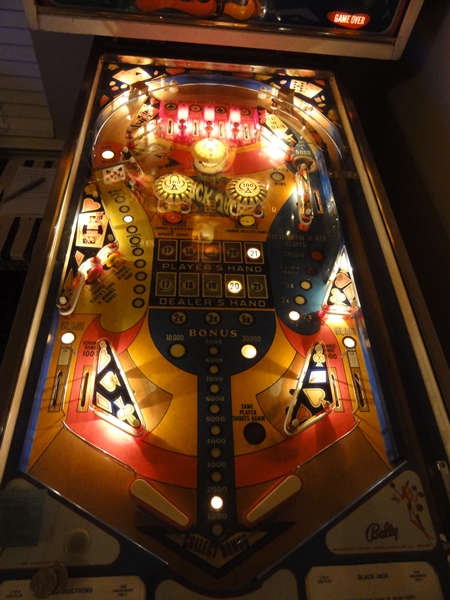
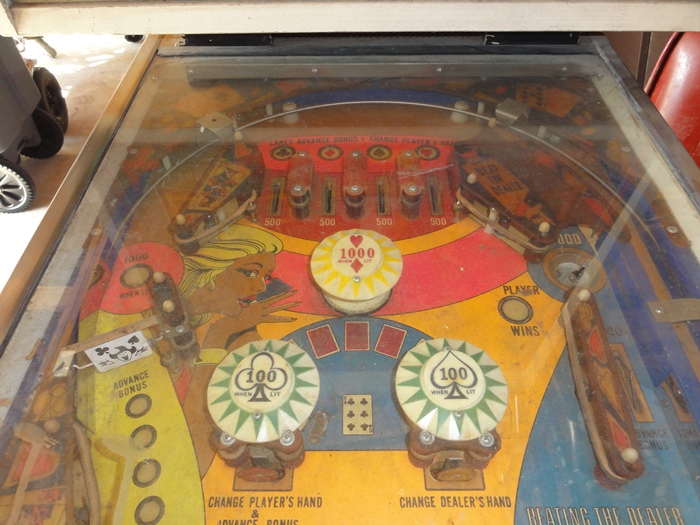
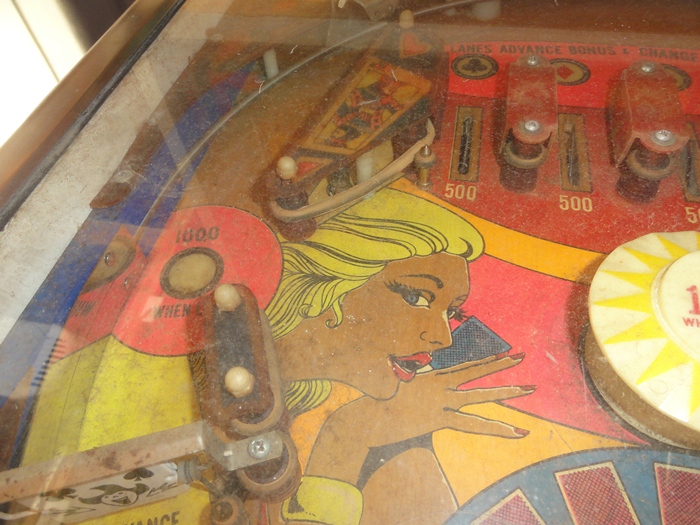
Here are the first pics I took of the machine
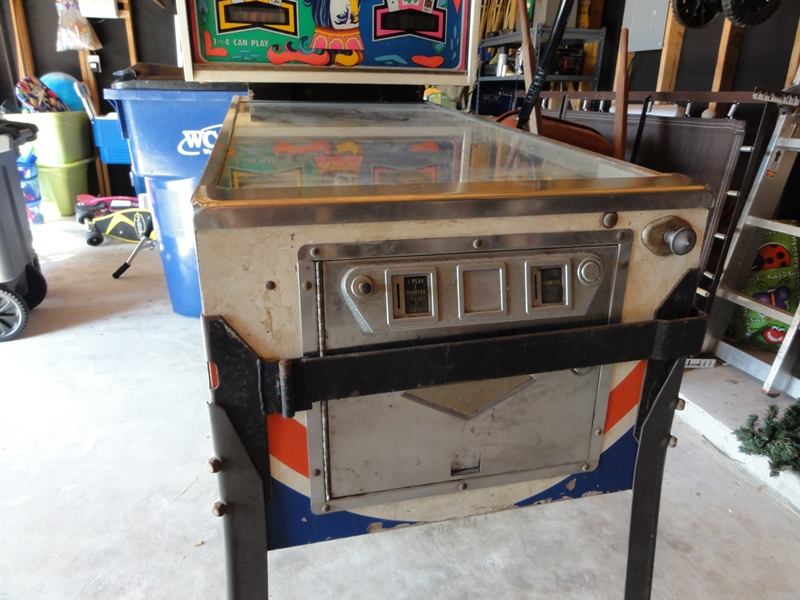
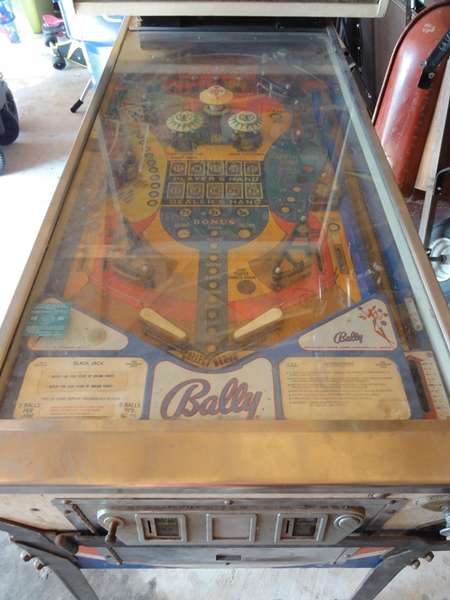
Yuck, it's a bit dirty.

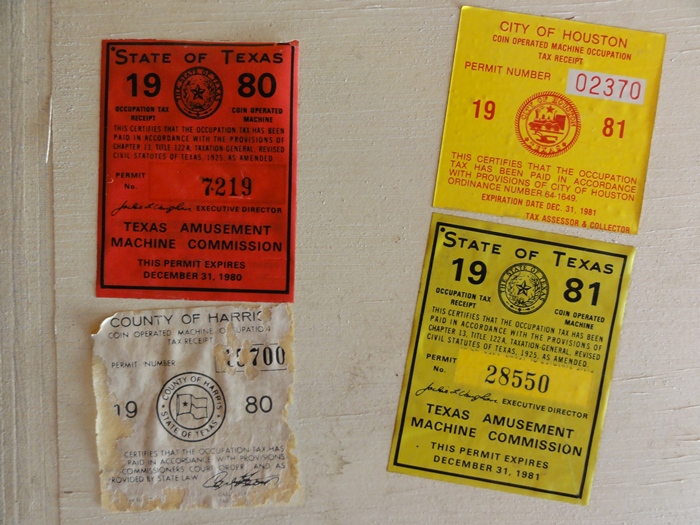
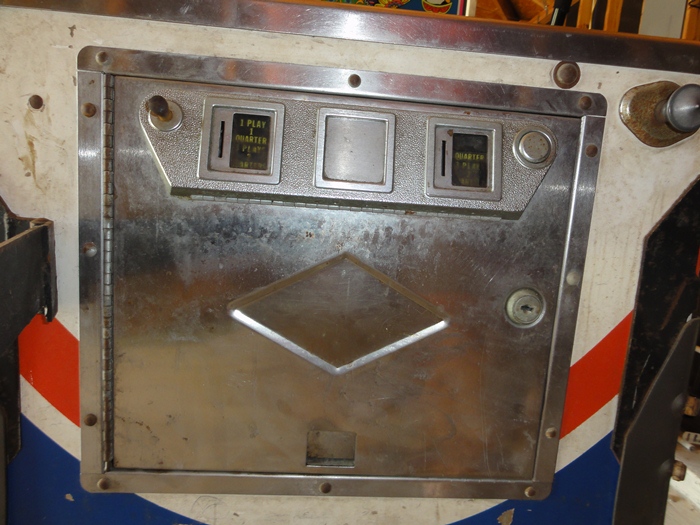
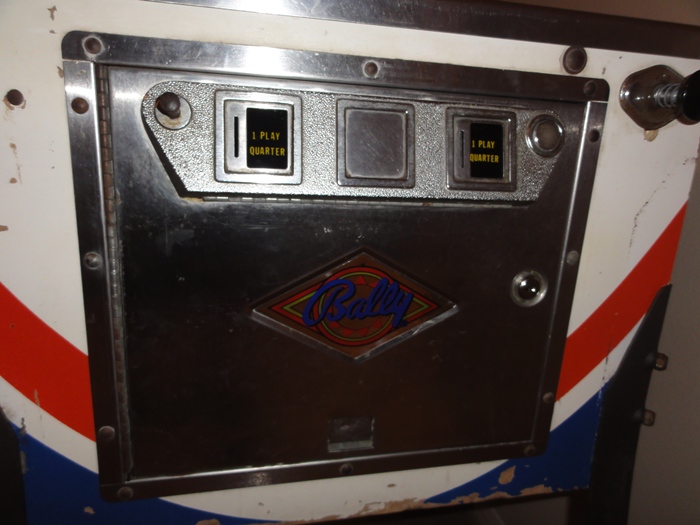
Check out the tax
stamps.
It was in an arcade or bar somewhere in Houston between 1979 and 1981 (I found
a 1979 stamp inside the machine)
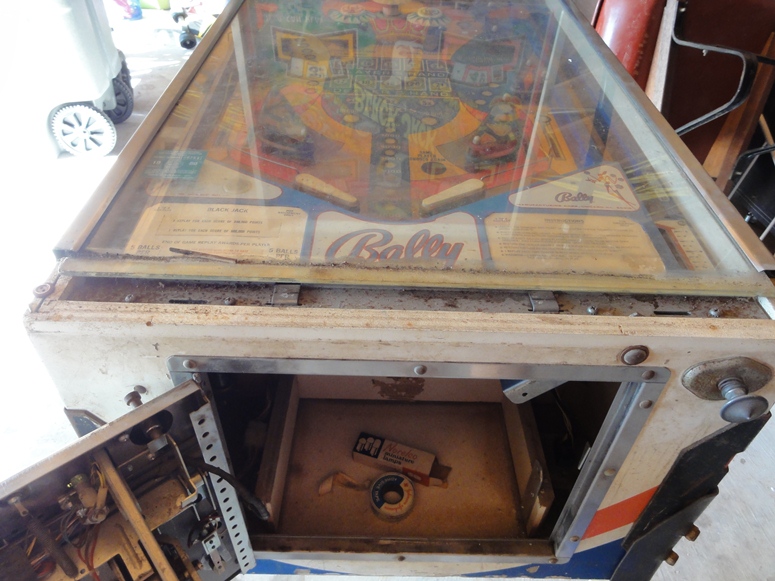
In order to get inside the machine, I had to drill out the lock.

I was happy to see how complete, and clean it was inside.
Hmmm, it looks like someone else had been working on it.
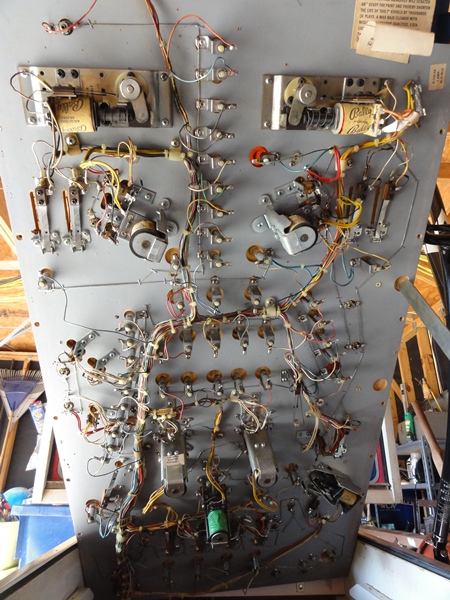
The underside of the playfield was in great shape - no burned coils.
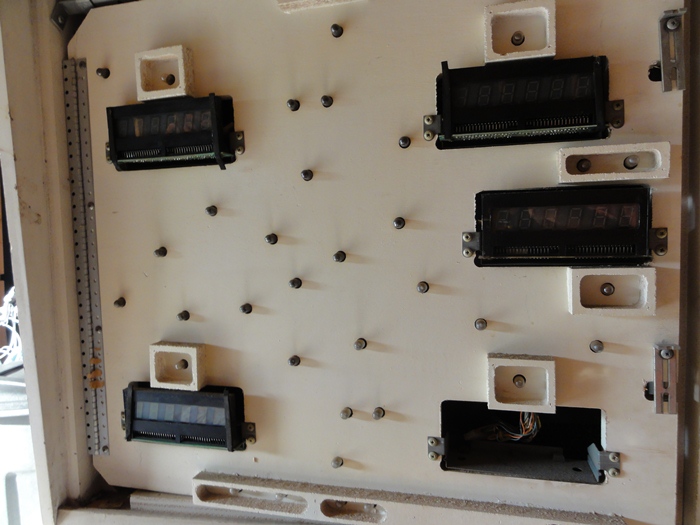
After taking off the backglass - one of the display units is missing.
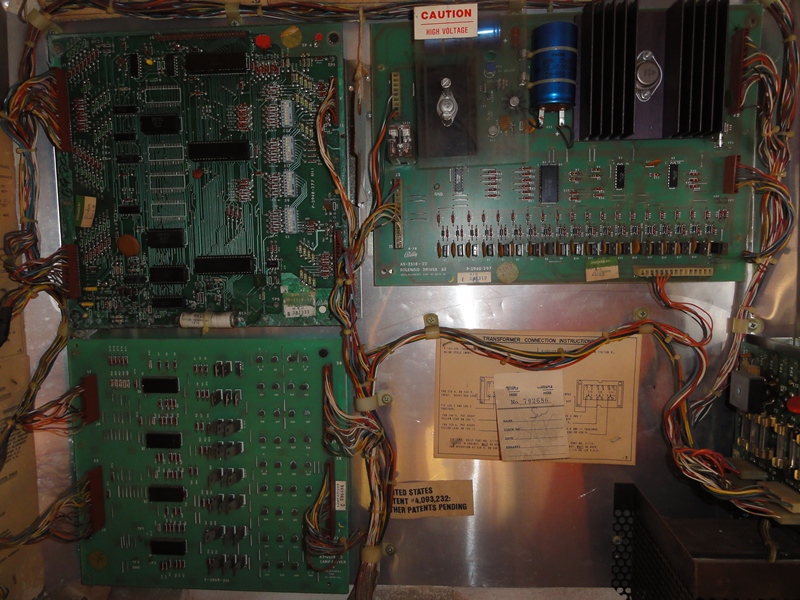
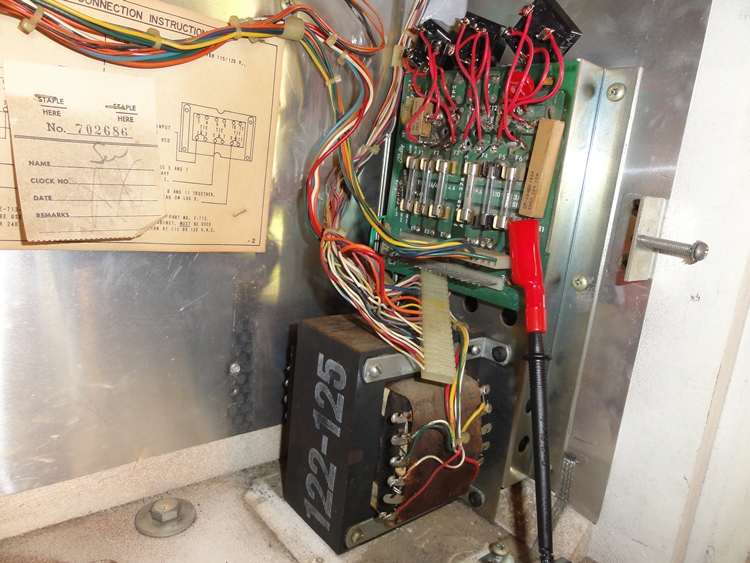
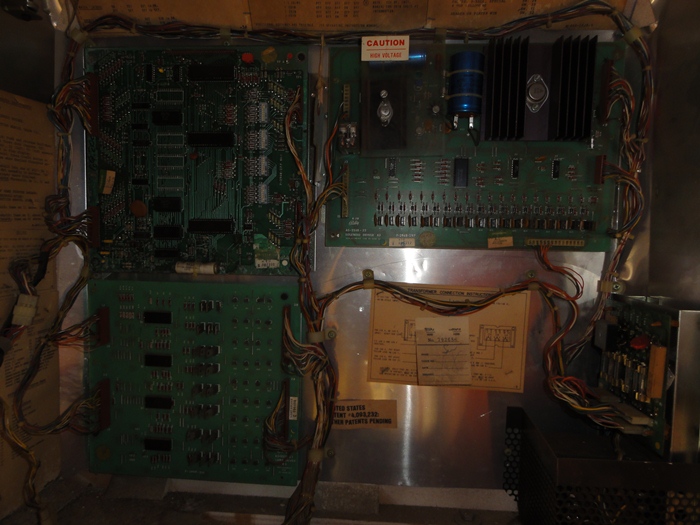
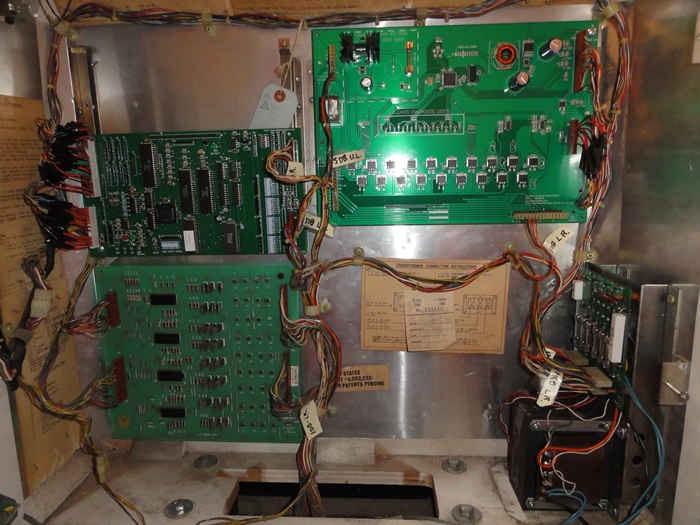
Looking inside the backbox, its easy to see the problem.
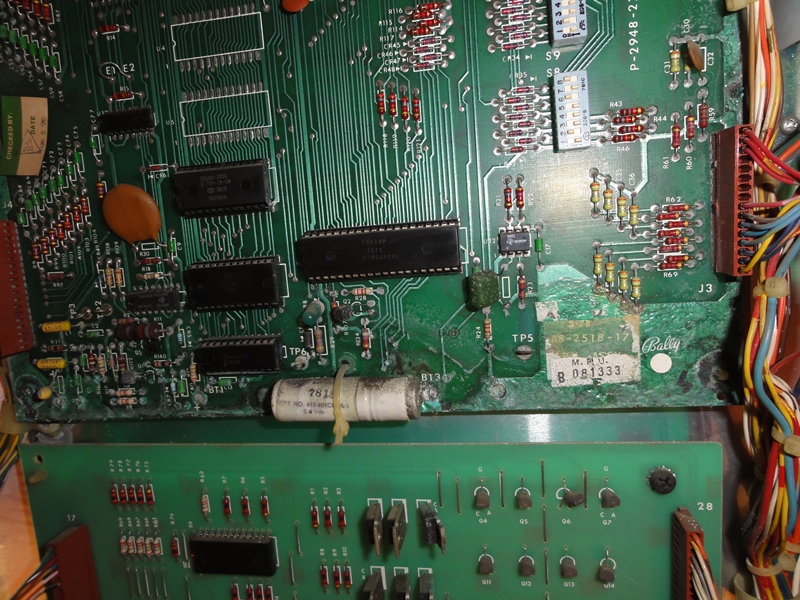
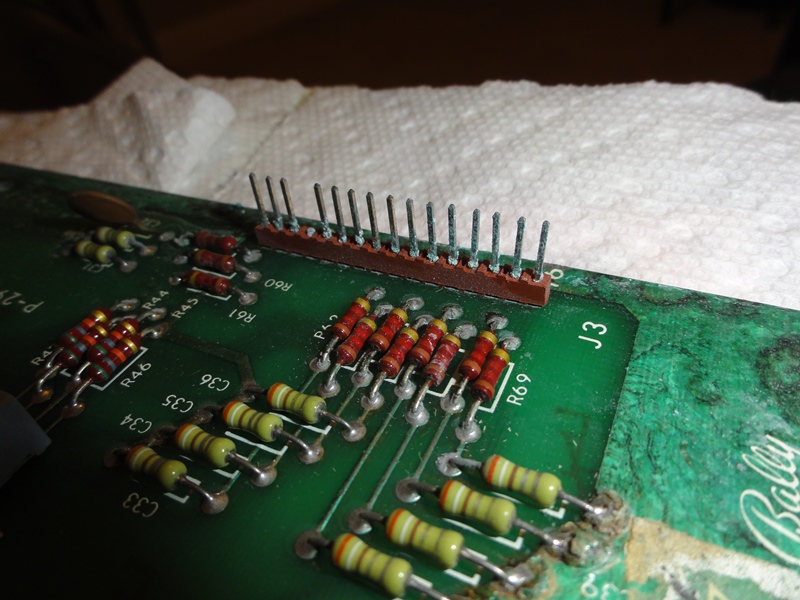
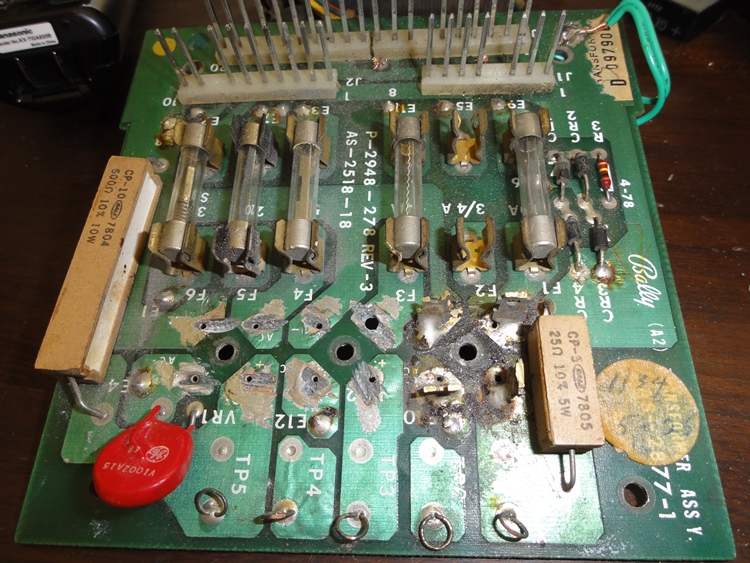
Look at all that battery corrosion along the bottom of the MPU board.
I also noticed that someone before me had attempted to repair the power rectifier
board (see the one new bridge rectifier).
Aside from the battery corrosion, the back back looked perfect.
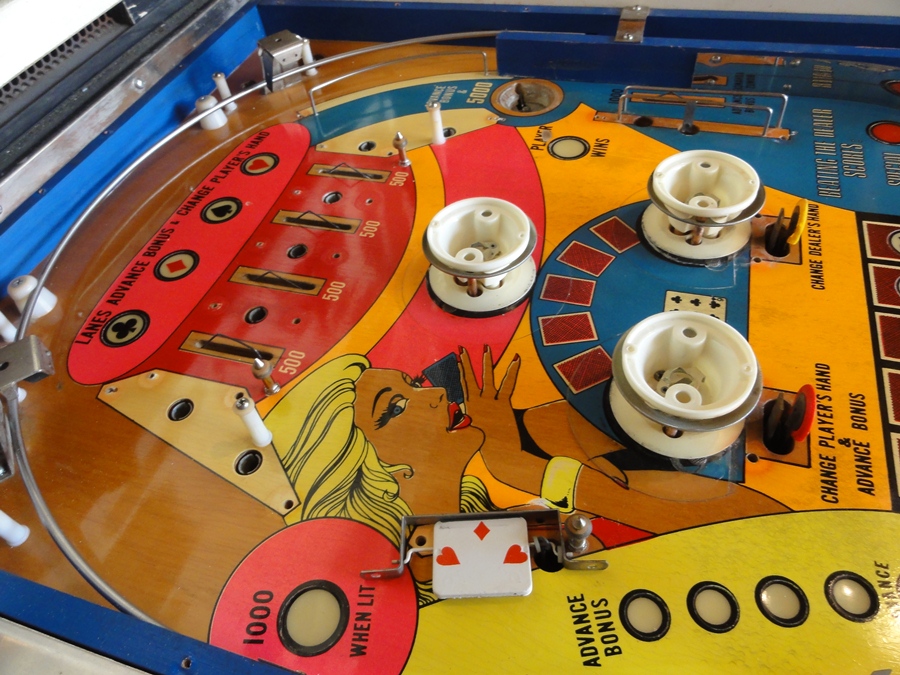
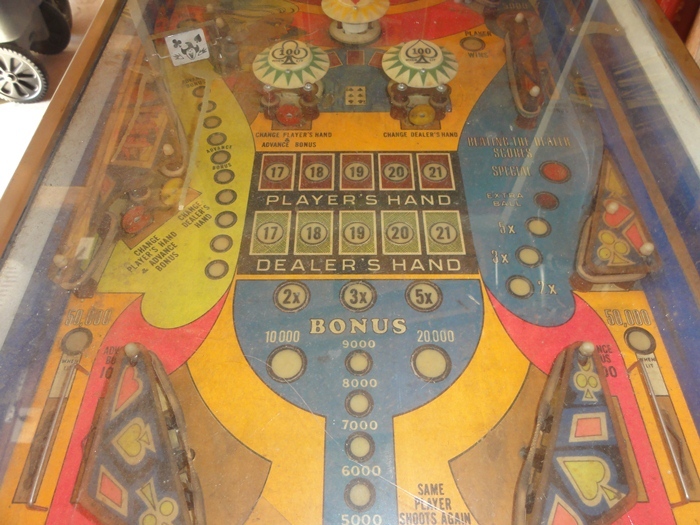
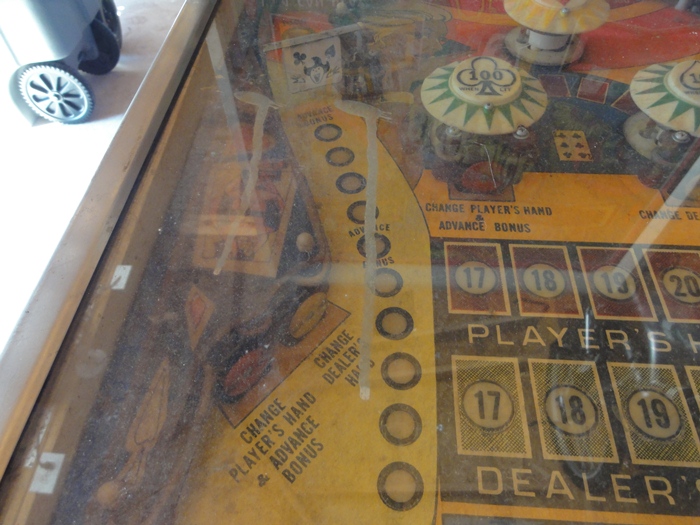
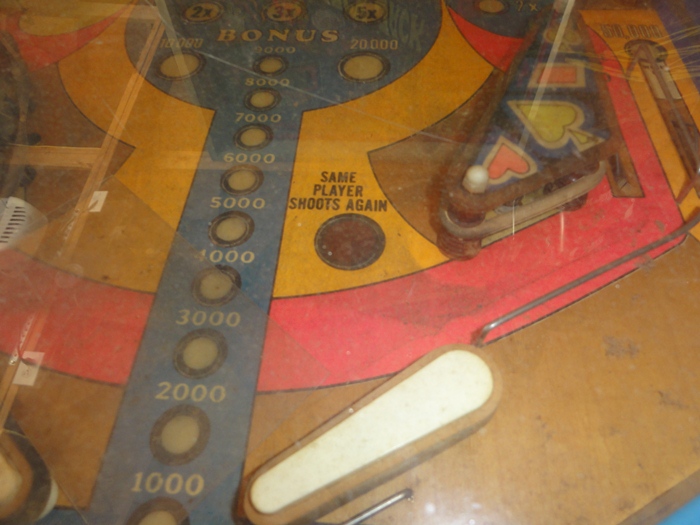
Before attempting to repair any electronics, I figured I would clean up the
playfield.
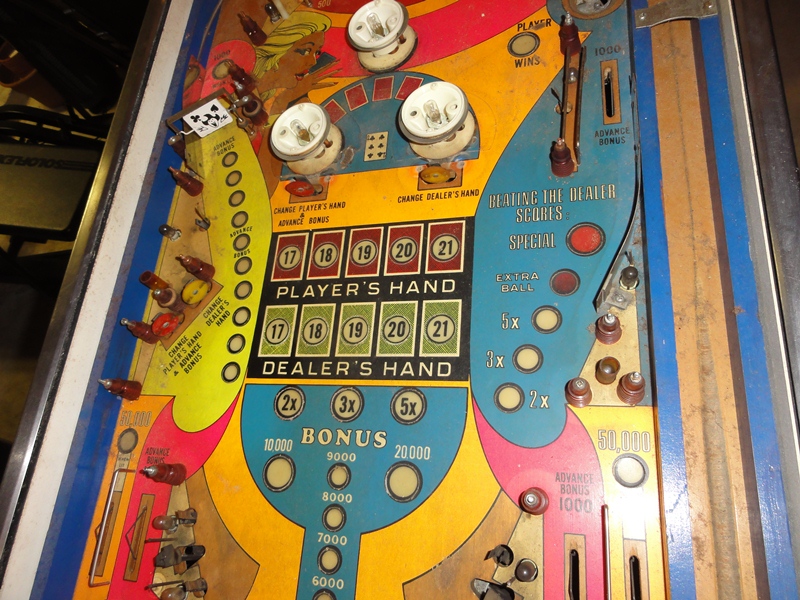
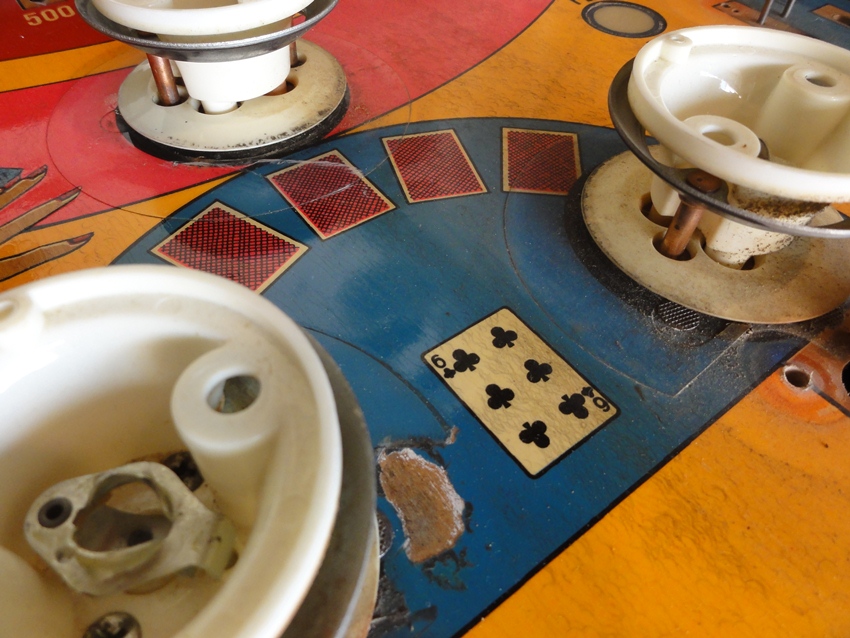
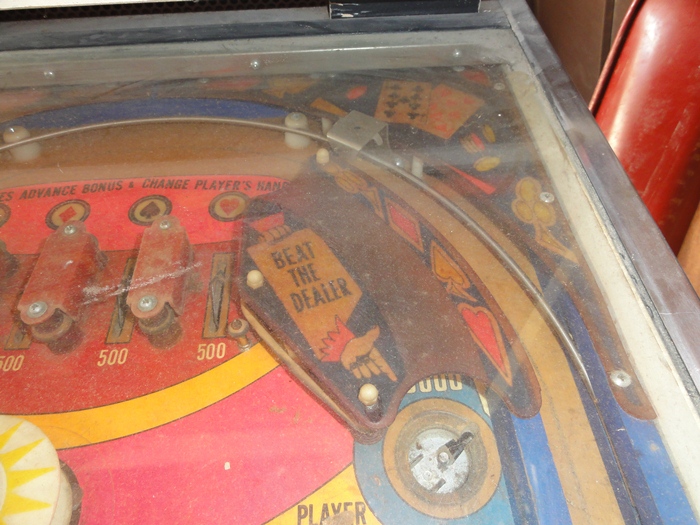
I mean - look at it - it's NASTY!!
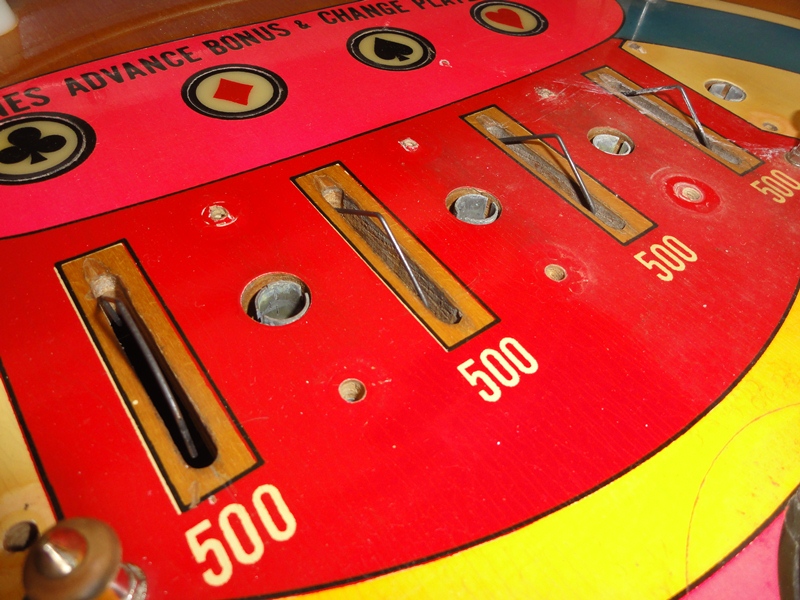
Here we've removed the old rubbers, plastics and posts.
Stripping the playfield is fun (yeah, I'm geeky in that way)
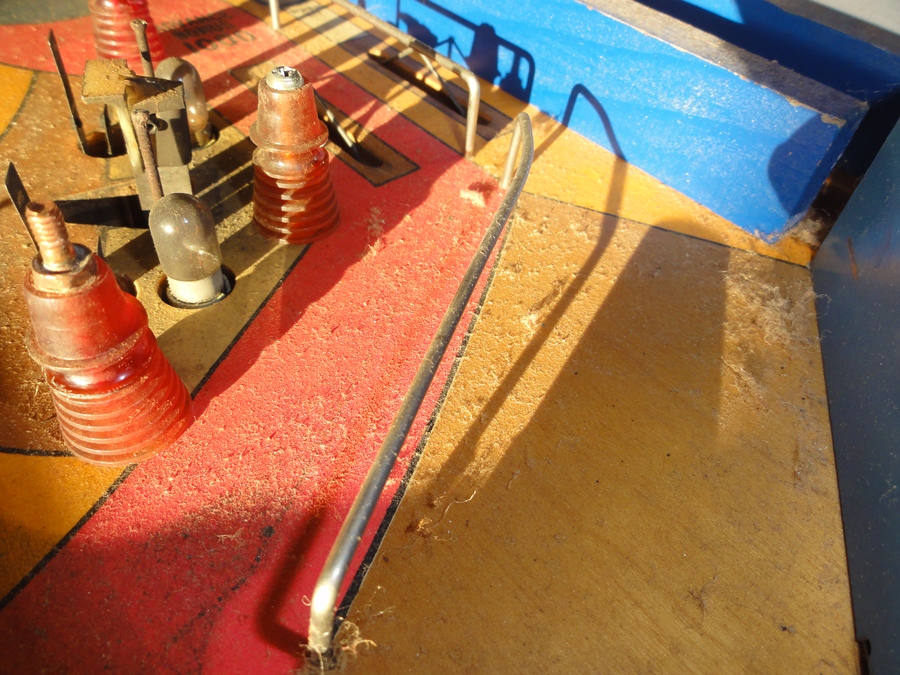
You can't really see in this pic, but the medical tape found inside the machine
was used to wrap the ball shooter.
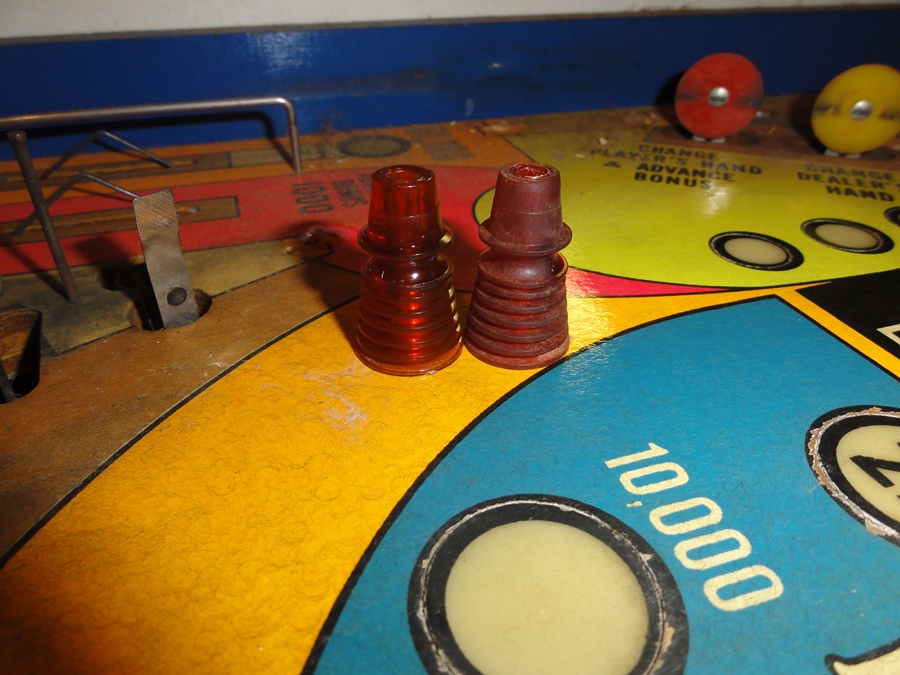
The rubber tip was gone, and the end of the ball shooter had completely mushroomed.
To clean the plastics and posts - I just put everything in the dish washer for
a couple cycles.
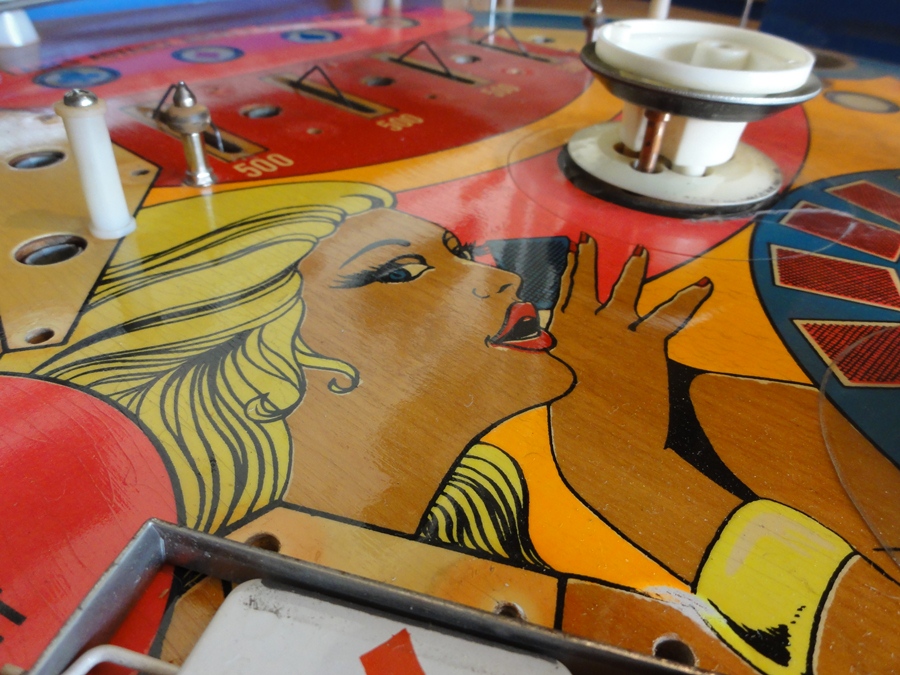
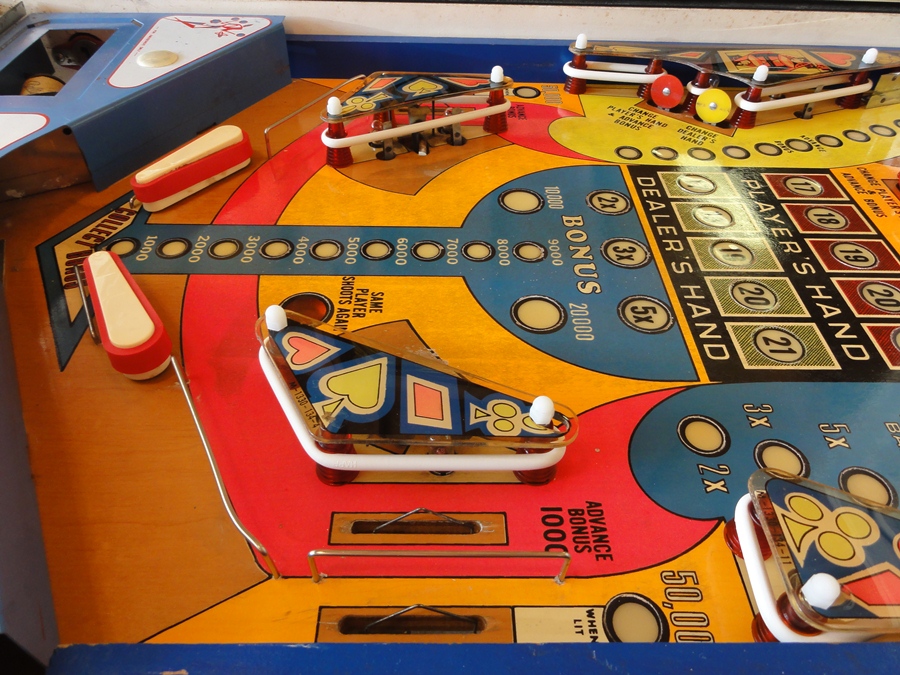
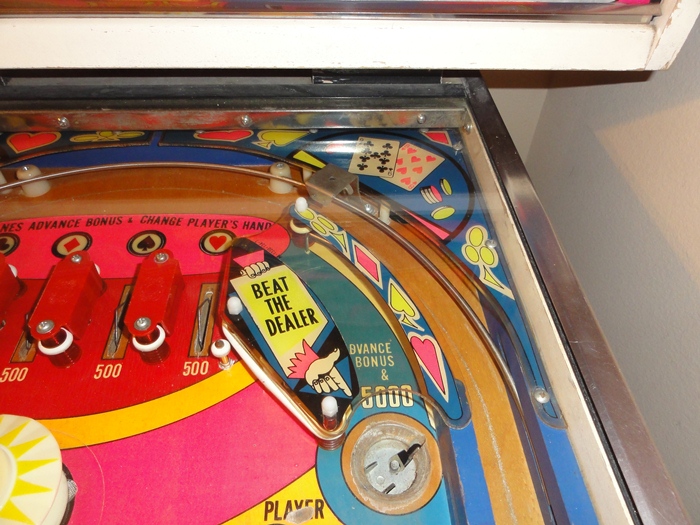
A little bit of Novus2 works wonders on the playfield.
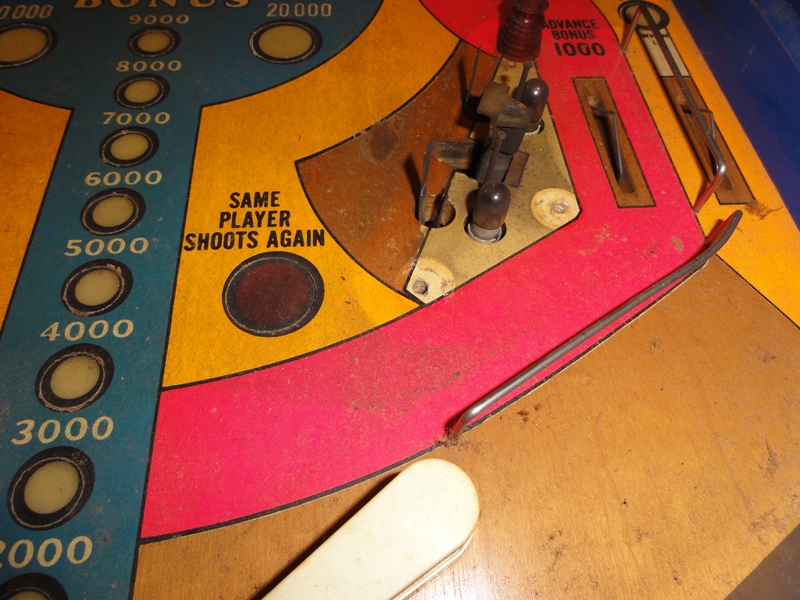
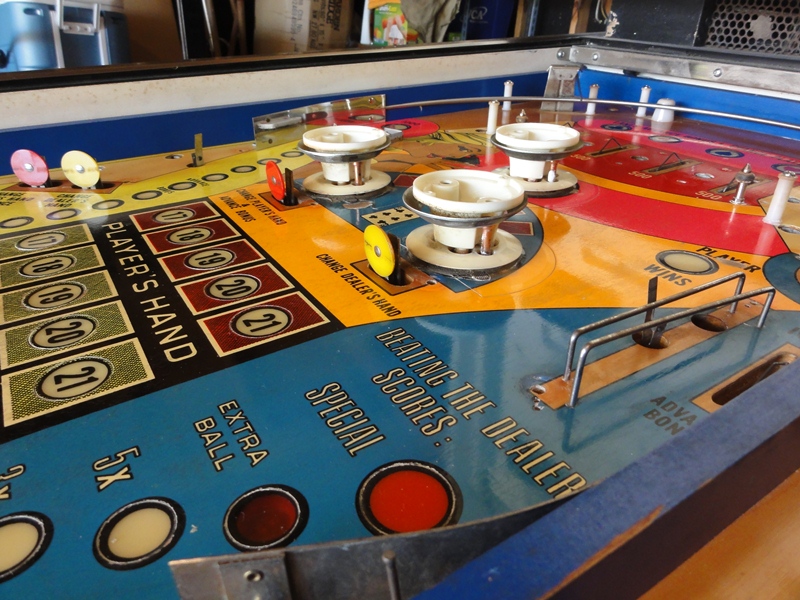
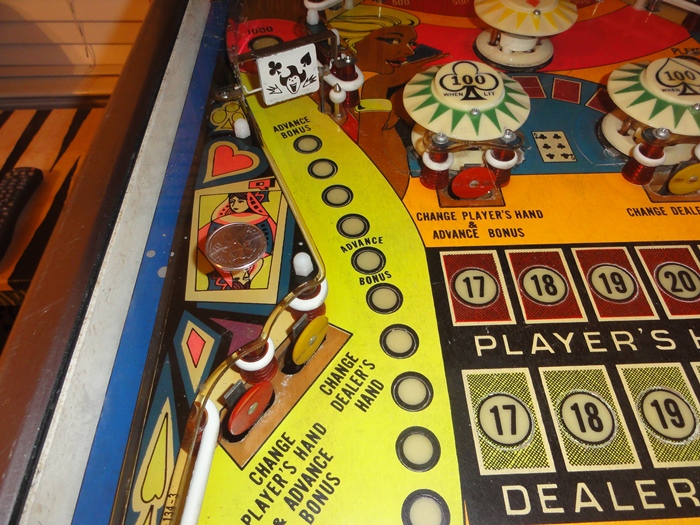
The left side has been cleaned....
Again, notice left vs right.
I also cleaned up the cabinet, though it really could use some touchup paint.
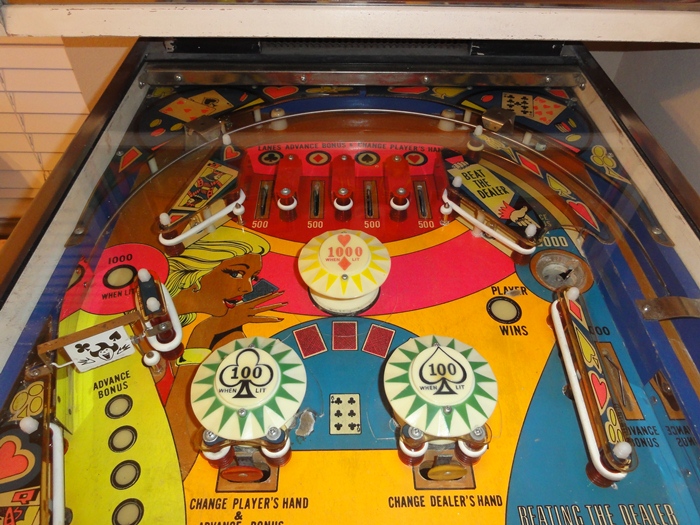
Starting to look good!
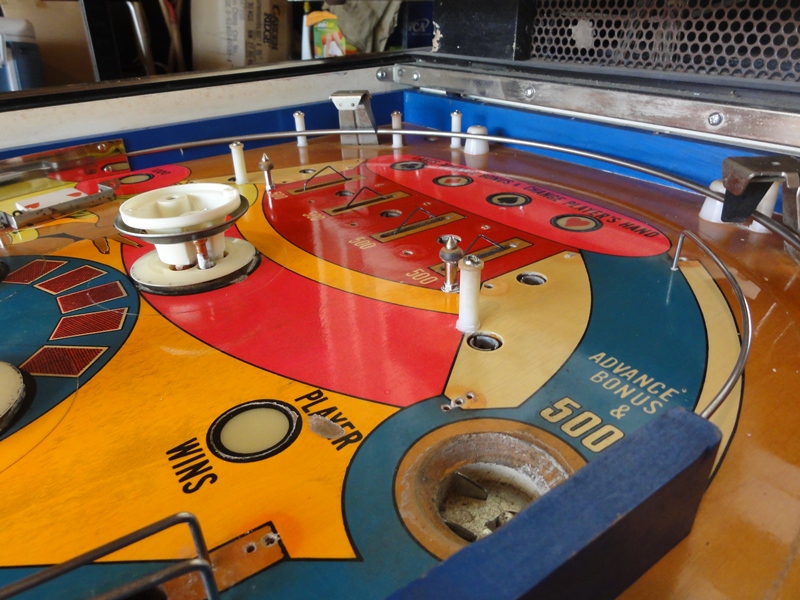
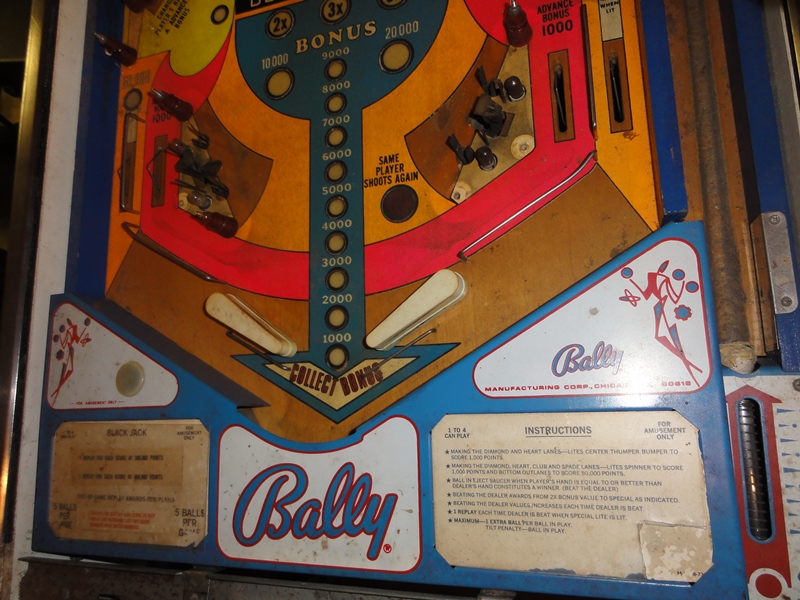
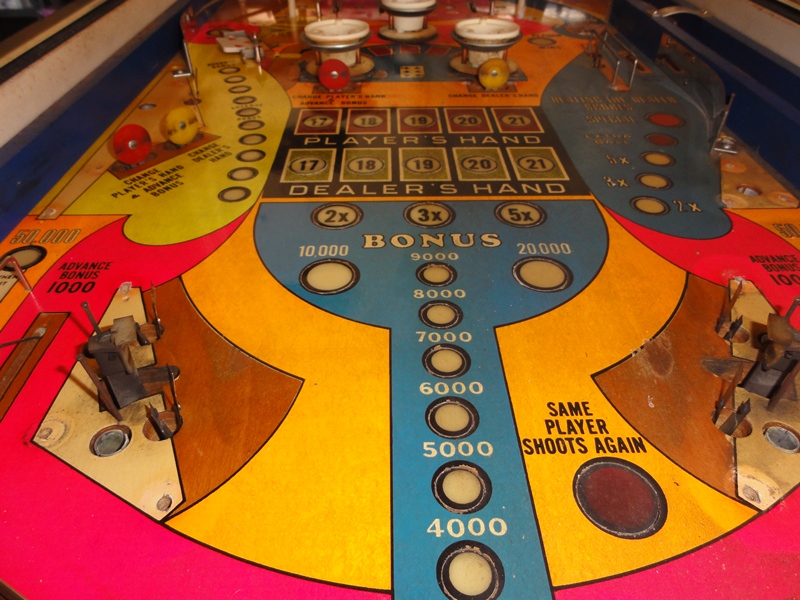
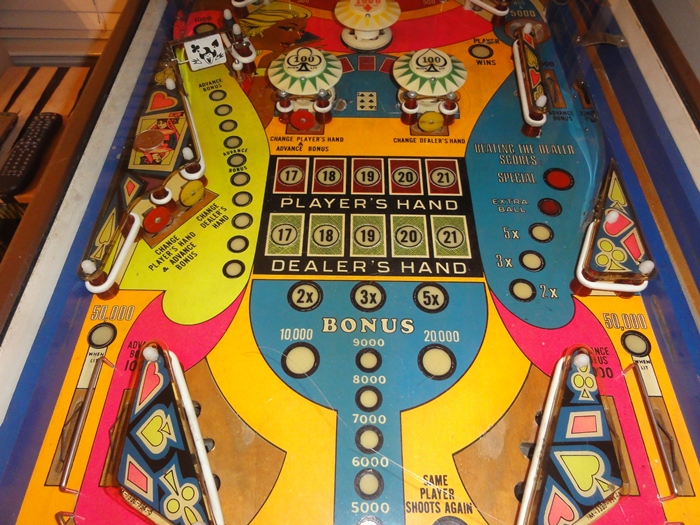
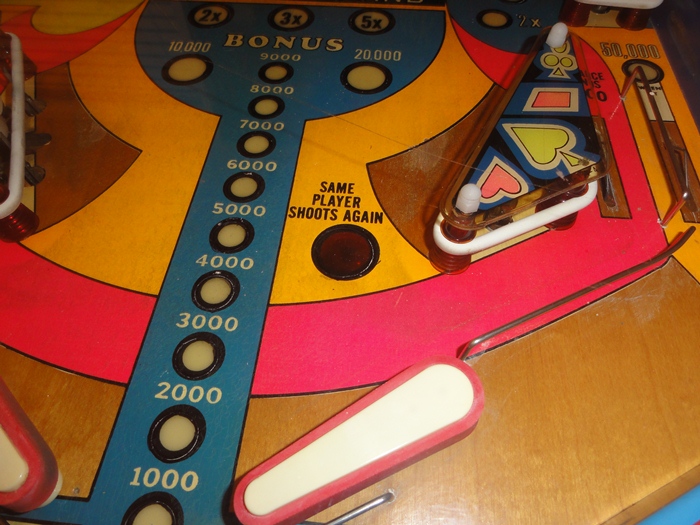
The playfield is CLEAN!
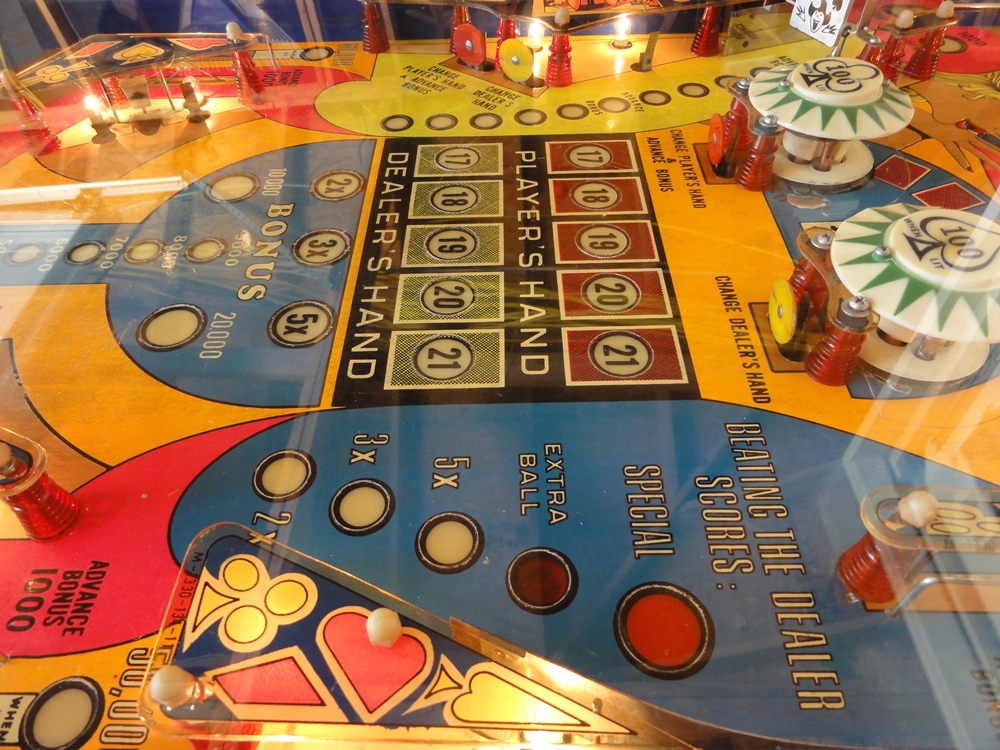
Wow, what a difference!
So with the playfield cleaned, it was time to turn my attention to getting the game to work....
With all that battery corrosion, I knew I would have to replace the MPU.
You can also see how the corrosion has made it's way to the connectors - those
will probably need to be rebuilt as well.
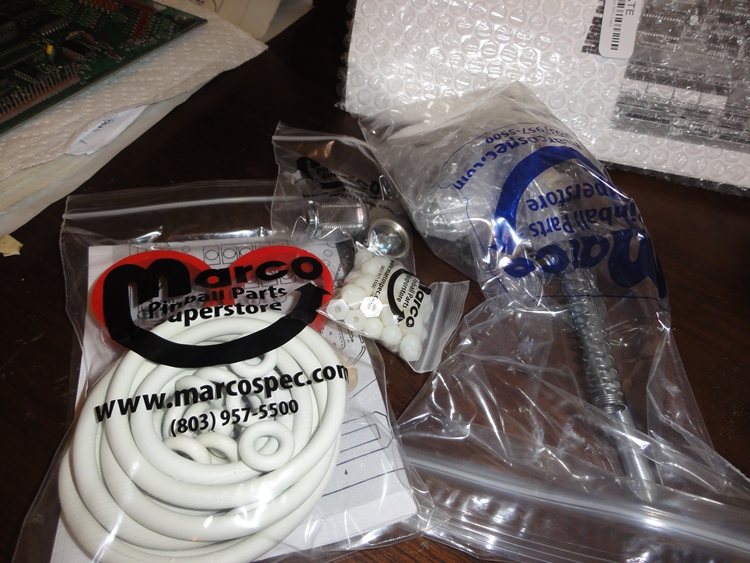
The new parts are here!!!
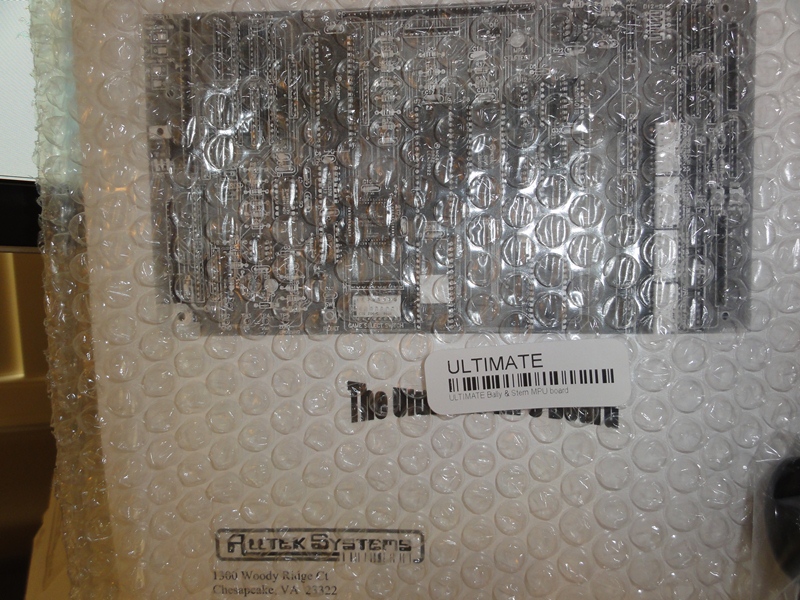
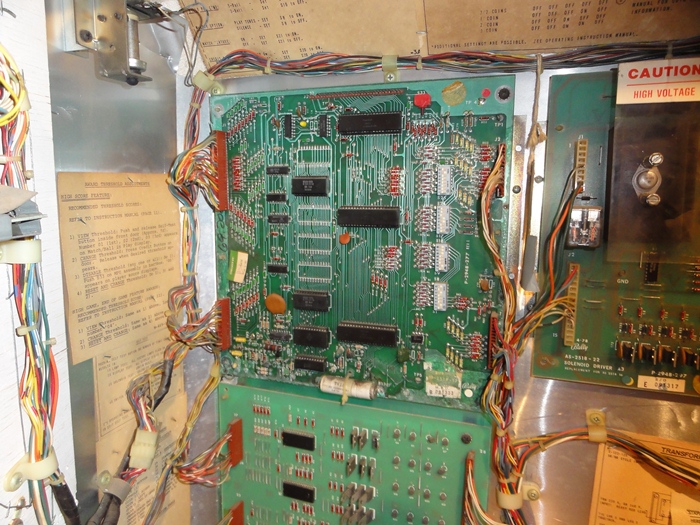
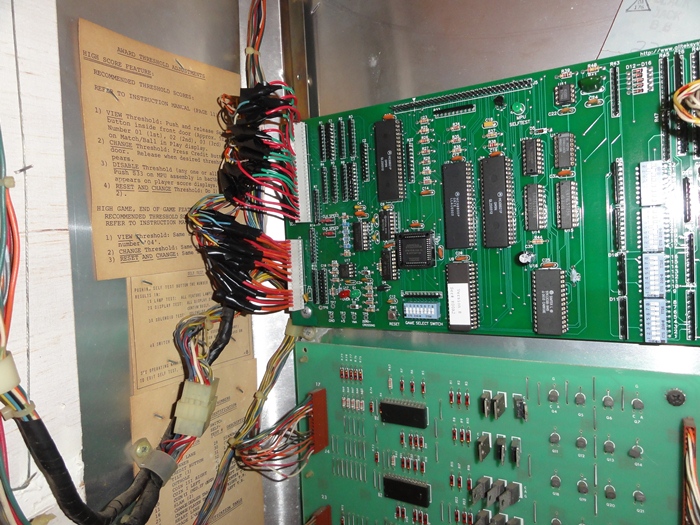
A brand new MPU board!
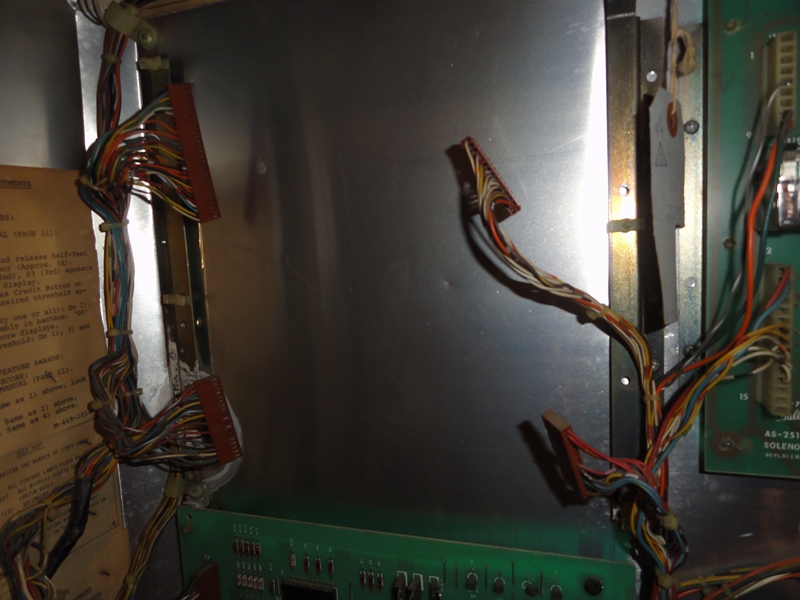
Out with the old corroded board....
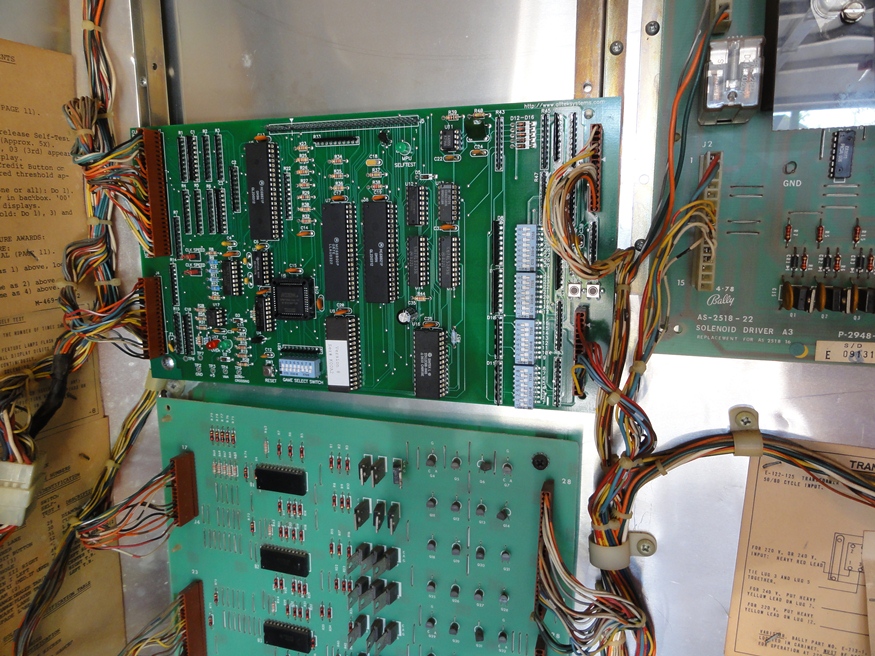
...and in with the new!
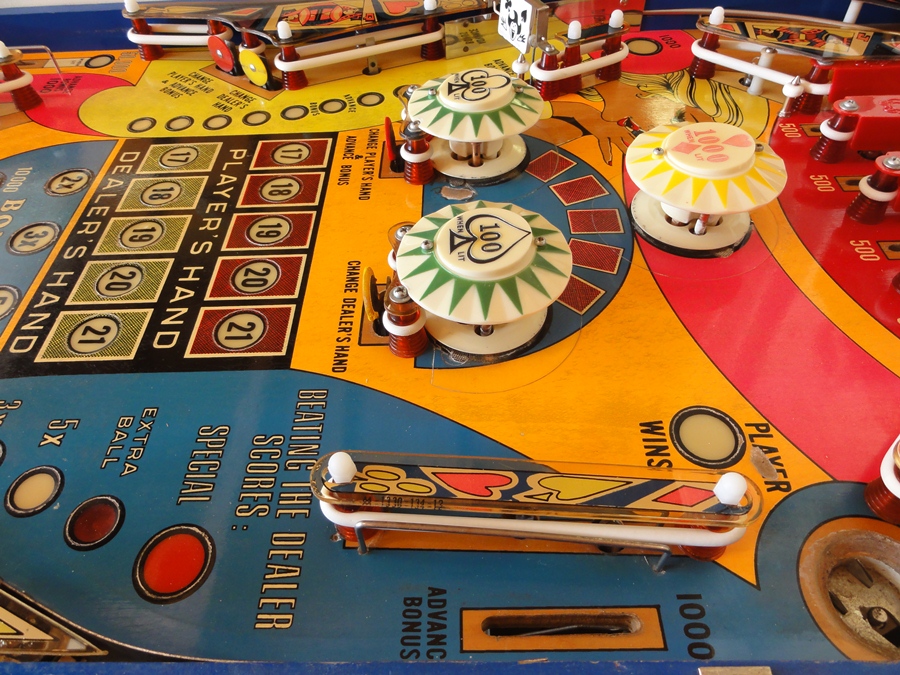
New white rubbers make the game almost look brand new.
After plugging in the new MPU board, it still would not boot.
So I started to follow the
excellent Bally on-line repair guide I found here.
The first thing they recommend is to rebuild the power rectifier board.
As I mentioned earlier, it seems someone already attempted this....hmmm....
Well, I decided to cut off their work and start from scratch.
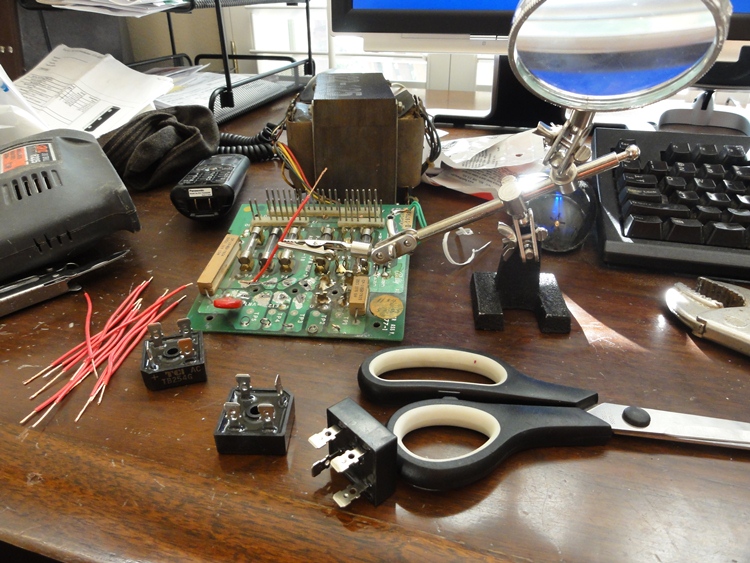
New bridge rectifiers are soldered to the board.....
Once completed, I tried to fire up the game - but still no luck.
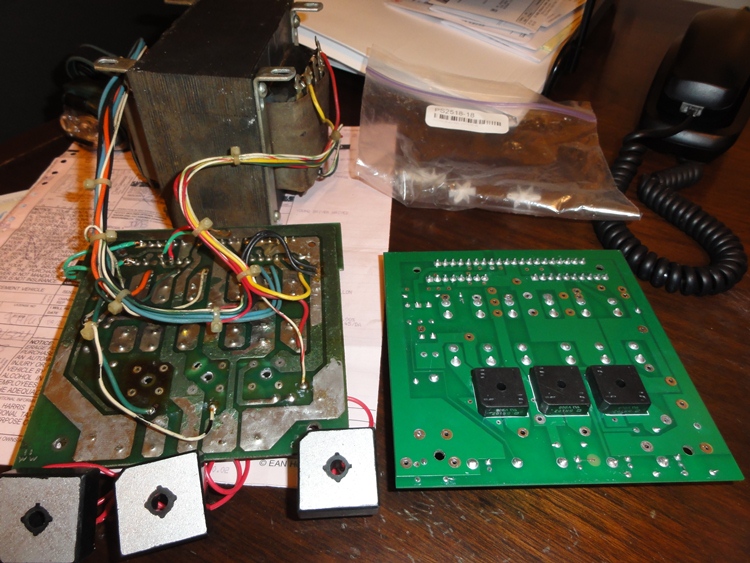
After struggling for a while, I figured it would just be easier (and probably
better) to go ahead and buy a new power rectifier board.
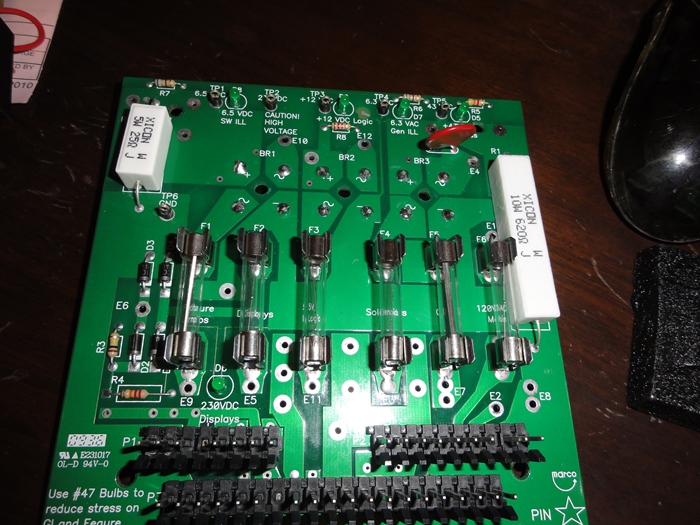
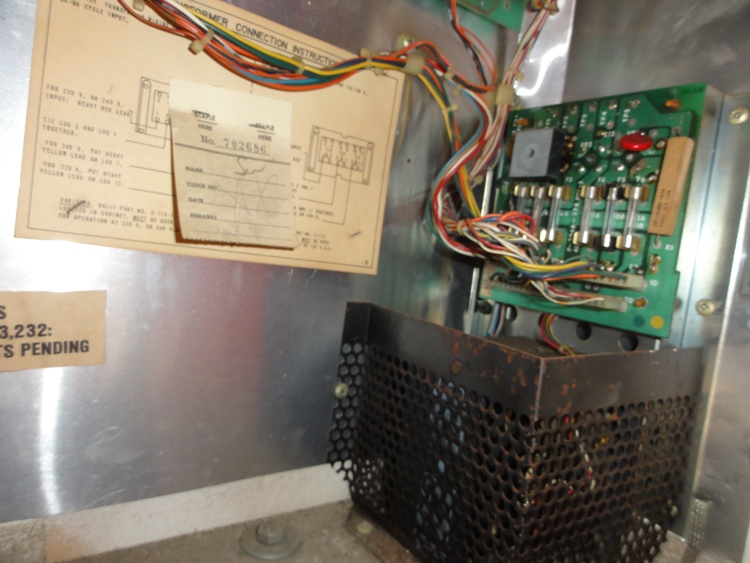
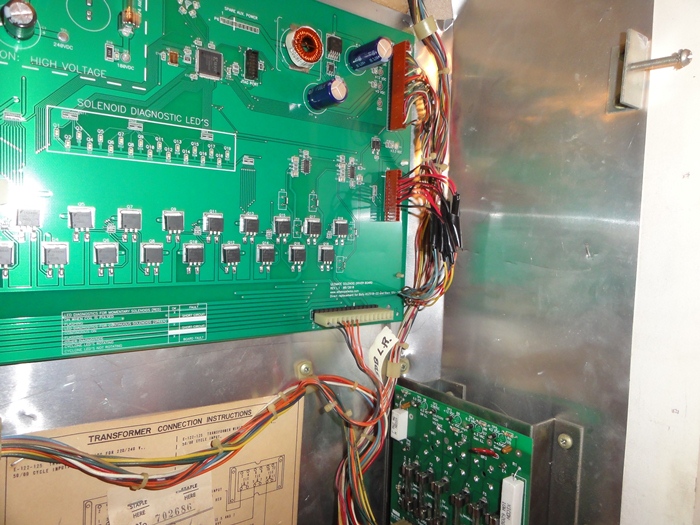
Check out the cool LED status lights on the top of the new board.
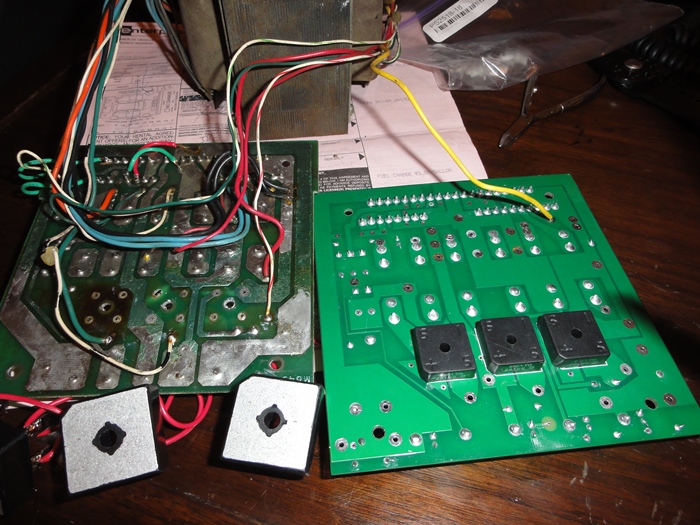
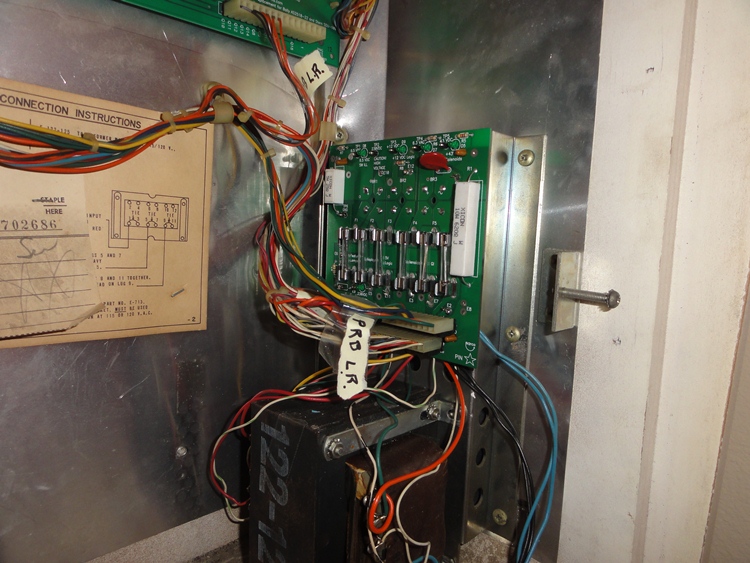
So I started the process of switching all the wires from the transformer to
the new board.
I also figured that I should go ahead and get a new solenoid driver board,
as I noticed a couple coils were 'locked on', and I wasn't getting clean high
voltage for the displays.

Well, even after putting in three new boards, the machine would still not boot.
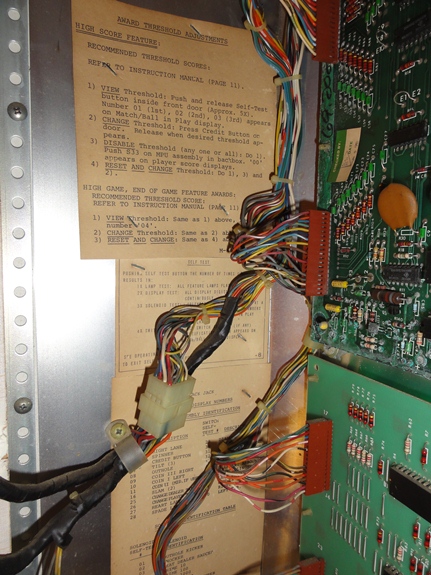
I traced the problem to bad connectors. Based on the batter corrosion, I had
known that I would probably have to rebuild them.

I only had to rebuild two of the four MPU connections, and one on the solenoid
driver board.
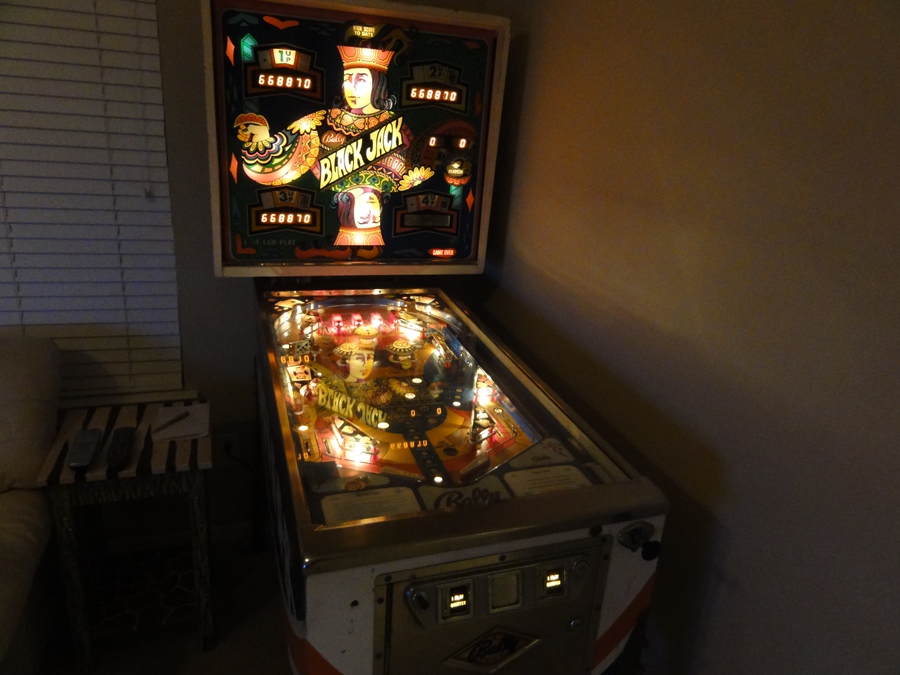
And that was it
- it worked!!!
All that was left was to tweak a few switches, and replace a lot of bulbs, and
a couple lamp sockets.
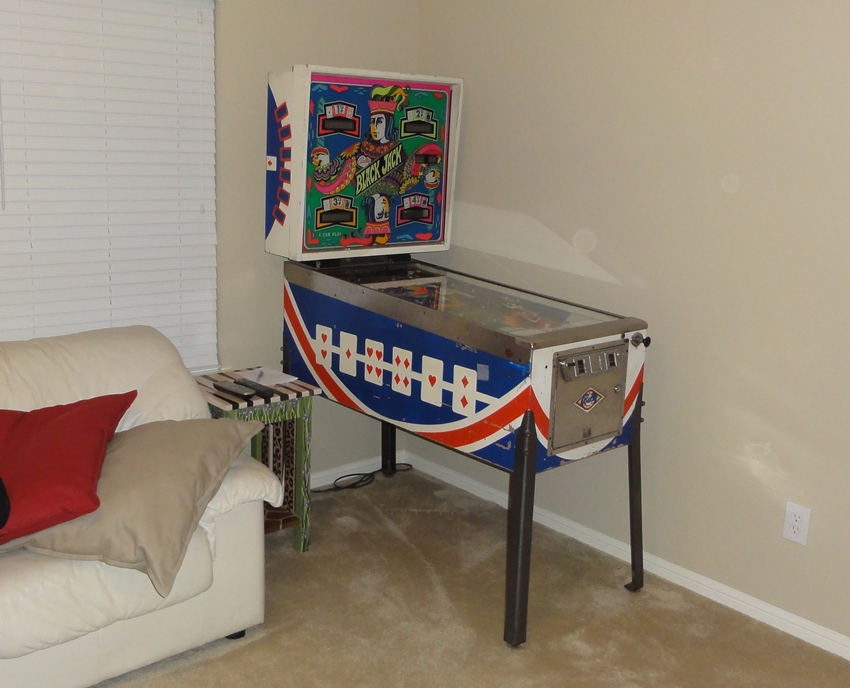
Here's the machine in our game room.
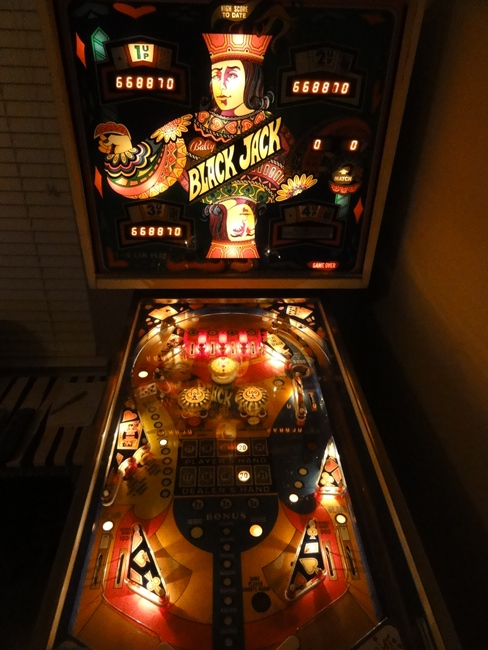
....and here are a few before and after pics - amazing how well it cleaned up.

And next? .....machine #3 may be coming soon.
![]()